
Study to color appropriate with our free course DaVinci Resolve Color Grading for Learners. You may learn to use every vital device in Resolve, together with how you can arrange your mission utilizing scene lower detection, how you can get clear pores and skin tones with noise discount and how you can create cinematic appears.
This lesson will educate you how you can perceive what you’re seeing in your scopes and the way that pertains to colouring in your video.
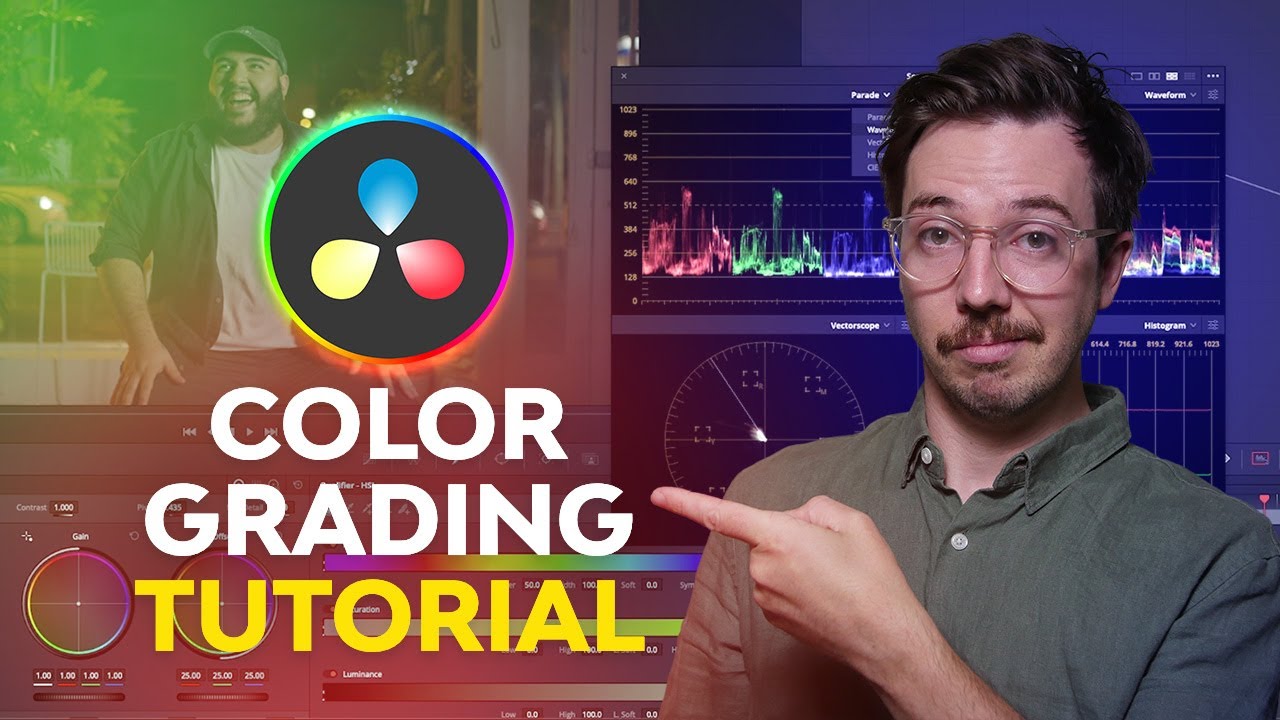
Tips on how to Learn Scopes in Resolve: Waveform, Parade, Histogram, & Vectorscope
Scopes could be a little bit intimidating once you first begin trying, however likelihood is you have come throughout scopes in a method or one other if you happen to’re capturing video as a cinematographer or videographer. When you’ve executed any publish manufacturing colouring in Lumetri or Resolve, or if you happen to’ve executed images, you’ll in all probability be acquainted with a histogram; so that you’ll have seen scopes earlier than.
Let’s check out them so you’ll be able to perceive what each does and how you can learn them. You won’t be engaged on the most effective displays on the planet, they may not be good calibrated appropriately; the actually high-end color grading displays are upwards of $30,000 so most individuals are in all probability not utilizing these! So, realizing how you can use scopes is admittedly vital in terms of color grading as a result of it’s truly displaying you what’s in your picture from a technical standpoint somewhat than simply what you’ll be able to see by eye. It’s additionally not simply vital for you, however for anybody else who is perhaps viewing the footage on a distinct monitor; even when yours is high-end, theirs won’t be, so it’s vital to go by the info somewhat than by eye.
Scopes in Resolve
Right here we have Parade, Waveform, Vectorscope and Histogram. These are the primary scopes that you just’ll use all through most of your color grading course of. Largely, you’ll in all probability take a look at waveform and Parade and use these along with one another.


In the case of pores and skin tone, you’ll look at Vectorscope, and Histogram is helpful to have up there, however it mainly does the identical factor as Parade and Waveform.
Qualifier
Within the Scopes window, with the menu within the prime proper of the bar, you are able to do a one-up view of any of the scopes that you want to, similar with a two-up view or a four-up view. You’ll be able to flip a low go filter on, which cleans up slightly little bit of the noise within the picture, you too can activate you too can activate show qualifier focus, which is admittedly useful for newcomers, particularly if you happen to’re not too certain about scopes as a result of it’s a great way to study what you’re seeing within the scopes versus what’s in your picture.


That is with the qualifier turned on, and if you happen to run your mouse over the footage you’ll be able to see that little circles seem on the scopes and that pertains to what you’re hovering over in your picture.
Right here the qualifier is over the white shirt and you’ll see in Waveform there’s a circle over that large white part within the center. When you’re simply beginning out it’s a extremely useful gizmo to have switched on till you familiarize yourself with what you’re seeing.


Colourise
For every scope part there’s slightly drop down so that you can change round what you’re seeing by which part they usually every have particular person settings as effectively, like Colorise to show the waveform colors (RGB) off if you happen to needed to.


Right here in Waveform (above) you’ll be able to see it with Colourise switched off so it’s simply displaying the luminance relative to the RGB channels.
Right here it’s displaying purely the luminance channel, so successfully that’s the brightness of the picture. Zero is absolute black, 1023 is absolute white. Within the instance footage, there’s nothing that is truly hitting black as a result of it’s piece of log footage, so every little thing is pushed into the center and it’s fairly flat, which provides probably the most flexibility for enhancing.


Waveform and Parade
The Waveform is a graph that plots the luminance of every pixel in opposition to a horizontal place, in a nutshell! That implies that the very best you’ll be able to go on this part is mainly the brightest pixel.
That is the luminance within the waveform after which the Parade is precisely the identical factor, it is three of the very same graphs subsequent to one another however as an alternative of measuring the general luminance, it is measuring the luminance of the purple, inexperienced and blue channels.


For the sake of it, let’s say you needed to push the Acquire to blue. You’ll be able to see the luminance of blue is up, and that’s as a result of there’s a variety of blue within the highlights and also you’re pushing highlights to blue, and so the blue a part of Parade goes in the direction of the highest of the graph.
Parade and Waveform are very useful to make use of along with one another.
Histogram


Histogram is mainly the very same factor as Parade and Waveform besides it is turned on its facet. On the left is absolute black, and on the precise is absolute white. Then you’ve the degrees for RGB too, so if you happen to pushed up the reds, you’d see the purple channel pushing in the direction of white, growing the luminance, and similar factor with the opposite colors.
Vectorscope


The Vectorscope could be very totally different to Parade, Waveform, and Histogram, that are all comparatively comparable and plotting comparable information. The entire pixels are plotted proper in the midst of the graph, the little white splurge you could see above. Something precisely in the midst of the cross is absolute white.
The color wheel is represented, and the letters in every phase stand for the color: magenta, blue, cyan and so forth. The additional out in the direction of the sting of the circle you go, the extra saturation you’ll have.
Color Area Limits


With a push in the direction of magenta within the achieve, you’ll be able to see the blob in the midst of the Vectorscope is now popping out in the direction of the magenta phase and you’ll see the color in that blob now too.


Right here, with a push in the direction of cyan and blue you’ll be able to see it’s drawn a line out from the same old blob form, and that’s as a result of it’s pushing past the restrict of the color area obtainable.


When you change the Vectorscope show to CIE Chromaticity you’ll be able to see the color area you’re working in and what’s obtainable to you. That is the Rec 709 color area and you’ll see above that’s it pushed in the direction of purple, and if you happen to pulled round to the totally different colors, you’d hit one of many traces within the triangle finally and that’s the ‘invisible’ line you noticed within the earlier screenshot, demonstrating the restrict of the color area.
Pores and skin Tones


The diagonal line you could see in Vectorscope will be toggled off or on, and it’s a pores and skin tone indicator line. For pores and skin tone you’d ideally wish to sit on or to the precise of that line. If it’s important to push it a method or one other, keep on with the precise as a result of the left will add a greenish, not so good tone to your pores and skin.
Time to Color Grade
That was an summary of scopes and how you can learn them. It’s actually vital to grasp these earlier than you begin to color grade, so click on round in them and push the colors to see what every does and the way that’s displayed.
When you’re acquainted with them and you’re feeling assured that you already know what they’re displaying you, you can begin to maneuver on to color grading, which we’ll take a look at in an upcoming tutorial.
Extra Color Grading Tutorials for DaVinci Resolve
In regards to the Authors
Tom Graham created the video course that features this lesson. Tom is a multi-skilled content material creator with a background in business filmmaking.
Marie Gardiner wrote the textual content model of this lesson and it was edited and printed by Jackson Couse.
