Are you trying to make use of FOMO and social proof notifications in your WordPress web site?
FOMO, brief for concern of lacking out, is principally a advertising approach used to create anticipation and pleasure for a product. It makes use of a fundamental psychology precept to assist clients make a shopping for determination sooner.
On this article, we’ll present you find out how to correctly use FOMO in your WordPress web site to extend conversions and gross sales.

What’s FOMO and How Does it assist with Conversions?
FOMO or ‘concern of lacking out’ is a psychological time period that describes anxiousness about lacking out on one thing thrilling and classy.
As a WordPress web site proprietor, you’ll be able to make the most of this human conduct in your advertising technique and enhance your conversions.
The idea of FOMO is just not new. It’s really been utilized by entrepreneurs even earlier than the arrival of the web. Nevertheless, with on-line advertising, FOMO has change into far simpler to implement and far more efficient.
For instance, for those who run an on-line retailer, then you’ll be able to create anticipation about an upcoming sale and limited-time provides by including social proof to your touchdown pages.
You can too use it to construct your e mail checklist, run internet online affiliate marketing campaigns, increase app downloads, and extra.
With that mentioned, let’s check out find out how to simply add FOMO to your WordPress web site. We are going to present you two strategies that we’ve efficiently used on our personal web sites with unbelievable outcomes.
Technique 1: Including FOMO with Social Proof by Utilizing TrustPulse
Folks really feel extra comfy with their shopping for determination after they know others have additionally purchased the identical services or products and had a superb expertise with it.
That is why sensible enterprise homeowners use social proof of their advertising.
One of the simplest ways so as to add social proof to your web site is by utilizing TrustPulse. It is among the greatest social proof plugins for WordPress available on the market.
TrustPulse means that you can show real-time person exercise notifications in your web site, resembling merchandise bought, types submitted, and many others.
To get began, you’ll want to put in and activate the TrustPulse plugin in your web site. For extra particulars, see our step-by-step information on find out how to set up a WordPress plugin.
The plugin helps you join your WordPress web site to the TrustPulse app.
Upon activation, click on on the TrustPulse menu from the WordPress admin sidebar and click on the ‘Get began without cost’ button to proceed.

It will take you to the TrustPulse web site, the place you’ll be able to join a free account. The free plan is nice for as much as 500 classes per thirty days.
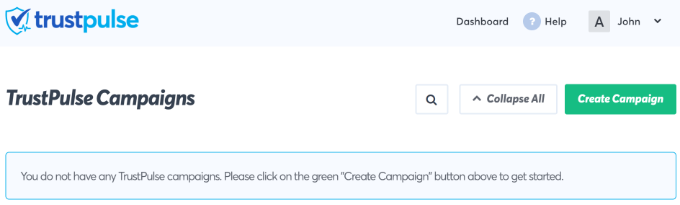
When you join, you might be able to create your first marketing campaign. Merely click on on the ‘Create Marketing campaign’ button to start out your first FOMO marketing campaign.
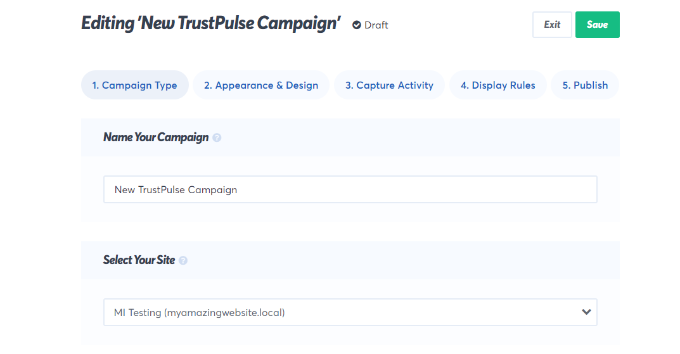
Subsequent, you’ll need to offer a title on your marketing campaign and choose your web site.
When you scroll down, then you’ll be able to select a marketing campaign sort.
TrustPulse provides 4 completely different marketing campaign varieties to select from.
These embrace displaying latest actions, the variety of folks taking motion, customer analytics, or a static notification with useful info.
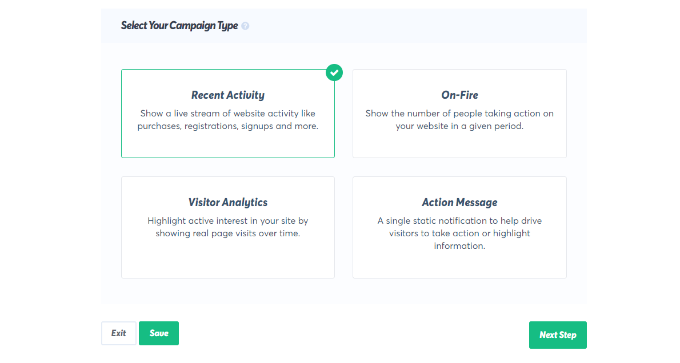
After choosing a marketing campaign sort, don’t overlook to click on the ‘Subsequent Step’ button.
Now you can head to the ‘Look & Design’ tab and select language and look choices on your marketing campaign. You possibly can change the place, badge picture, fashion, and extra.
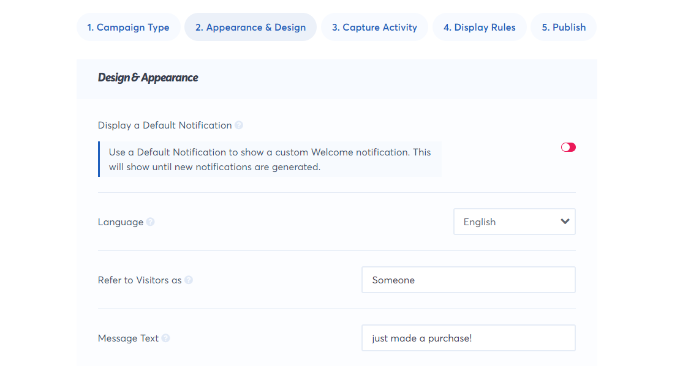
As soon as achieved, click on on the following step to proceed.
Subsequent, you’ll want to select the way you wish to seize the exercise.
We suggest utilizing ‘AutoMagic,’ which lets you choose the exercise that matches completely different situations. For instance, you’ll be able to choose your checkout web page to robotically seize eCommerce exercise.
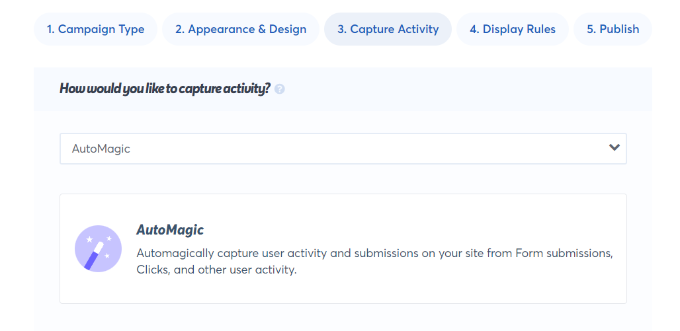
You can too use Zapier to seize actions from 1000+ integrations.
As soon as achieved, click on on the following step button to proceed.
Subsequent, you’ll want to arrange the show guidelines. You possibly can show the badge on all pages or particular pages in your web site. You can too select the delay between notifications, run them as a loop, and allow cell notifications.
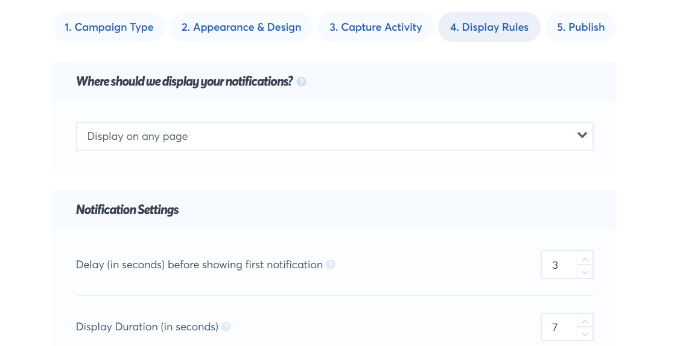
After that, click on on the ‘Publish’ tab on the high.
Within the subsequent step, merely click on the ‘Launch your TrustPulse campaigns’ button.
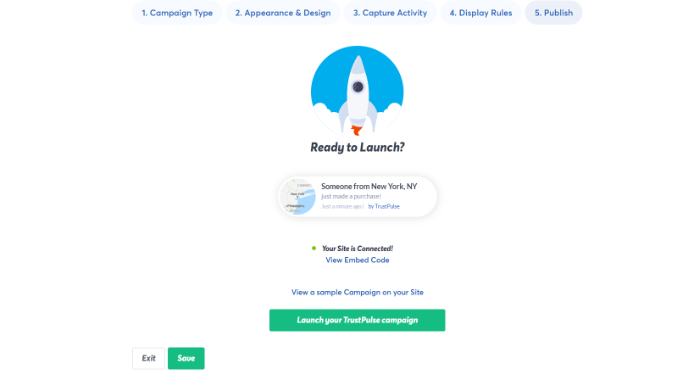
Don’t overlook to click on the ‘Save’ button to retailer your modifications after which exit the marketing campaign builder.
Now you can go to your web site to see your FOMO marketing campaign in motion.
Technique 2: Including FOMO Countdown Timers with OptinMonster
Now we have all seen entrepreneurs utilizing ‘Urgency’ to get clients’ consideration. Whether or not it’s your native grocery retailer or a huge name-brand web site, it is among the oldest advertising strategies, which works simply as successfully on-line.
Principally, you present customers a suggestion with a way of urgency, which triggers the concern of lacking out on a worthwhile deal and helps customers make a buying determination.
Urgency hacks can be utilized with limited-time provides, seasonal sale campaigns, one-time reductions, and extra. To be taught extra, see this text on utilizing urgency to hack conversion charges with confirmed strategies.
One of the simplest ways so as to add urgency timers in WordPress or WooCommerce is by utilizing OptinMonster. It’s the most well-liked conversion optimization and lead era software program that helps companies flip doubtlessly abandoning web site guests into subscribers and clients.
First, you’ll need to enroll in an OptinMonster account. It’s a paid instrument, and you’ll need at the very least the ‘Primary’ plan to make use of their Floating bar campaigns.

After signing up for an account, you’ll need to put in and activate the OptinMonster plugin. For extra particulars, see our step-by-step information on find out how to set up a WordPress plugin.
This plugin is a connector between your WordPress web site and the OptinMonster software.
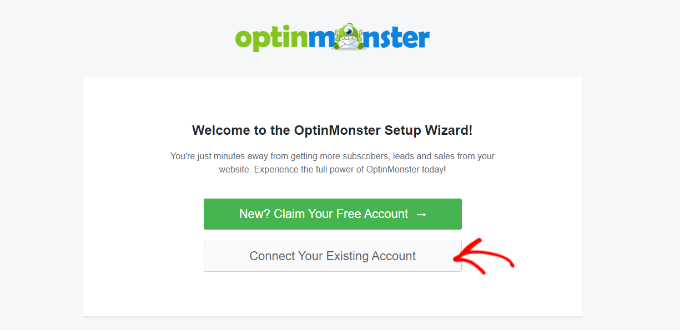
Upon activation, click on on the ‘Join Your Current Account’ button on the OptinMonster welcome display.
Subsequent, you must see a brand new window open the place you’ll be requested to attach your web site.
Go forward and click on the ‘Connect with WordPress’ button.

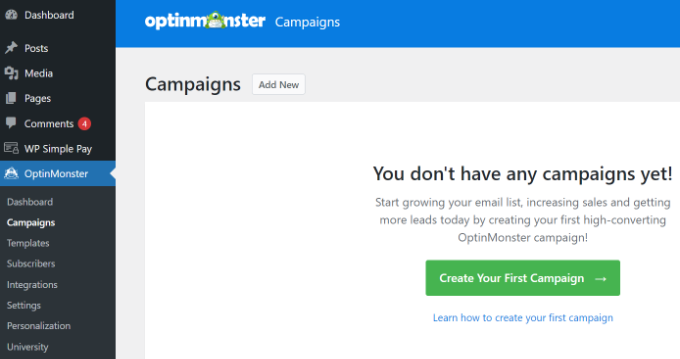
After connecting your web site, you’ll need to go to OptinMonster » Campaigns out of your WordPress dashboard.
From right here, click on on the ‘Create Your First Marketing campaign’ button to proceed.
It will launch the OptinMonster marketing campaign builder.
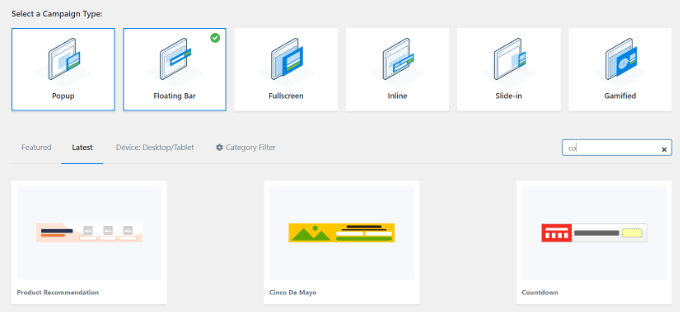
First, you’ll need to pick an optin sort after which choose a theme. We are going to use a ‘Floating bar’ marketing campaign with the ‘Countdown’ theme.
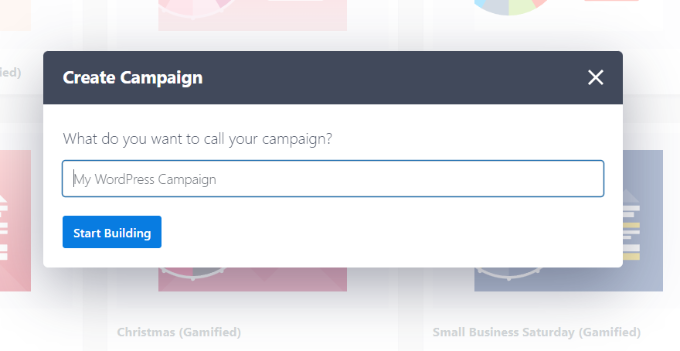
Subsequent, you may be requested to decide on a reputation on your marketing campaign.
As soon as that’s achieved, merely click on the ‘Begin Constructing’ button.
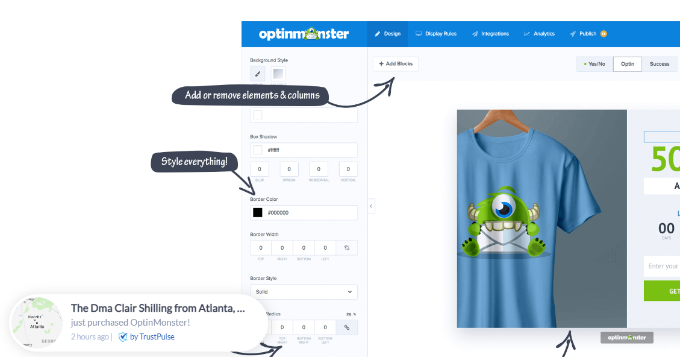
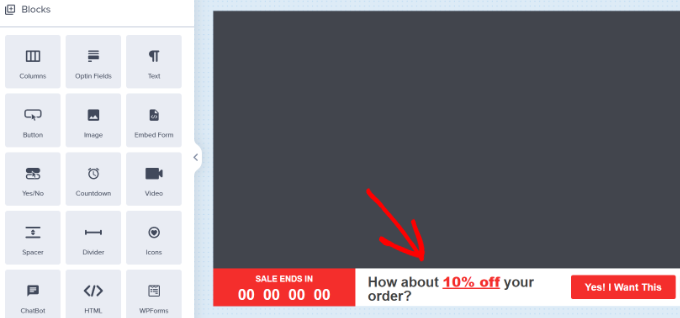
On the following display, you’ll see the drag-and-drop instrument, the place you’ll be able to merely level and click on to design your marketing campaign.
You’ll see a dwell preview of your marketing campaign in the proper panel and a bunch of customization blocks and choices within the left panel.
With the floating bar countdown marketing campaign, the preview will seem close to the underside of the display for you, simply because it does for the customers.
Go forward and click on on the countdown timer within the dwell preview to set the countdown fashion and finish date. You should utilize two forms of countdown timers: Static and Dynamic.
The static timer stays the identical for all of your customers, whereas the Dynamic timer modifications primarily based on person conduct in your web site.
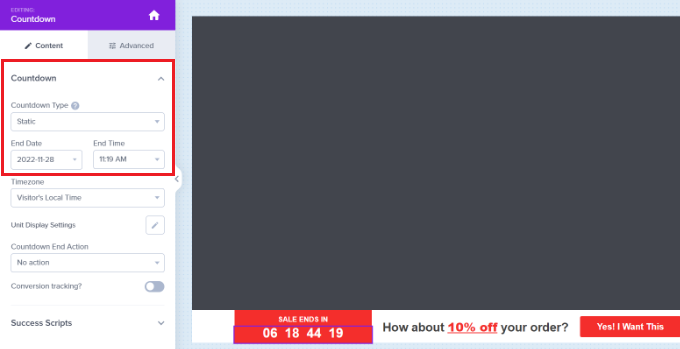
For this tutorial, we can be utilizing the static timer. Since we’re utilizing a floating bar with a countdown theme, we will transfer the floating bar to the underside or the highest.
You possibly can simply level and click on to edit the textual content in your floating bar. You possibly can add a coupon code, add hyperlinks to particular provides, and elegance it any means you need.
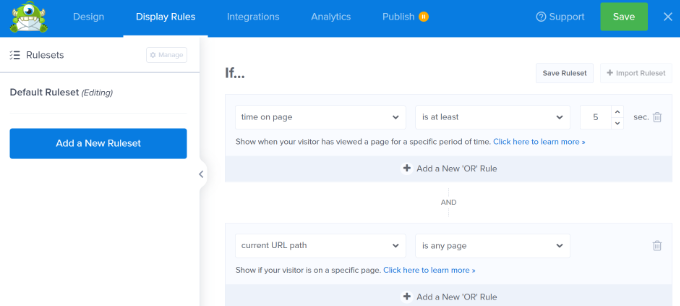
Subsequent, you’ll be able to go to the ‘Show Rule’ tab on the high. Right here, you’ll see completely different choices for displaying your marketing campaign.
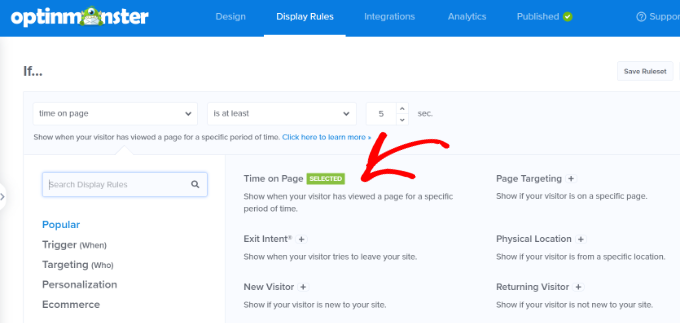
For example, you’ll be able to choose the ‘Time on Web page’ possibility and present the floating bar after a person spends at the very least 5 seconds in your web site.
Beneath that, you additionally get to pick the placement on your marketing campaign. We’ll use the default setting the place the countdown timer floating bar will seem on all of the pages in your web site.
As soon as you might be glad, don’t overlook to click on on the ‘Save’ button on the high.
After that, head to the ‘Publish’ tab. Now, change the Publish Standing from Draft to Publish.
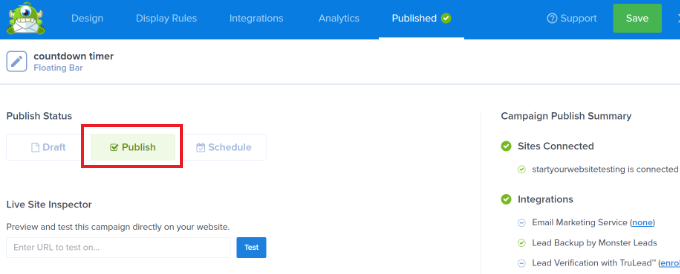
Don’t overlook to click on the ‘Save’ button and shut the marketing campaign builder.
You’ll now see the WordPress Output settings on your lately created marketing campaign.
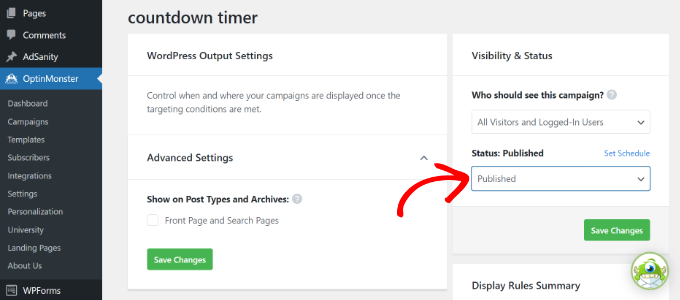
By default, your marketing campaign can be disabled, and also you simply must click on on the Standing dropdown menu to alter it from Pending to Revealed.
As soon as that’s achieved, click on the ‘Save Adjustments’ button.
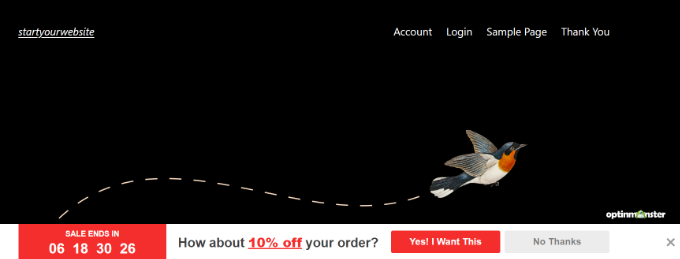
Now you can go to your web site to see your countdown timer FOMO marketing campaign in motion.
Monitoring Your Conversions in WordPress
FOMO strategies work rather well for conversions, however how do you retain monitor of their efficiency? With out monitoring, you wouldn’t know what number of gross sales or leads had been generated due to these campaigns.
All professional entrepreneurs use Google Analytics. It not solely helps you see the place your customers are coming from but in addition means that you can monitor person engagement in your web site.
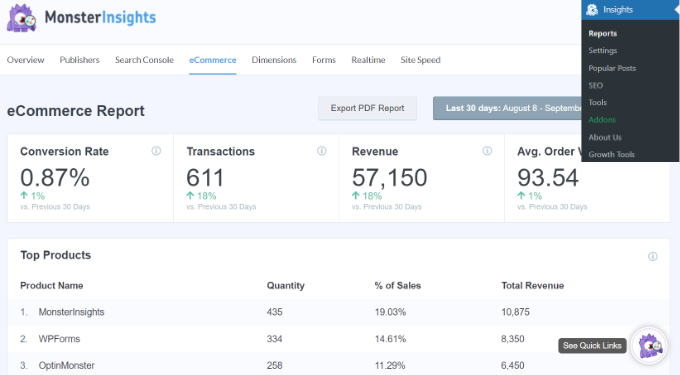
The best means to make use of Google Analytics in WordPress is thru MonsterInsights. It’s the greatest Google Analytics plugin for WordPress and makes it tremendous straightforward to trace conversions in your web site.
For example, it has an eCommerce addon, which helps you monitor your eCommerce efficiency with out leaving the WordPress dashboard. Plus, you too can monitor type conversions, hyperlink clicks, and extra with MonsterInsights.
For extra particulars, please see our information on WordPress conversion monitoring make easy.
We hope this text helped you learn to add FOMO to your WordPress web site and increase conversions. You may additionally wish to see our checklist of must-have WordPress plugins for enterprise web sites and find out how to begin a WordPress weblog.
When you favored this text, then please subscribe to our YouTube Channel for WordPress video tutorials. You can too discover us on Twitter and Fb.
