
Within the final half we had an total have a look at what we might construct, and I even gave you some homework to seek out a wonderful design and analyze it into constructing blocks.
This text will have a look at establishing the mission and putting in all of the dependencies we want.
Establishing the Subsequent.js mission
The essential Subsequent.js arrange is sort of ahead as of late, so let’s run by means of it.
First, open your terminal and run the next command to create a brand new Subsequent.js mission.
npx create-next-app
As soon as achieved, it’ll set up the mission inside a folder whose title you picked within the CLI immediate.
Navigate to this folder (in my case, next-portfolio).
cd next-portfolio
In case you are desirous to see it work, run npm run dev to start out up the server.
Nonetheless, we’ll look into including Tailwind CSS. First, Tailwind is a simple method to model the applying neatly.
You may as well go for common CSS if you’re unfamiliar with it.
First, set up the wanted dependencies:
npm set up -D tailwindcss@newest postcss@newest autoprefixer@newest
After that, run the next command to initialize a tailwind config file.
npx tailwindcss init -p
Open the mission in your favourite editor and discover the tailwind.config.js file.
Add the pages and parts config into the content material half like this:
/** @sort {import('tailwindcss').Config} */
module.exports = {
  content material: [
    './pages/**/*.{js,ts,jsx,tsx}',
    './components/**/*.{js,ts,jsx,tsx}',
  ],
  theme: {
    lengthen: {},
  },
  plugins: [],
};
Then now we have to switch the types/world.css to incorporate the Tailwind imports.
@import 'tailwindcss/base';
@import 'tailwindcss/parts';
@import 'tailwindcss/utilities';
Whereas we’re at it, additionally take away a few of the issues we cannot be needing:
types/Residence.module.csspages/api
And let’s modify our pages/index.js file to see if Tailwind is working.
import Head from 'subsequent/head';

export default perform Residence() {
  return (
    <div>
      <Head>
        <title>NextJS Portfolio</title>
        <meta title='description' content material='Generated by create subsequent app' />
        <hyperlink rel='icon' href='/favicon.ico' />
      </Head>
      <major className='grid place-content-center min-h-screen'>
        <div className='max-w-xs rounded overflow-hidden shadow-lg my-2'>
          <div className='px-6 py-4'>
            <div className='font-bold text-xl mb-2'>Subsequent + Tailwind </div>
            <p className='text-grey-darker text-base'>
              Subsequent and Tailwind CSS are a match made in heaven. Test out this
              article on how you can mix these two for your subsequent app.
            </p>
          </div>
        </div>
      </major>
    </div>
  );
}
</div>
<p className='text-grey-darker text-base'>
Subsequent and Tailwind CSS are a match made in heaven. Test out this
article on how you can mix these two for your subsequent app.
</p>
</div>
</div>
</major>
</div>
);
}
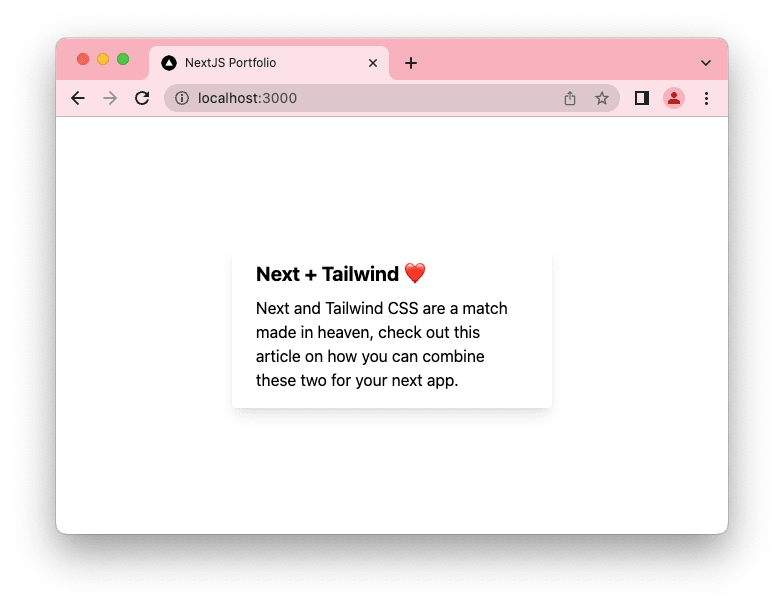
Now run your app: npm run dev and go to http://localhost:3000/ to see it in motion.
Alright, that is our setup for as we speak!
We created the mission and added Tailwind to it.
Preserve a watch out for tomorrow’s article, the place we’ll dive into layouts in Subsequent.js.
You will discover the code for as we speak on GitHub.
Thanks for studying, and let’s join!
Thanks for studying my weblog. Be at liberty to subscribe to my e-mail publication and join on Fb or Twitter


