
Google Maps is a contemporary toolkit that gives detailed details about geographical areas. At the moment, it has greater than a billion customers per day.
Nevertheless, it will get sophisticated if you need to use the previous library, Maps SDK for Android, with Jetpack Compose. You have to write complicated and sometimes massive View interoperability code blocks to mix Jetpack Compose with the usual map UI element – MapView. This opposes considered one of Jetpack Compose’s main goals of being easy and exact. To resolve this, Google created a brand new and easier manner of dealing with Google Maps in Jetpack Compose initiatives.
In February 2022, Google launched the Maps Compose library. It’s an open-source set of composable capabilities that simplify Google Maps implementation. Apart from that, the library accommodates particular knowledge varieties associated to Maps SDK for Android suited to Jetpack Compose.
On this tutorial, you’ll construct the GeoMarker app. The app permits you to use Maps Compose options like markers, circles and data home windows. Moreover, you’ll additionally be capable of mark factors in your UI and be capable of draw a polygon from chosen factors.
Throughout the course of, you’ll be taught:
- Establishing Google Maps in compose.
- Requesting location permissions.
- Including markers, data home windows and circles in your map.
- Including customized map styling.
- Drawing polygons in your map.
- Testing some map options.
Getting Began
Obtain the starter challenge by clicking Obtain Supplies on the prime or backside of the tutorial.
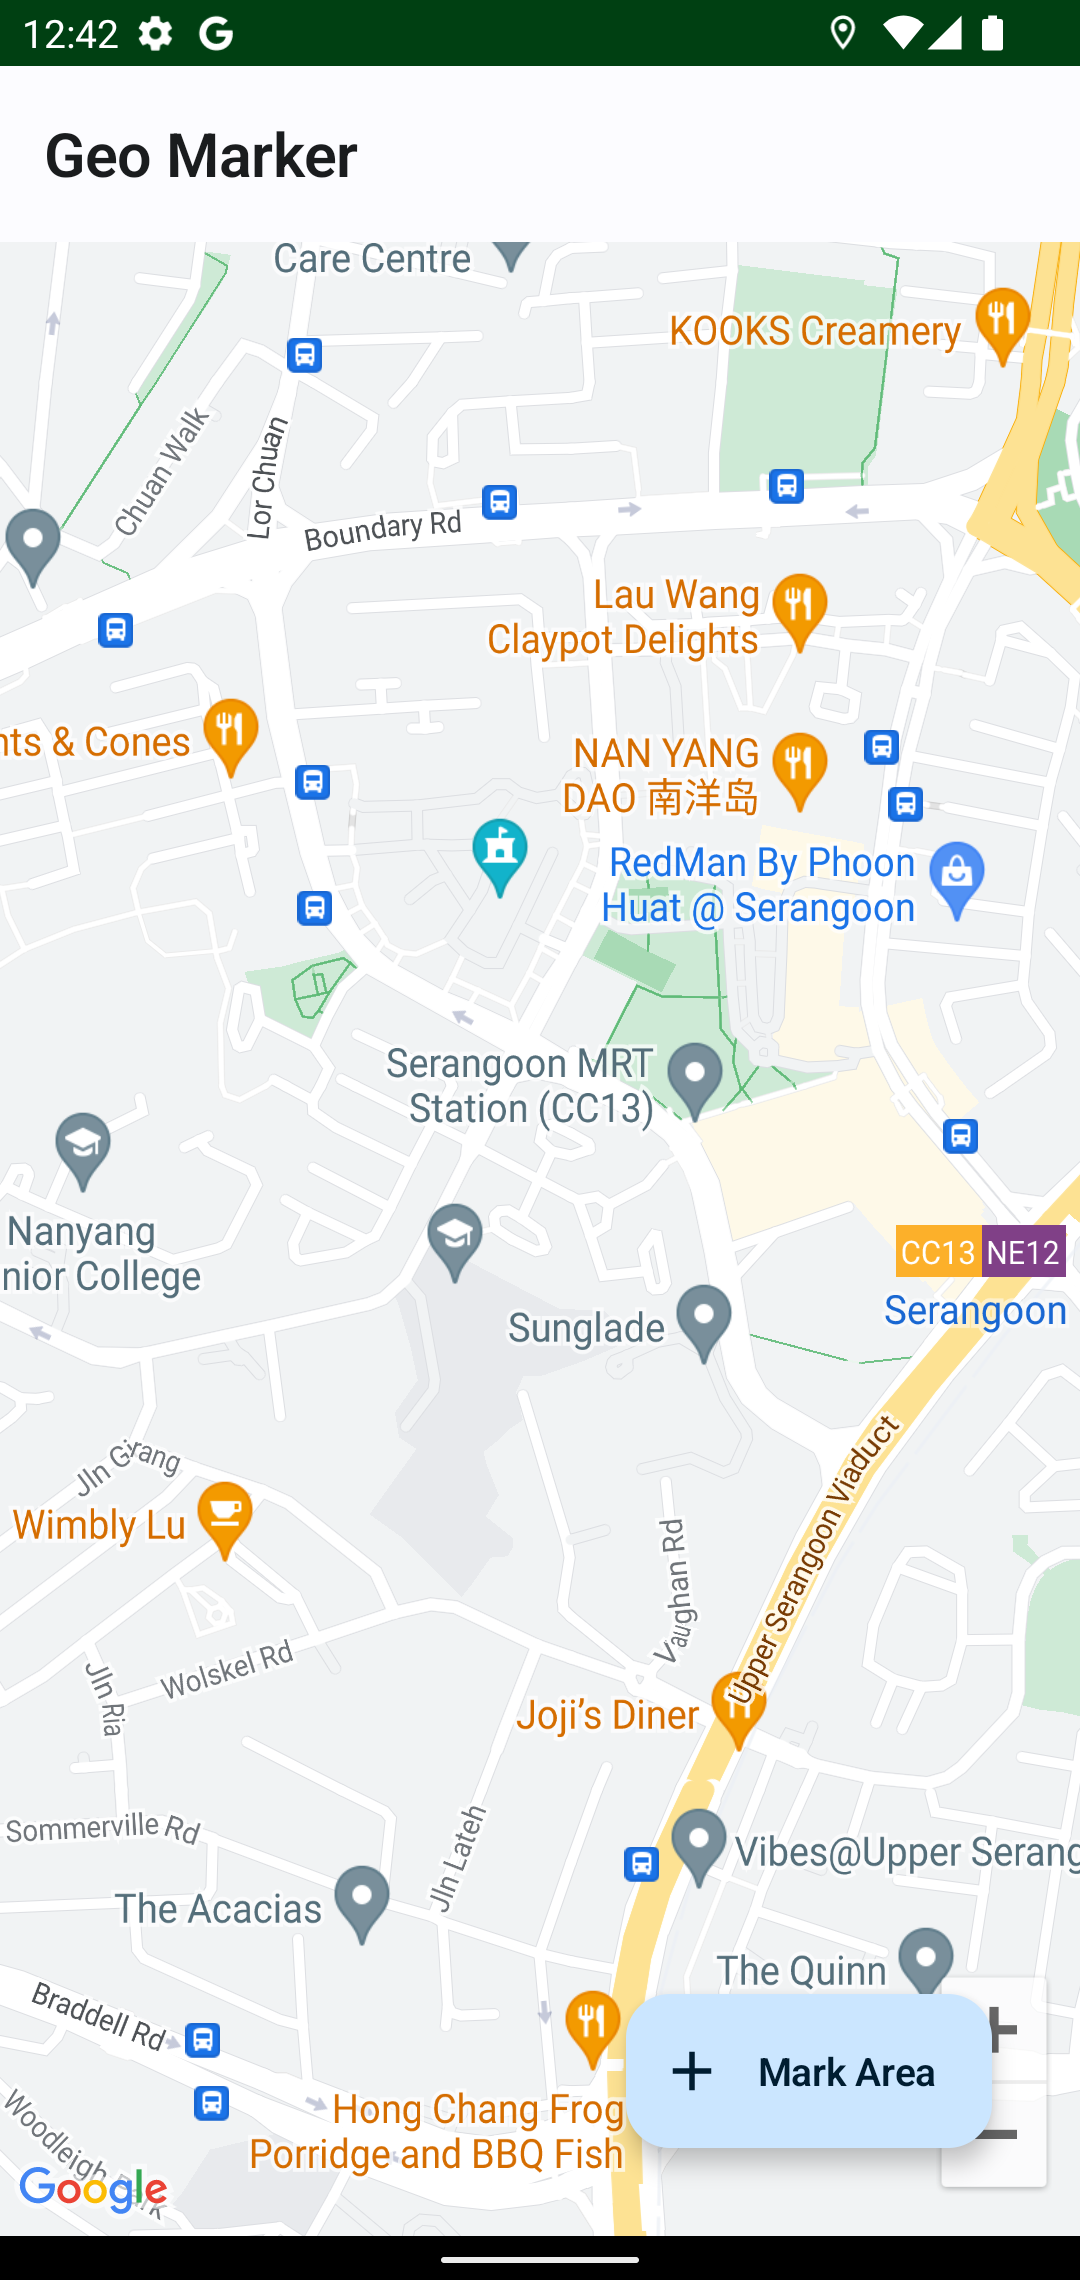
Open Android Studio Chipmunk or later and import the starter challenge. Construct and run the challenge. You’ll see the next screens:

The app exhibits an empty display screen with a ‘Mark Space’ floating motion button on the backside. You’ll show your map and different map elements on this display screen. You’ll additionally add the geo-marking performance.
Setting Up
To start out engaged on maps in compose, you could full the next steps:
- Establishing the dependencies:
- Secondly, you want a Google Maps API key for you to have the ability to use any of Google Maps APIs. You could find directions on the best way to get your key right here. After you have your key, proceed so as to add it to your native.properties file as follows:
MAPS_API_KEY=YOUR_API_KEY
  implementation 'com.google.maps.android:maps-compose:2.4.0'
  implementation 'com.google.android.gms:play-services-maps:18.1.0'
  implementation 'com.google.android.gms:play-services-location:20.0.0'
The primary is the Maps Compose library, and the opposite two are the Play Companies maps SDK and placement SDKs. Word that these dependencies exist already within the starter challenge, so there’s no have to re-add them.
Now that you’ve got every thing set, time to get your palms soiled with maps in compose. You’ll begin by requesting location permissions to your app.
Requesting Location Permissions
Your app wants location permissions for you to have the ability to present maps. Head over to presentation/screens/MapScreenContent.kt. Change //TODO Add Permissions with:
// 1
val scope = rememberCoroutineScope()
// 2
val context = LocalContext.present
// 3
var showMap by rememberSaveable {
  mutableStateOf(false)
}
// 4
PermissionDialog(
    context = context,
    permission = Manifest.permission.ACCESS_FINE_LOCATION,
    permissionRationale = stringResource(id = R.string.permission_location_rationale),
    snackbarHostState = snackbarHostState) { permissionAction ->
  // 5
  when (permissionAction) {
    is PermissionAction.PermissionDenied -> {
      showMap = false
    }
    is PermissionAction.PermissionGranted -> {
      showMap = true
      scope.launch {
        snackbarHostState.showSnackbar("Location permission granted!")
      }
      fetchLocationUpdates.invoke()
    }
  }
}
To resolve errors, exchange your imports on the prime with:
import android.Manifest
import androidx.compose.material3.SnackbarHostState
import androidx.compose.runtime.*
import androidx.compose.runtime.saveable.rememberSaveable
import androidx.compose.ui.platform.LocalContext
import androidx.compose.ui.res.stringResource
import com.android.composegeomarker.R
import com.android.composegeomarker.permissions.PermissionAction
import com.android.composegeomarker.permissions.PermissionDialog
import kotlinx.coroutines.launch
Right here’s what the code above does:
- You create a
CoroutineScopevariable you’ll use to point out your Snackbar. - It is a variable to get the context of your present composable.
- You’ve gotten a Boolean variable
showMapthat represents whether or not the app has crucial permissions. - Right here, you name
PermissionDialog, a customized composable that handles all of the permissions logic. - The
PermissionDialoghas a callback that returns which permission possibility the consumer has chosen. It will probably both bePermissionGrantedorPermissionDenied. On every of this, you replace theshowMapvariable. When the consumer grants the permission, you present a Snackbar with a “Location permission granted!” message and begin the situation updates.
With this, you’re prepared to point out areas on a map, and that’s the following step.
Displaying a Place in a Map
Navigate to presentation/composables/MapView.kt. You’ll see two TODOs that you simply’ll work on in a second.
However earlier than that, exchange your imports with the next:
import android.content material.Context
import androidx.compose.basis.format.fillMaxSize
import androidx.compose.runtime.Composable
import androidx.compose.ui.Modifier
import com.google.android.gms.maps.mannequin.CameraPosition
import com.google.android.gms.maps.mannequin.LatLng
import com.google.maps.android.compose.GoogleMap
import com.google.maps.android.compose.rememberCameraPositionState
Begin by changing // TODO add Digicam Place State with:
val cameraPositionState = rememberCameraPositionState {
  place = CameraPosition.fromLatLngZoom(location, 16f)
}
Within the code above, you create a CameraPositionState occasion, which holds the configurations to your map. On this case, you set your map’s location and zoom stage.
Second, exchange // TODO Add Google Map with:
GoogleMap(
    modifier = Modifier.fillMaxSize(),
    cameraPositionState = cameraPositionState
)
GoogleMap is a container for a MapView, to which you go each values, modifier and cameraPositionState. And that’s all you’ll want to present a single location on a map in compose :]
Final, you’ll want to name your customized MapView composable in your MapScreenContent.kt. You go within the context and placement as parameters. For an instance, you’ll use a set location in Singapore. Return to presentation/screens/MapScreenContent.kt and under PermissionDialog add:
val currentLocation = LatLng(1.35, 103.87)
if (showMap) {
  MapView(context, currentLocation)
}
Add the next imports to your import statements to resolve the errors.
import com.android.composegeomarker.presentation.composables.MapView
import com.google.android.gms.maps.mannequin.LatLng
Right here, you added the conditional to test whether or not your map ought to be displayed. As soon as the situation is met, you name MapView passing within the context and present location.
Construct and run the app:
The app now exhibits the situation in Singapore on the map. Within the subsequent part, you’ll add a marker to this location.
Including a Marker on the Map
Inside presentation/composables/MapView.kt, add a pair of curly braces to GoogleMap composable and add the next within the block:
Marker(
    state = MarkerState(place = location),
)
Add any lacking imports by urgent Possibility-Return on a Mac or Alt-Enter on a Home windows PC. Your remaining outcome will probably be:
GoogleMap(
    modifier = Modifier.fillMaxSize(),
    cameraPositionState = cameraPositionState
) {
  Marker(
      state = MarkerState(place = location),
  )
}
You add a marker in a map by including youngster composables to GoogleMap as contents. A Marker requires a MarkerState occasion that observes marker state corresponding to its place and data window.
Go the Singapore location to MarkerState after which construct and run the app.

You possibly can see the crimson marker for Singapore on the heart of your map.
Usually, you’ll want to point out info when a consumer faucets a marker. For that, you’ll have so as to add InfoWindow to your map, which you’ll be taught subsequent.
Exhibiting Map Data Home windows
Head again to presentation/composables/MapView.kt and add this code under the cameraPositionState variable:
val infoWindowState = rememberMarkerState(place = location)
You’ve gotten now created a state variable for the marker properties and handed the situation to this marker.
Subsequent, under your Marker composable, add:
MarkerInfoWindow(
    state = infoWindowState,
    title = "My location",
    snippet = "Location customized data window",
    content material = {
      CustomInfoWindow(title = it.title, description = it.snippet)
    }
)
Within the code above, you create your info window utilizing MarkerInfoWindow composable. You possibly can customise your info window to your liking. You go the state, title, snippet and content material as parameters. Contained in the content material lambda, you name your customized composable together with your info window customized view.
Construct and run the app. Faucet the Singapore marker, and you must see:

The knowledge window shows on prime of the marker with texts from the title and snippet you handed as parameters.
Drawing Circles on Your Map
Up to now, you’ve seen the best way to add markers and data home windows to your map. On this part, you’ll add one other form, a Circle.
In MapView.kt, add the next under MarkerInfoWindow within the GoogleMap composable:
Circle(
    heart = location,
    fillColor = MaterialTheme.colorScheme.secondaryContainer,
    strokeColor = MaterialTheme.colorScheme.secondaryContainer,
    radius = 300.00
)
Resolve the MaterialTheme lacking imports by urgent Possibility-Return on a Mac or Alt-Enter on a PC.
Circle is one more map youngster composable and has a number of parameters. For this tutorial, you solely have to assign values to:
- heart – the
LatLngthat represents the middle of this circle. - fillColor – fill coloration of the circle.
- strokeColor – coloration of the outer circle or stroke.
- radius – circle radius.
Construct and run the app.

Now you can see a blue circle on the heart of your map. Its heart is the Singapore location that you simply handed.
Up to now, you’ve drawn a number of shapes in your map. Within the subsequent part, you’ll learn to customise your map’s look by including a customized JSON map model.
Customizing the Look of Your Map
There are two map styling choices accessible with maps:
- Cloud-based styling: This lets you create and edit map kinds with out requiring any adjustments in your app. You make all of the adjustments within the cloud console, that are mirrored in your apps upon getting a map ID.
- JSON based mostly styling: Right here, you create a map model on the outdated model wizard . When you full the customization, you’ll be able to obtain the JSON file and add it to your map.
On this tutorial, you’ll be utilizing JSON styling. You’ll create your customized model so as to add to the map within the subsequent part.
Making a Customized JSON Map Styling
Open your most popular browser and head to the outdated model wizard. You need to see:

On the left, you could have customization choices corresponding to altering the density of the options and altering the theme of your map.
Begin by choosing the Silver theme as proven under:

On the precise facet, you’ll be able to see the map coloration adjustments to replicate the chosen theme. Subsequent, click on MORE OPTIONS as proven above.

This exhibits an inventory of options you’ll be able to customise and visualize on the map. For this tutorial, you’ll customise the Highway function.
Comply with these steps:
- Click on the Highway function, which is able to open up the aspect sort part on the precise.
- The weather sort part has an inventory of parts you’ll be able to customise, which on this case are labels and geometry.
- Click on the Geometry possibility and alter the colour as per your choice. You possibly can see the colour is straight away mirrored on the map.

That’s all for now. You possibly can add as many customization choices as you want. Click on FINISH, and also you’ll see the Export Type dialog as proven:

Click on COPY JSON possibility. This copies the JSON model in your clipboard. You’re now just a few steps away from making use of the customized model to your compose map.
Navigate again to Android Studio. Proper-click the res listing, select New ▸ Android Useful resource Listing and choose uncooked. Within the new uncooked listing, create a file named map_style.json and paste the copied model right here.
Now, you could have the model prepared to be used. Subsequent, you’ll want to apply it to your map.
Making use of Customized Type to Your Map
Head over to presentation/composables/MapView.kt. Under your infoWindowState variable add:
val mapProperties by bear in mind {
  mutableStateOf(
      MapProperties(
          mapStyleOptions = MapStyleOptions.loadRawResourceStyle(context, R.uncooked.map_style)
      )
  )
}
Add any lacking imports by urgent Possibility-Return on a Mac or Alt-Enter on a PC. As seen above, you create a brand new state variable of sort MapProperties. This variable holds properties you’ll be able to change on the map. You go the customized model to the mapStyleOptions, which hundreds the model from the uncooked listing.
Subsequent, add this variable mapProperties as properties parameter to your GoogleMap. Your remaining outcome ought to be:
GoogleMap(
    modifier = Modifier.fillMaxSize(),
    cameraPositionState = cameraPositionState,
    properties = mapProperties
) {
  // Little one Composables
}
Construct and run the app.

You possibly can see your map now applies the model out of your JSON file.
Requesting Location Updates
Word: This part is non-obligatory. You possibly can skip forward to Marking Polygon Positions if you wish to begin including your geo marking performance. Nevertheless, should you’d like to know the best way to do location updates, you’re in the precise place! The performance is already within the starter challenge.
A standard function of maps on units is the flexibility for them to replace in actual time. To try this right here, You’ll use a callbackFlow to request for location updates. Inside utils bundle you’ll discover LocationUtils.kt file. The situation callbackFlow is as follows:
@SuppressLint("MissingPermission")
enjoyable FusedLocationProviderClient.locationFlow() = callbackFlow {
  val callback = object : LocationCallback() {
    override enjoyable onLocationResult(outcome: LocationResult) {
      strive {
        trySend(outcome.lastLocation)
      } catch (e: Exception) {
        Log.e("Error", e.message.toString())
      }
    }
  }
  requestLocationUpdates(createLocationRequest(), callback, Looper.getMainLooper())
      .addOnFailureListener { e ->
        shut(e)
      }

  awaitClose {
    removeLocationUpdates(callback)
  }
}
Right here, you wrap your LocationCallback in a callbackFlow. Within the callbackFlow, callback is known as at any time when you could have location updates from requestLocationUpdates. And eventually, you clear up assets when your callback is eliminated inside awaitClose.
Open up MainActivity.kt, and take a look at fetchLocationUpdates() to see the way it fetches location updates:
personal enjoyable fetchLocationUpdates() {
  lifecycleScope.launch {
    lifecycle.repeatOnLifecycle(Lifecycle.State.STARTED) {
      fusedLocationClient.locationFlow().accumulate {
        it?.let { location ->
          geoMarkerViewModel.setCurrentLatLng(LatLng(location.latitude, location.longitude))
        }
      }
    }
  }
}
This makes use of repeatOnLifecycle() to gather safely out of your Circulate within the UI. You additionally go the situation to your viewmodel to share the newest worth together with your composable.
Within the subsequent part, you’ll see how to attract polygons in your map and end the geo marking a part of the app.
Marking Polygon Positions
There are two choices accessible to create your geo marker:
- Drawing polylines: You employ the situation replace function to attract polylines as a consumer walks in a sure space. You draw polylines after a consumer updates their location at set intervals.
- Draw polygons: You draw polygons from an inventory of
LatLngcoordinates. For this tutorial, you’ll be utilizing this selection.
Head over to presentation/screens/GeoMarkerScreen.kt and also you’ll see:

On this file, you could have a GeoMarkerScreen composable that has a number of map state variables outlined. It has a Scaffold inside the place you could have your GoogleMap composable. You’ve gotten three TODOs you’ll tackle in a second.
Construct and run the app. Faucet Mark Space.
You possibly can see the map and a button on the backside of the map. You’ll be including performance for including geo factors by clicking any three factors on the map.
To start with, exchange // TODO Add click on listener with:
if (!drawPolygon) {
  showSavePoint = true
  clickedLocation = it
}
Right here, you do a conditional test to test whether or not the polygon is already drawn. When the situation isn’t happy, you replace the showSavePoint, which is a Boolean that determines whether or not to point out the UI to save lots of the clicked level. Clicking a map additionally returns a LatLng of the clicked level. You assign this worth to the clickedLocation variable.
Subsequent, exchange // TODO Save Level UI with:
if (showSavePoint) {
  SaveGeoPoint(latLng = clickedLocation) {
    showSavePoint = it.hideSavePointUi
    areaPoints.add(it.level)
  }
} else {
  if (areaPoints.isEmpty()) {
    Textual content(
        modifier = Modifier
            .fillMaxWidth(),
        coloration = Coloration.Blue,
        textual content = "Click on any level on the map to mark it.",
        textAlign = TextAlign.Middle,
        fontWeight = FontWeight.Daring
    )
  }
}
Add any lacking imports by urgent Possibility-Return on a Mac or Alt-Enter on a PC. You add one other conditional test.
When showSavePoint is true, you present the SaveGeoPoint composable. SaveGeoPoint is a customized composable with UI for saving the clicked level. You go the clickedLocation from the map click on listener. When the situation evaluates to false, you present a textual content with directions on the best way to mark factors on the map.
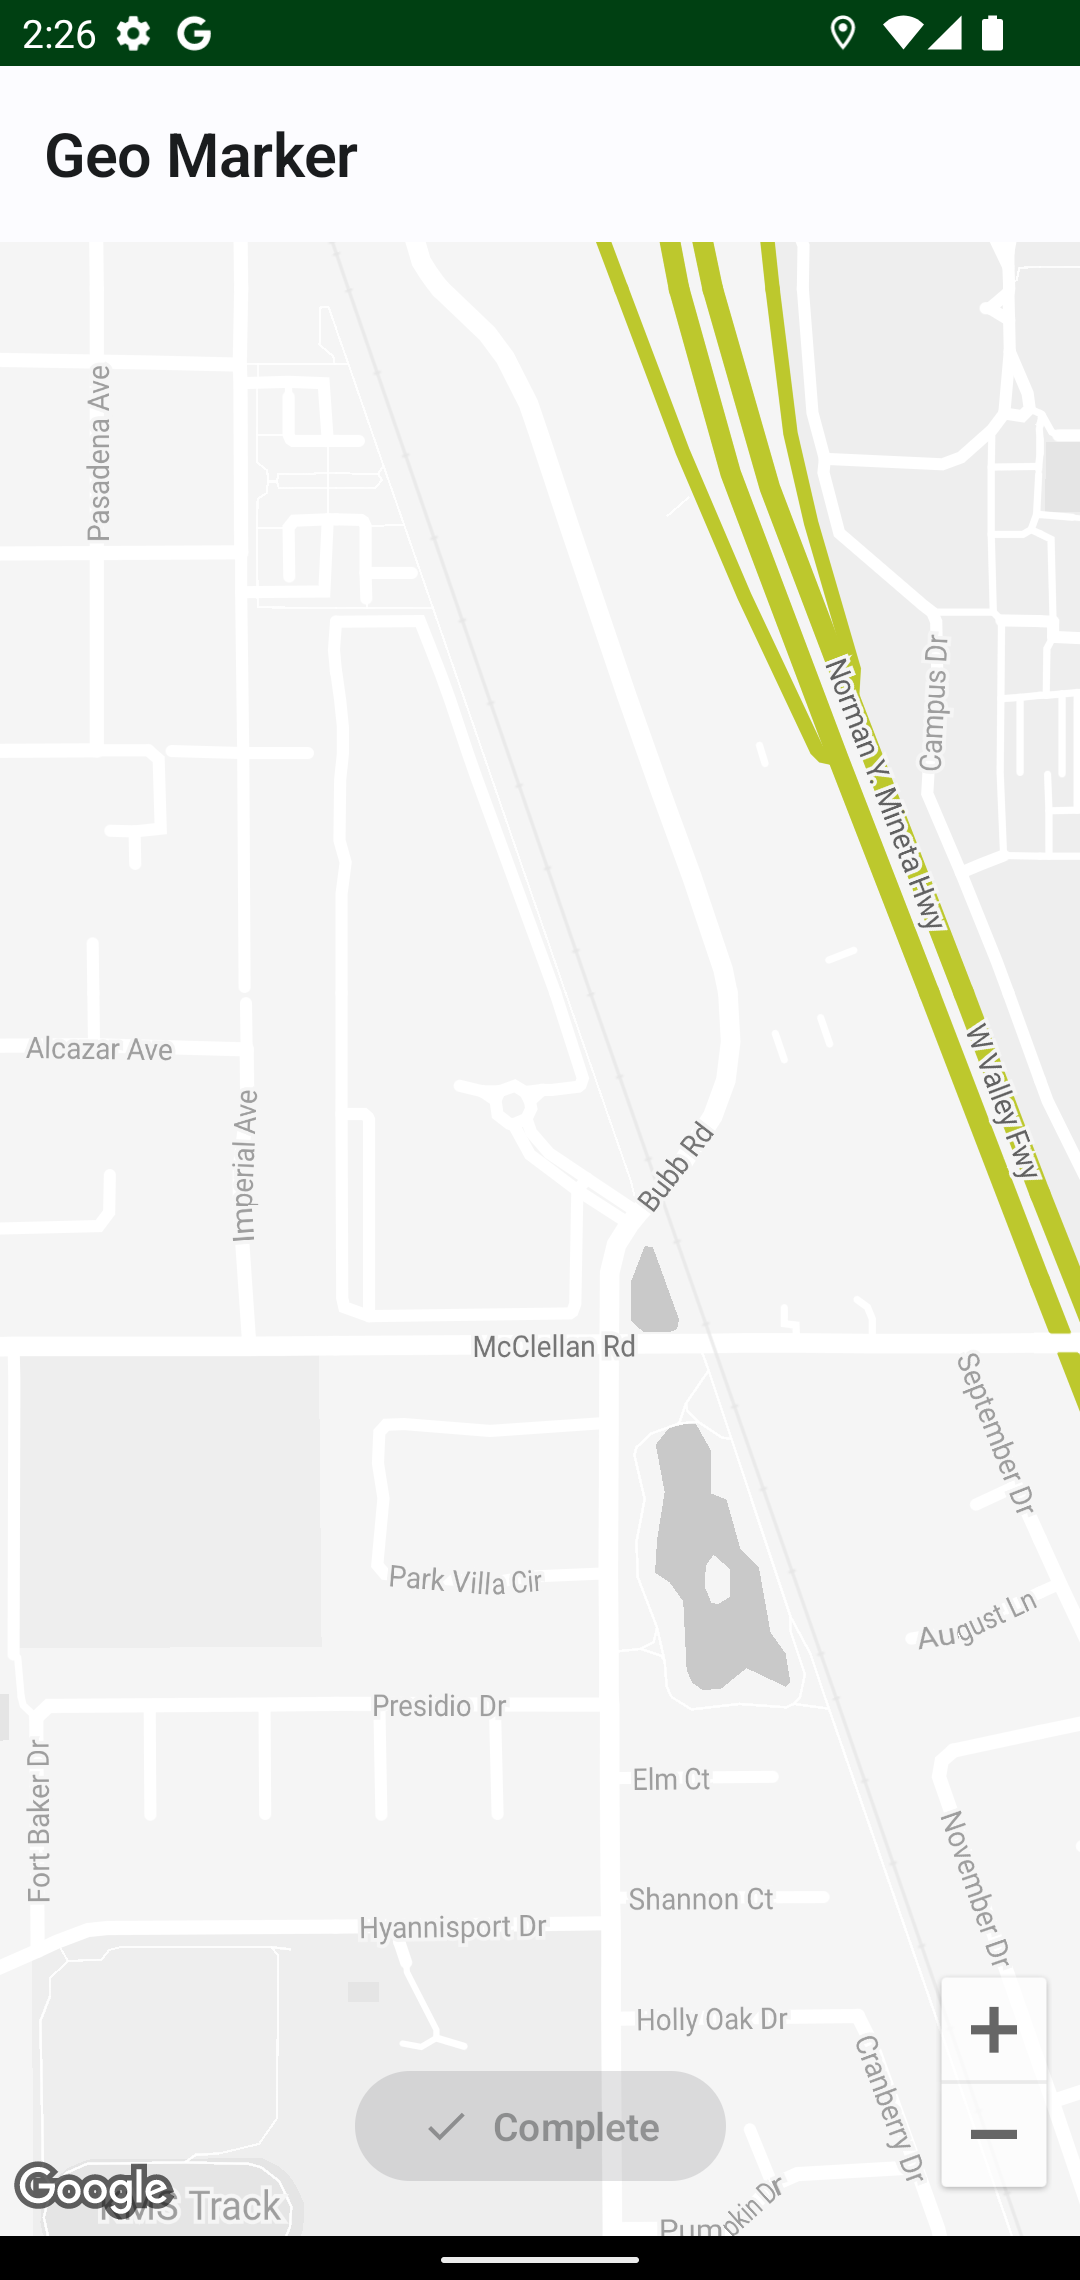
Construct and run the app. Navigate to the Geo Marker Display screen as soon as extra. You’ll see:

Faucet any level on the map.
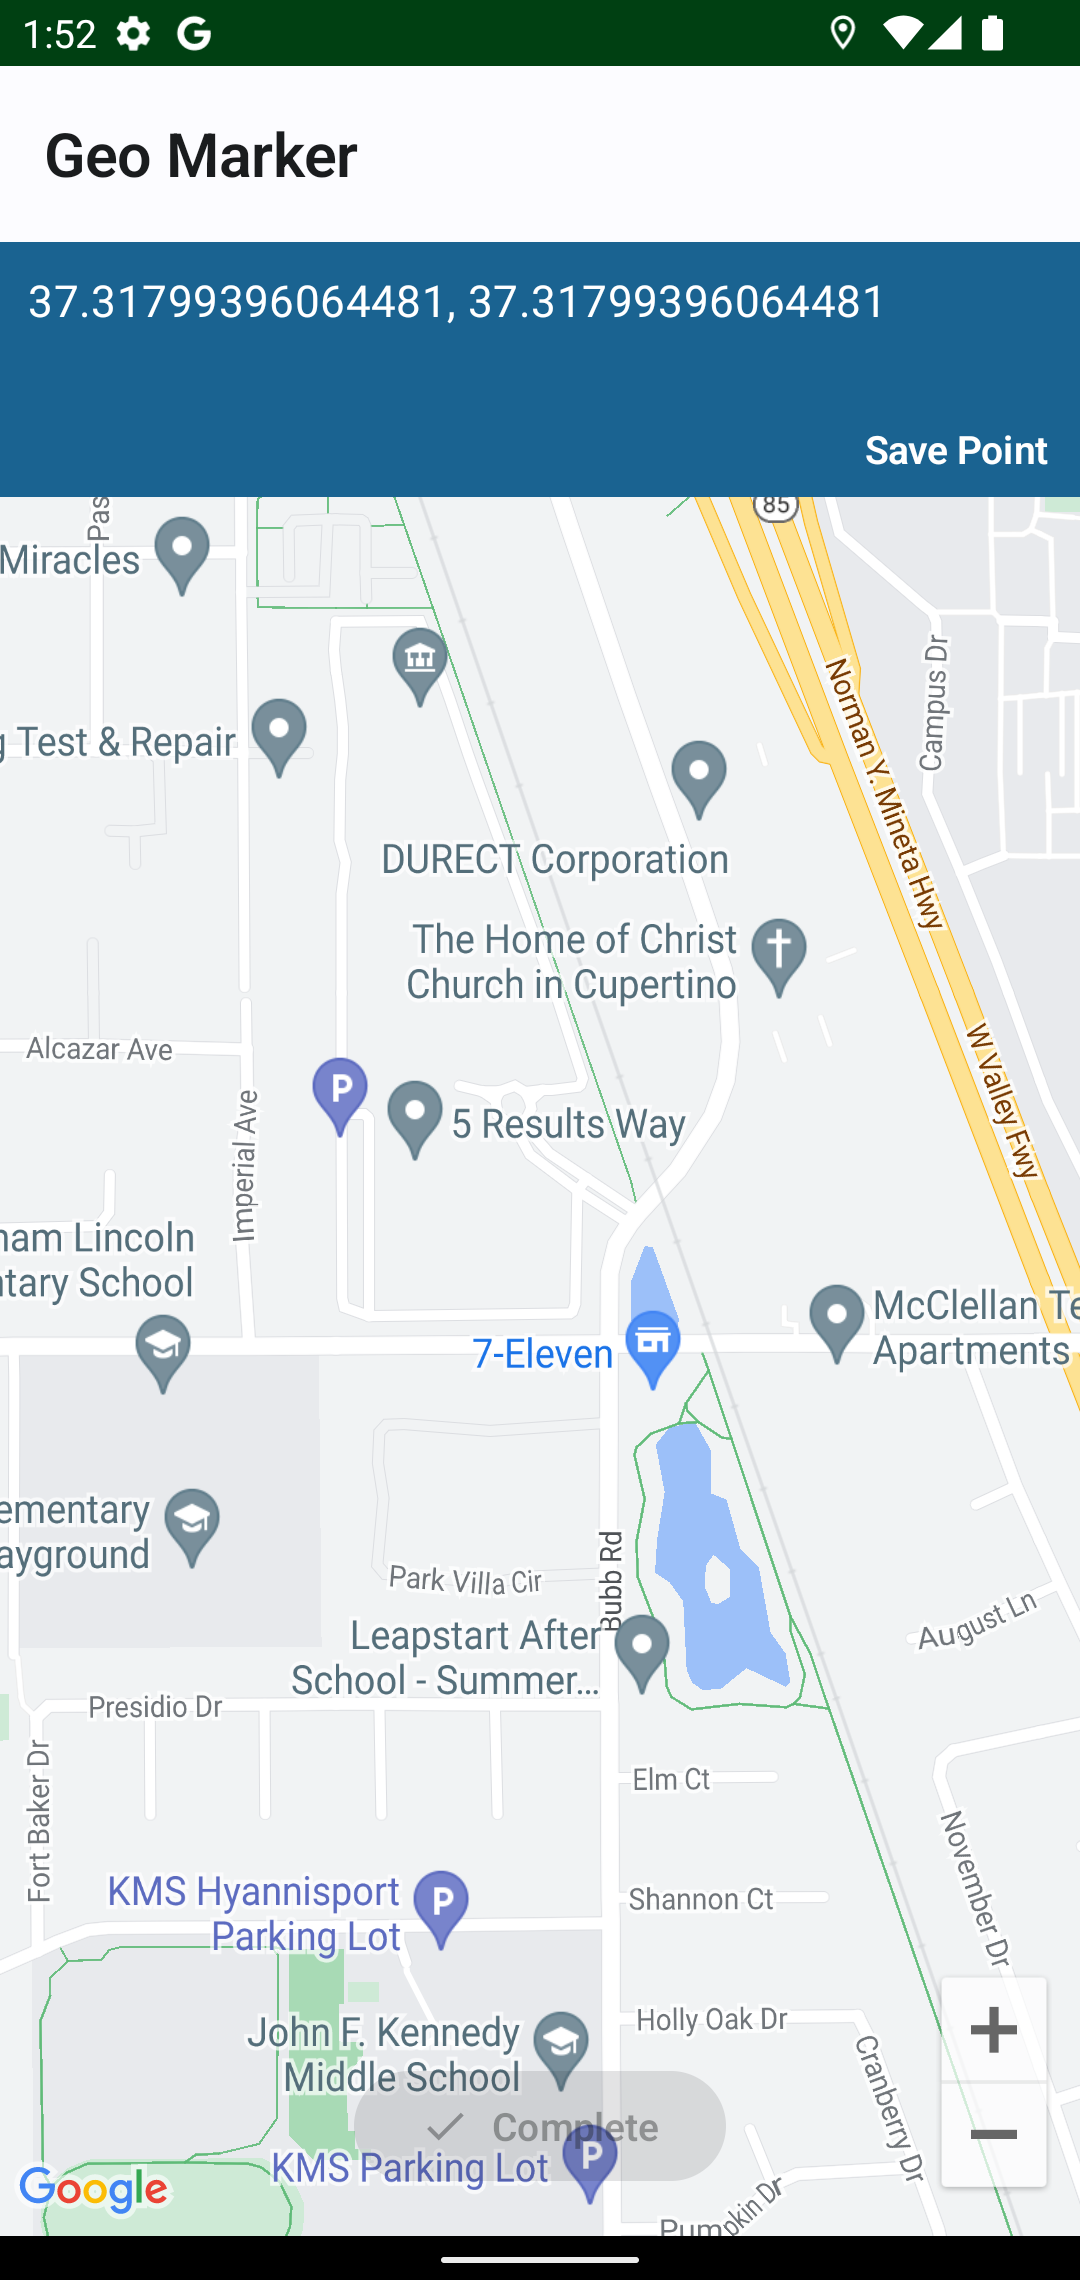
You possibly can see the UI to save lots of the purpose in your map. It shows the LatLng and the Save Level motion which saves your level.
You’ll discover if you save three factors that the Full button on the backside turns into lively. Faucet Full. Nothing occurs on the map; it solely exhibits a reset button. Like me, you have been anticipating to see a polygon. Don’t fear. You’ll repair this habits in a second.
Change // TODO Add Polygon with:
// 1
if (drawPolygon && areaPoints.isNotEmpty()) {
  // 2
  areaPoints.forEach {
    Marker(state = MarkerState(place = it))
  }

  // 3
  Polygon(
      factors = areaPoints,
      fillColor = Coloration.Blue,
      strokeColor = Coloration.Blue
  )
}
// 4
if (showSavePoint) {
  Marker(state = MarkerState(place = clickedLocation))
}
Add any lacking imports by urgent Possibility-Return on a Mac or Alt-Enter on a PC.
Right here’s what the code above does:
- It is a conditional test to test whether or not the polygon is drawn. You additionally test if the
areaPointshas values since you want an inventory ofLatLngto attract a polygon. - Right here, for every merchandise within the
areaPointschecklist, you add a marker in your map. - You employ
Polygoncomposable, to attract your polygon. You go within the factors to attract and the colours to your polygon. - It is a marker for every level you click on on the map.
Construct and run the app, then faucet the marker space button and add three markers. Lastly, faucet the whole button.

Congratulations! You’ve been in a position to create a geo marker with a polygon. You possibly can reset the map and draw as many polygons as you need.
Writing Map UI Assessments
Assessments are normally necessary in any piece of software program. Google Map Compose library was not left behind by way of writing checks to your map logic. To make it extra attention-grabbing, it’s simpler so that you can write the UI checks to your map composables.
Head over to your androidTest listing and open GoogleMapTest.kt. The check class GoogleMapTest solely has a helpful setup methodology that runs earlier than your checks run. It initializes a CameraPositionState with a location and a zoom stage.
Earlier than writing your checks, you’ll want to arrange your map. Add the next methodology under the setup methodology:
personal enjoyable loadMap() {
  val countDownLatch = CountDownLatch(1)
  composeTestRule.setContent {
    GoogleMap(
        modifier = Modifier.fillMaxSize(),
        cameraPositionState = cameraPositionState,
        onMapLoaded = {
          countDownLatch.countDown()
        }
    )
  }
  val mapLoaded = countDownLatch.await(30, TimeUnit.SECONDS)
  assertTrue("Map loaded", mapLoaded)
}
Change your imports on the prime with:
import androidx.compose.basis.format.fillMaxSize
import androidx.compose.ui.Modifier
import androidx.compose.ui.check.junit4.createComposeRule
import com.google.android.gms.maps.mannequin.CameraPosition
import com.google.android.gms.maps.mannequin.LatLng
import com.google.maps.android.compose.CameraPositionState
import com.google.maps.android.compose.GoogleMap
import junit.framework.Assert.assertTrue
import org.junit.Earlier than
import org.junit.Rule
import java.util.concurrent.CountDownLatch
import java.util.concurrent.TimeUnit
You’ve gotten a CountDownLatch to permit ready for the map to load earlier than doing any operation on the map. You set the content material of your display screen with the composeTestRule. Within the setContent lambda, you add the GoogleMap composable. You additionally go the cameraPositionState modifier, and inside your onMapLoaded, you begin your countdown.
Lastly, you carry out an assertion after ready 30 seconds to test whether or not the map was loaded. You’ll use this methodology to initialize your map in consecutive checks.
You’ll now add checks to point out the digital camera place and map zoom stage are set to the proper values.
Add the next checks:
@Check
enjoyable testCameraPosition() {
  loadMap()
  assertEquals(singapore, cameraPositionState.place.goal)
}
@Check
enjoyable testZoomLevel() {
  loadMap()
  assertEquals(cameraZoom, cameraPositionState.place.zoom)
}
Within the code above, you could have two checks: one for testing the digital camera place and the opposite for testing the zoom stage of your map. In every of those checks, you name loadMap() after which assert that the place and zoom stage on the map is just like your preliminary location. Run the check.
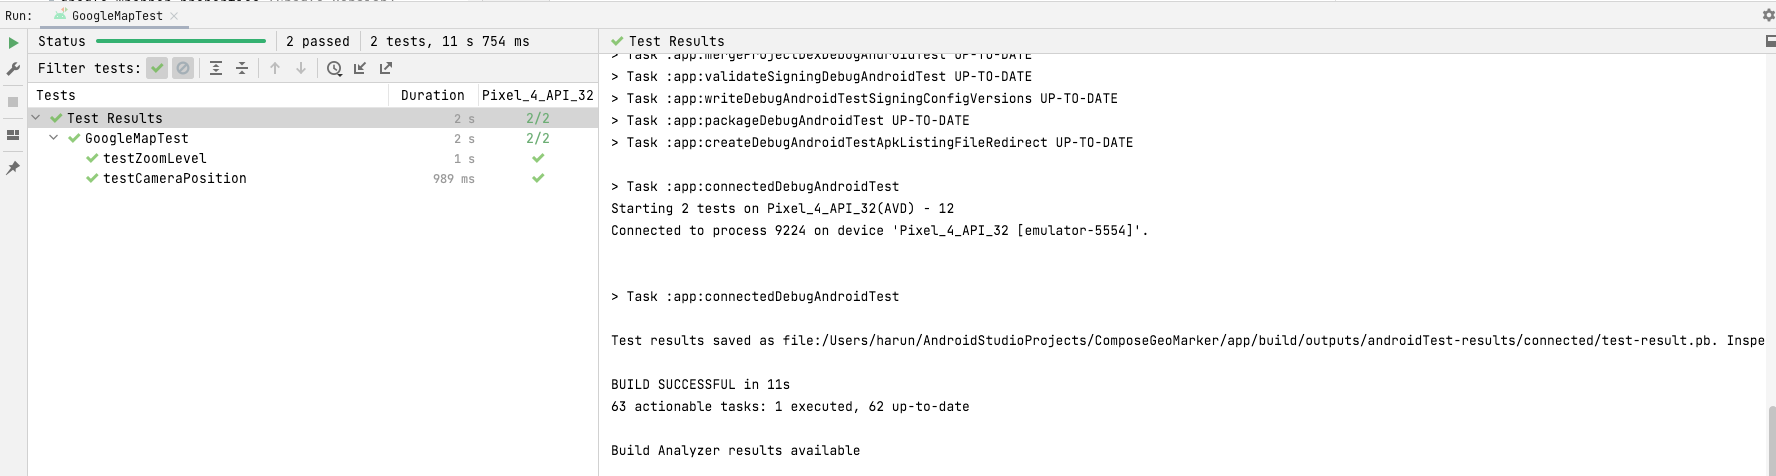
You possibly can see all of your checks run efficiently!
The place to Go From Right here?
Obtain the ultimate challenge by clicking Obtain Supplies on the prime or backside of the tutorial.
You possibly can discover the drawing polyline choice to exhibit somebody strolling by way of a discipline. You possibly can maybe add extra checks to check your map-related functionalities.
Try the official Google Maps Compose documentation to be taught extra about maps in Compose. To be taught extra about testing your compose layouts, checkout the official testing documentation.
Hopefully, you loved this tutorial. When you have any questions or feedback, please be part of the discussion board dialogue under!
