Because the intermediary between your customers and your web site, cursors can both restrict or significantly improve the best way your customers expertise your web site. For this reason modern, intentionally-designed customized cursors have develop into a big a part of UI and UX at present.
Customized cursors are a possibility to provide your customers route in an interesting approach and create a memorable, immersive expertise for them in your web site.
There’s a vast spectrum of potential customers for whom to create customized cursors. Examples embrace college students studying from a projector, customers with impaired mobility, and youthful audiences being focused by a model.
On this tutorial, we’ll check out what customized cursors are and discover ways to use CSS (and JavaScript) to create customized cursors that’ll give your web site a inventive edge. We are going to cowl:
To comply with together with this tutorial, it’s best to have some information of HTML, CSS, and JavaScript.
Overview of cursors in CSS
We already work together with customized cursors every single day. Whenever you hover over buttons and the pointer cursor adjustments to a hand, otherwise you hover over textual content and the cursor adjustments to a textual content cursor, this interactivity is achieved by customized cursors.
Nevertheless, there are numerous different inventive experiences we will present to our customers by cursors.
Earlier than we dive into creating our personal customized cursors, it’s best to know that CSS offers you with cursors out of the field for some incessantly carried out duties.
These cursors present you what might be performed on the actual location you’re hovering over. Examples embrace cursors indicating it’s best to click on hyperlinks, drag and drop components, zoom out and in on issues, and extra.
All you need to do is specify the kind of cursor you need utilizing the CSS cursor property.
A number of the accessible cursors in CSS embrace:
.auto            { cursor: auto; }
.default         { cursor: default; }
.none            { cursor: none; }
.context-menu    { cursor: context-menu; }
.assist            { cursor: assist; }
.pointer         { cursor: pointer; }
.progress        { cursor: progress; }
.wait            { cursor: wait; }
.cell            { cursor: cell; }
.crosshair       { cursor: crosshair; }
.textual content            { cursor: textual content; }
.vertical-text   { cursor: vertical-text; }
.alias           { cursor: alias; }
.copy            { cursor: copy; }
.transfer            { cursor: transfer; }
.no-drop         { cursor: no-drop; }
.not-allowed     { cursor: not-allowed; }
.all-scroll      { cursor: all-scroll; }
.col-resize      { cursor: col-resize; }
.row-resize      { cursor: row-resize; }
.n-resize        { cursor: n-resize; }
.e-resize        { cursor: e-resize; }
.s-resize        { cursor: s-resize; }
.w-resize        { cursor: w-resize; }
.ns-resize       { cursor: ns-resize; }
.ew-resize       { cursor: ew-resize; }
.ne-resize       { cursor: ne-resize; }
.nw-resize       { cursor: nw-resize; }
.se-resize       { cursor: se-resize; }
.sw-resize       { cursor: sw-resize; }
.nesw-resize     { cursor: nesw-resize; }
.nwse-resize     { cursor: nwse-resize; }
Hover over the containers beneath to see the cursors in motion:
See the Pen CSS Cursors by Samson Omojola (@Caesar222)
on CodePen.
See the code and work together with the completely different cursors straight on CodePen.
Take a look at the whole listing of CSS cursors right here.
Whereas these cursors are helpful and have some fundamental styling, we will definitely get extra inventive with cursors.
Easy methods to create a customized cursor with CSS
Making a customized cursor with CSS is a reasonably easy course of. Step one you need to take is use the picture you wish to use to interchange the default cursor. You possibly can both design one your self or get a free PNG that fits your wants from an icon library equivalent to FontAwesome.
Extra nice articles from LogRocket:
Subsequent, level the CSS cursor property to the situation of the picture utilizing url. Now the cursor property is aware of that it’s meant to make use of no matter picture is at that URL as its cursor.
physique {
      cursor: url(‘path-to-image.png’), auto;
}
To make sure that this cursor is used on all components of your web site, the perfect place to make use of the cursor property is within the physique tag of your HTML. Nevertheless, if you would like, you may assign customized cursors to particular components as a substitute of the entire web site.
You may as well add a fallback worth to your cursor property. When utilizing customized CSS properties, this worth ensures that if the picture that serves as your customized property for some cause is lacking or can’t be loaded, then your customers can have an alternative choice.
On this case, auto is the fallback descriptor on your customized cursor property. Your customers will see the common cursor if the customized one is unavailable.
You possibly can present multiple customized cursor (a number of fallbacks) on your web site to make use of. All you need to do is add their paths to the cursor property.
physique {
      cursor: url(‘path-to-image.png’), url(‘path-to-image-2.svg’), url(‘path-to-image-3.jpeg’), auto;
}
There are three fallback cursors within the code above.
Easy methods to create a customized cursor with JavaScript
Making a customized cursor with JavaScript includes manipulating DOM components.
Principally, we’ll create some DOM components which can function our customized cursor, after which use JavaScript to control them. Then, as we transfer our cursor round, these customized components will transfer round as our cursor.
Reasonably than design a picture or obtain a picture on-line, we’re going to use CSS to design a customized cursor. I would like us to make use of one thing animated that attracts customers in. Transfer your cursor across the field beneath to see an instance of what I’m describing:
See the Pen Animated Customized CSS Cursor by Samson Omojola (@Caesar222)
on CodePen.
See the total code and work together with this cursor straight on CodePen.
As you may see, the cursor consists of two components — one giant circle and one small one. We’ll create two div components and provides them class names:
<div class="cursor small"></div>
<div class="cursor large"><div>
Subsequent, we’ll create the circles with CSS. Within the code beneath, we assign a width and peak of 50px every to the massive circle. To make it a circle, we give it a border radius of 50%.
The small circle will probably be hole, so we give it a border and border radius of 50%. Then, we assign it a width and peak of 6px every.
We disable the default cursor by giving cursor a price of none in order that we will render the customized cursor instead.
So as to add animation to the massive circle, we use @keyframes.
Our animation-duration is 2.0s. At the beginning of this period, we set background-color to inexperienced and opacity to 0.2. Midway by, we set the circle’s background-color to orange. On the finish of the two second period, we set the circle’s background-color to crimson.
To make the animation repeat again and again, we set animation-iteration-count to infinite.
physique{
  background-color: #171717;
  cursor: none;
  peak: 120vh;
}
.small{
  width: 6px;
  peak: 6px;
  border: 2px strong #fff;
  border-radius: 50%;
}
.large{
  width: 50px;
  peak: 50px;
  border-radius: 50%;
  margin-bottom: 20rem;
  animation-name: stretch;
            animation-duration: 2.0s;
            animation-timing-function: ease-out;
            animation-direction: alternate;
            animation-iteration-count: infinite;
            animation-play-state: working;
}


@keyframes stretch {
            0% {

                opacity: 0.2;
                background-color: inexperienced;
                border-radius: 100%;
            }

            50% {
                background-color: orange;
            }

            100% {
                background-color: crimson;
            }
        }
Now, to make the weather transfer as you progress your mouse, we’ll make use of JavaScript.
Within the code beneath, we use an occasion listener to pay attention for every time a person strikes their mouse over our webpage. Each time this occasion takes place, we use a operate to get the x and y coordinates of the mouse. After that, we use the x and y coordinates to maneuver our div components round as a consultant of our cursor.
const cursorSmall = doc.querySelector('.small');
const cursorBig = doc.querySelector('.large');


const positionElement = (e)=> {
  const mouseY = e.clientY;
  const mouseX = e.clientX;

  cursorSmall.type.remodel = `translate3d(${mouseX}px, ${mouseY}px, 0)`;

  cursorBig.type.remodel = `translate3d(${mouseX}px, ${mouseY}px, 0)`;

}

window.addEventListener('mousemove', positionElement)
See the whole code alongside the interactive cursor on CodePen.
As you may see, we used querySelector to get entry to the 2 div components on the DOM. Then, we added an occasion listener to the webpage to pay attention for and detect when the person strikes their mouse.
When this occurs, the occasion listener triggers a positionElement operate. On this operate, we mapped these coordinates to the div components whose DOM positions we’ve chosen already.
We transfer the div components in correspondence with the x and y coordinates of the mouse utilizing remodel and translate3d. remodel repositions components in horizontal and vertical instructions, whereas translate3d repositions components in 3D house.
Because the mouse strikes, its x and y values change, remodel and translate3d get up to date with the assistance of the occasion listener, and the place of every div adjustments in correspondence.
UX and browser compatibility when making a customized cursor
When making a customized cursor, it’s best to at all times hold the person’s greatest pursuits in thoughts. A method to do that is by making a cursor that greatest represents or interprets the essence of a component.
Whereas customized cursors give your web site a pleasant contact and a novel really feel, it is very important not overdo it. Overcustomizing your cursor can frustrate and confuse your customers by complicating their expertise in your web site.
Earlier than you resolve to create a customized cursor, it’s best to think about its performance. For instance, will a customized cursor’s options work nicely on an outdated browser?
Be aware that some older browsers should not have the aptitude to help a variety of new CSS and JavaScript options. For those who design sure areas of your web site round a customized cursor that makes use of applied sciences past your customers’ browsers, they gained’t be capable of interact along with your web site.
Making a customized cursor with accessibility in thoughts
As talked about beforehand, customized cursors might be useful for customers with impaired mobility and different accessibility necessities. For instance, individuals with low imaginative and prescient might have actually giant mouse pointers which are straightforward to trace, or mouse pointers with customized colours that make them stand out from varied backgrounds.
A mouse will also be programmed to invert the colours of any components it hovers over. This makes it straightforward for customers to trace what they’re studying or seeing on the display. The textual content cursor or caret will also be thickened in order that customers with low imaginative and prescient don’t lose monitor of the place the cursor is on the web page whereas typing.
Giant cursors may profit customers with motor impairment, as they’re simpler to maneuver and place on components than small cursors.
Conclusion
On this tutorial, we realized about CSS cursors accessible out of the field, tips on how to create customized cursors with CSS, tips on how to give your webpage a number of cursors, and tips on how to use animation in CSS and JavaScript to create customized cursors.
Customized cursors might be a good way to attract your customers in, hold them engaged, and direct them effectively if carried out accurately. You probably have any additional ideas or questions on creating customized cursors with CSS, let me know within the feedback part.
Is your frontend hogging your customers’ CPU?
As internet frontends get more and more complicated, resource-greedy options demand increasingly more from the browser. For those who’re considering monitoring and monitoring client-side CPU utilization, reminiscence utilization, and extra for your whole customers in manufacturing, strive LogRocket.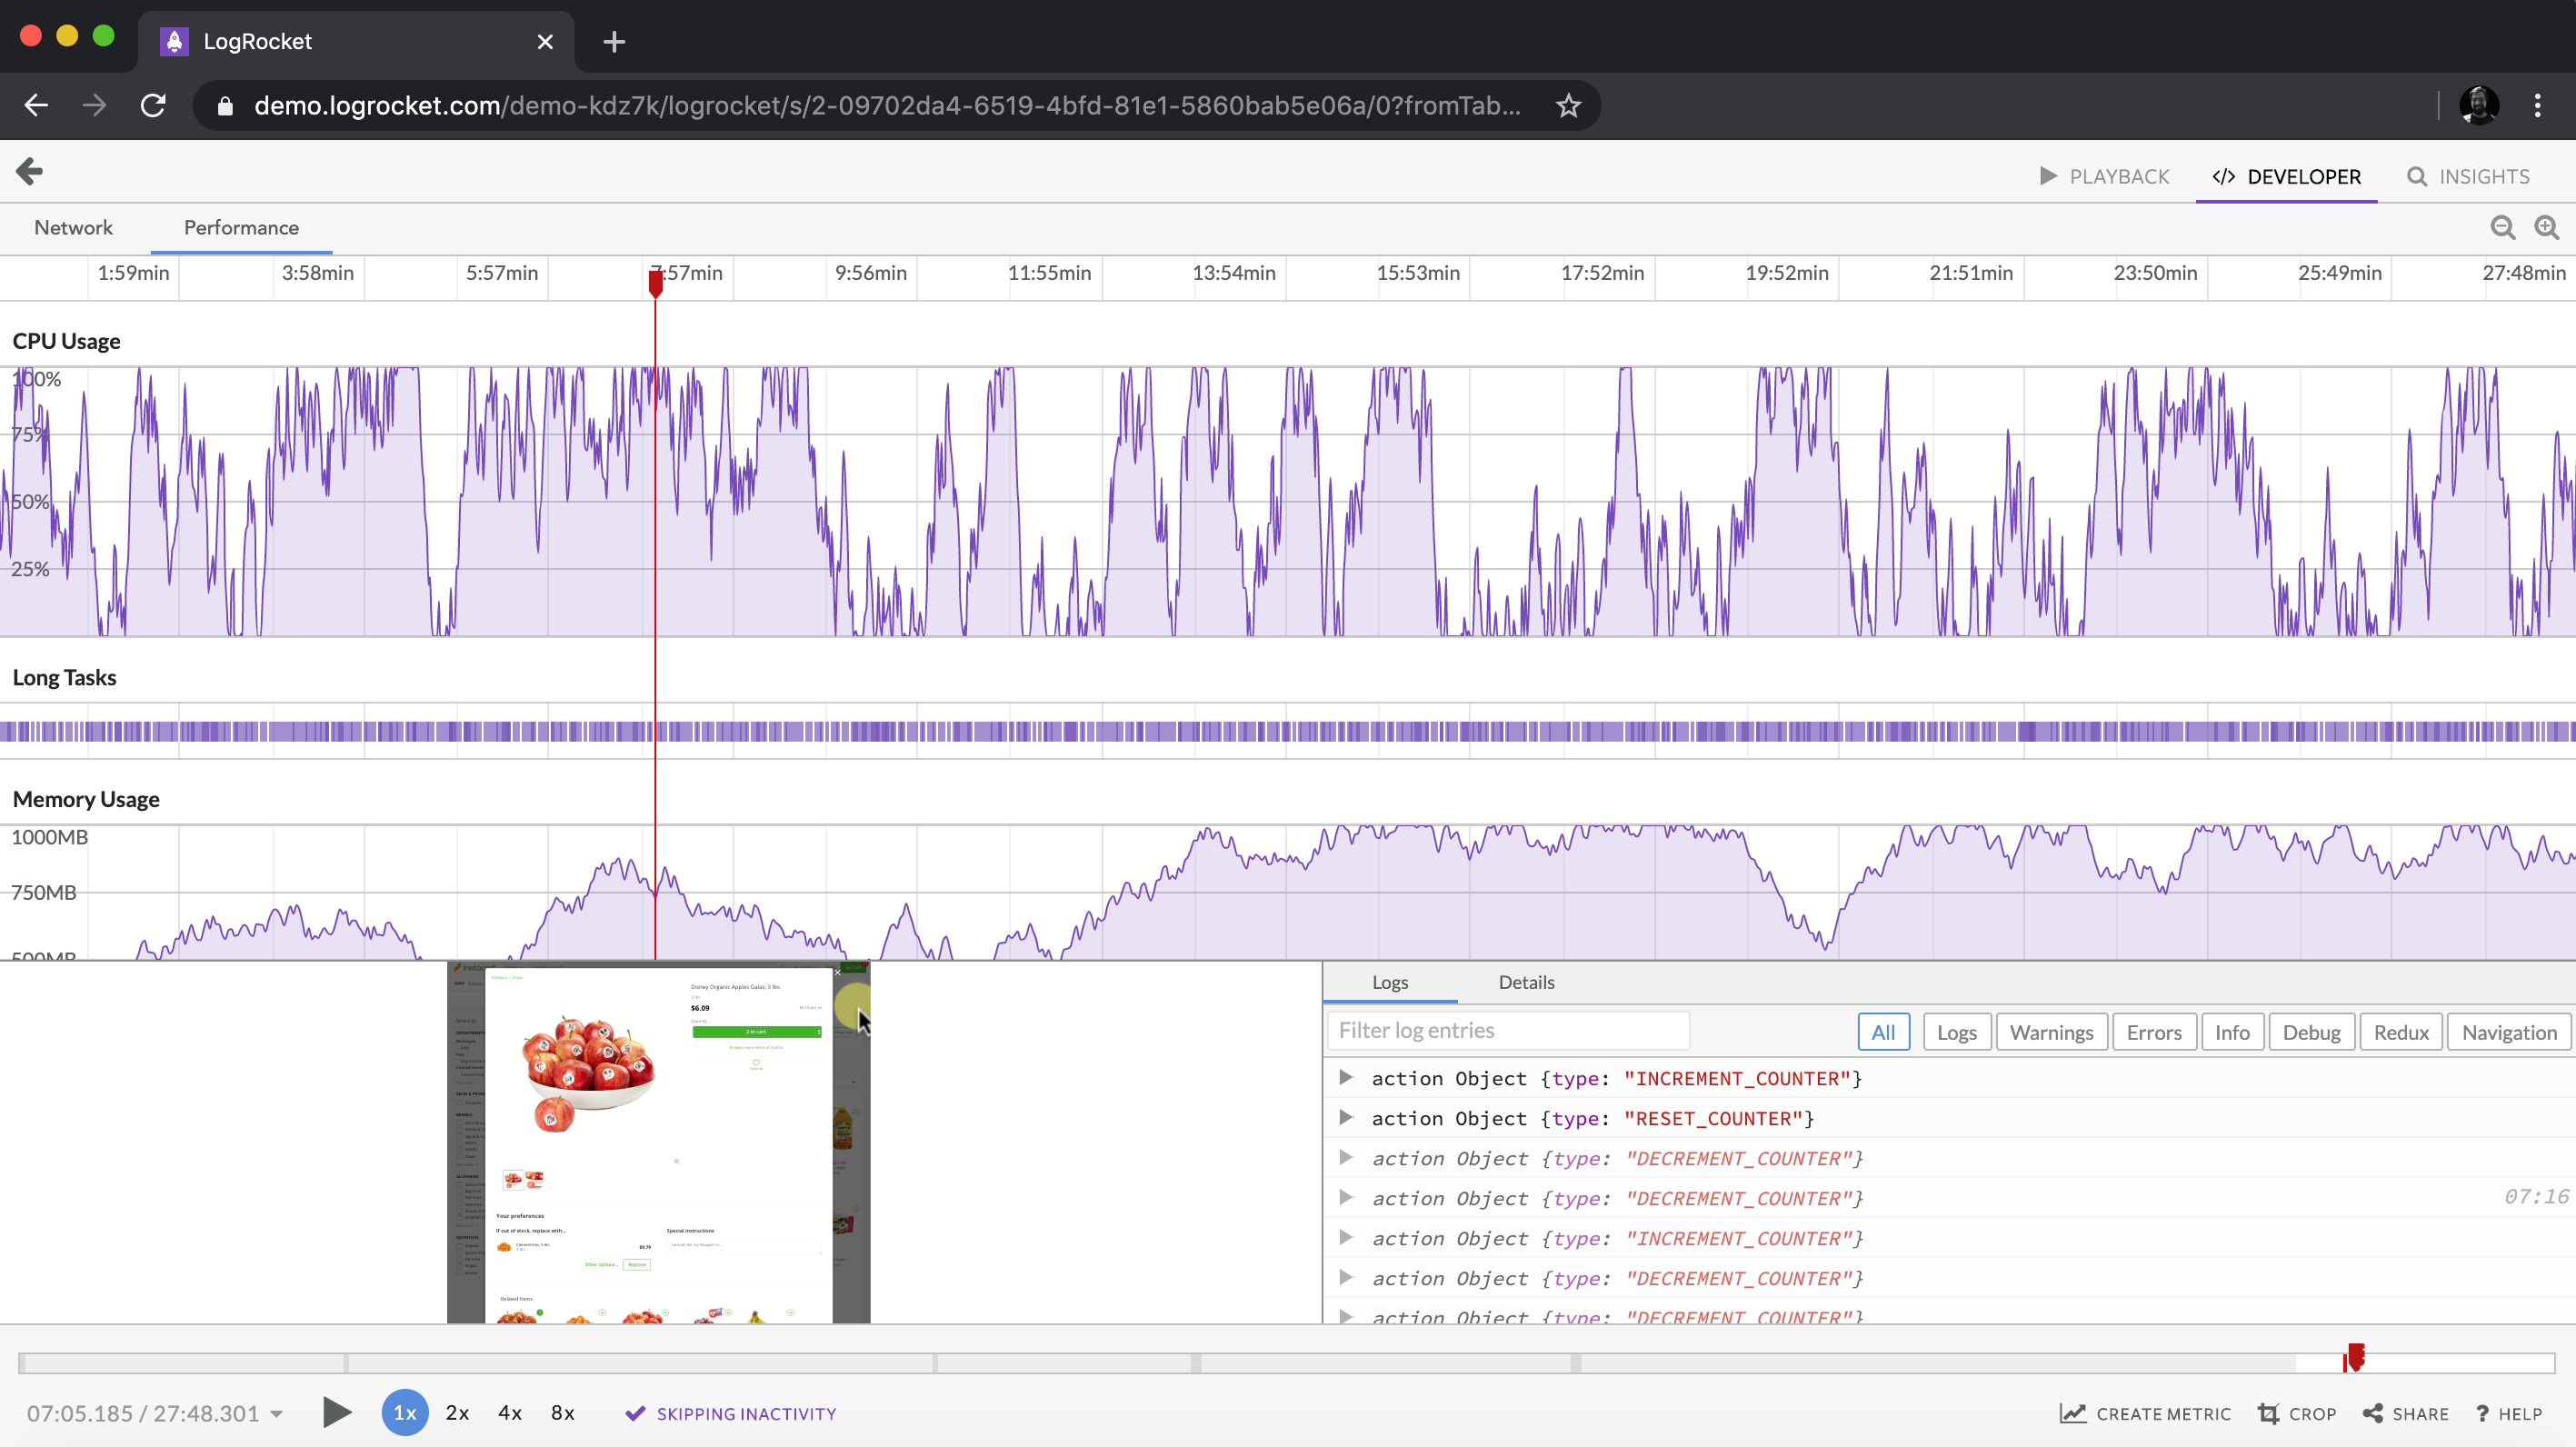 https://logrocket.com/signup/
LogRocket is sort of a DVR for internet and cell apps, recording every thing that occurs in your internet app or web site. As an alternative of guessing why issues occur, you may mixture and report on key frontend efficiency metrics, replay person periods together with software state, log community requests, and mechanically floor all errors.
Modernize the way you debug internet and cell apps — Begin monitoring free of charge.
