
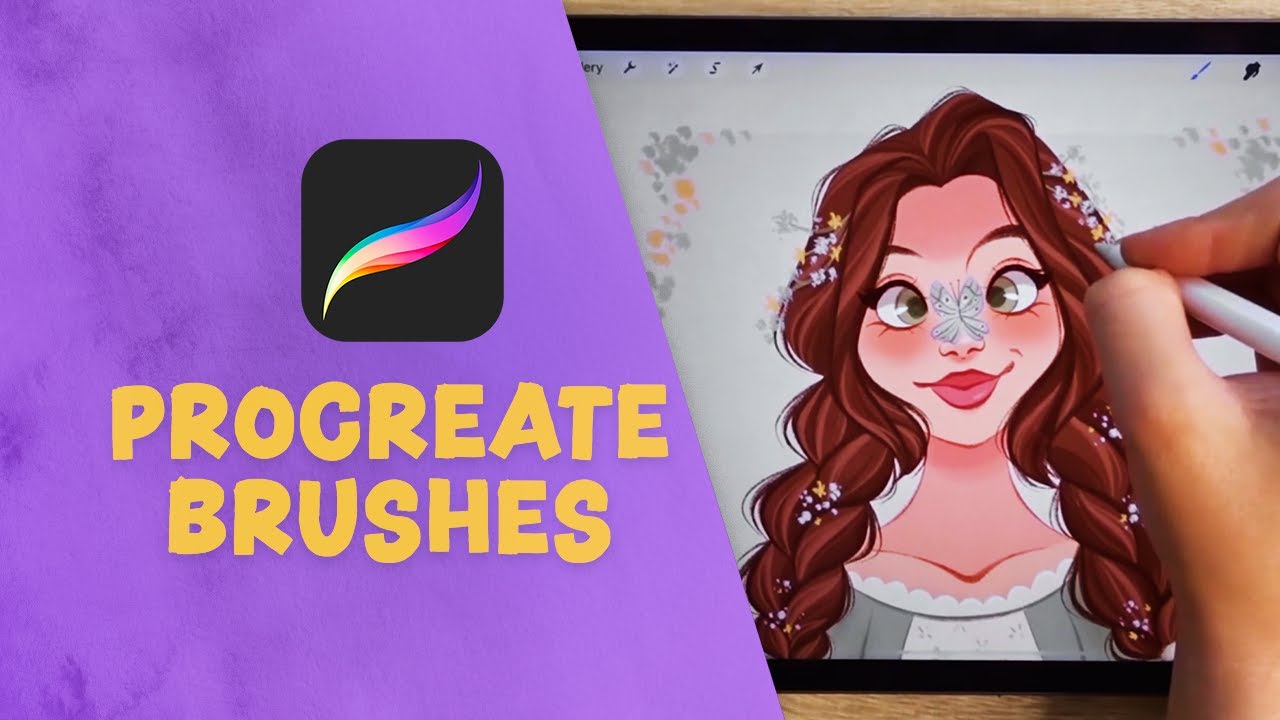
Are you uninterested in drawing every flower from scratch when making an attempt to make backgrounds or patterns in Procreate? A stamp brush that may replicate the identical form in seconds may simply be the reply to your prayers, and on this flower brush Procreate tutorial we’re going to be studying methods to make flower brushes in Procreate from scratch!
We will likely be studying methods to make a stamp brush in Procreate and methods to customise the settings to create the Procreate flower brush you’ve got at all times dreamed of!
Do you additionally fancy downloading a Procreate flower brush that is able to go? Then try the wonderful 10 Flower Stamps for Procreate brush pack from Envato Components!


When you’re new to Procreate, that you must go to the Envato Tuts+ YouTube channel! You may discover heaps of helpful sources and video tutorials, together with this new course I created on Procreate Brushes for Inexperienced persons:
What You may Be Studying in This Procreate Flower Brush Tutorial
- Learn how to make a flower brush in Procreate
- Learn how to use a flower brush in Procreate
1. Learn how to Make a Flower Brush in Procreate
Step 1
On this flower brush Procreate tutorial, I am utilizing an iPad Professional, an Apple Pencil, and the Procreate 5.2 app.
First, launch the Procreate app and click on on the + icon within the top-right nook. This may open up a brand new canvas, which that you must do with the intention to entry the Brush Library. As soon as the canvas is opened, click on on the comb icon on the high proper of the display. This may launch the Brush Library.


Step 2
To make a brand new brush, faucet the + icon within the top-right nook of the Brush Library menu.


This may launch the Brush Studio and make a brand new brush that may use Procreate’s default settings.


Step 3
Let’s take a look at methods to create a stamp brush in Procreate.
First, we’re going to change the form of the comb to a flower. Earlier than modifying this throughout the Brush Studio, we might want to create our flower form. Head again to your canvas and draw the flower form of your selection.


Step 4
For the following step, we solely need the flower form and never the white background, so to take away this, untick the Background color field, which will be discovered underneath the Layers panel.


Step 5
The form must be white earlier than it may be imported into the Brush Studio, so set the color to white by choosing a white shade from the Colors panel, drag the color swatch (circled in crimson) into the form, and launch to alter the color.


Step 6
Now it is time to copy the form prepared for importing into the comb form. To do that, open the Actions menu and choose Copy canvas.


Step 7
Reopen Brush Studio and faucet the Form part of the menu to the left of the display. Faucet the Edit button to launch the Form Editor.


Step 8
Faucet Import within the top-right nook of the display to disclose the Picture supply choices menu. Then click on on Paste to import your flower form.


The flower form has now been efficiently imported. Press Carried out to shut the Form Editor window.


Step 9
We are able to now start to edit the remainder of the settings to show the comb right into a stamp. Choose the Stroke path part of the menu, and enhance the Spacing slider to Max.
The Spacing setting controls the variety of occasions a brush form is stamped alongside a path; due to this fact, the bigger the spacing, the more room there’s between stamps. When designing a stamp brush, you will have this area to be giant sufficient that your brush will solely stamp one form at a time.


You may simply check out your brush as you edit the settings by drawing on the Drawing Pad to the left of the display. To clear the pad, click on on Drawing Pad on the high of the display and faucet Clear drawing pad.


Step 10
Subsequent, head to the Apple Pencil part of the menu. Right here, you’ll want to swap off the Opacity setting by dragging the slider to None. Which means the form will keep absolutely opaque and will not change relying on the quantity of strain utilized to the comb.


Step 11
Subsequent, you’ll need to move to the Properties part of the menu. Firstly, we will likely be rising the Preview dimension to 49%; this determines the dimensions of the comb stamp preview within the Brush Library menu.
Then, we’re going to set the Smudge slider to None. This setting determines how a lot the comb smudges when set because the Smudge instrument.
Lastly, we’re going to set the Most dimension to Max and the Minimal dimension to None. These sliders decide the higher and decrease dimension limits that the comb will attain when adjusting the dimensions utilizing the dimensions slider.


Step 12
Now it is time to title the comb. Faucet on the About this brush part of the menu, after which click on on the textual content circled in crimson to rename the comb. If you would like, you may add your title and signature to this web page, which helps you keep credit score for the comb when you plan to share it on-line.


2. Learn how to Use a Flower Brush in Procreate
Subsequent, we’re going to undergo an instance of how you need to use a Procreate flower stamp brush inside an art work.
Step 1
To start with, I will be utilizing this portrait drawing. I will likely be utilizing the flower brush so as to add some funky particulars to the background.


Step 2
On a new layer, I chosen my flower stamp brush and stamped the primary flower utilizing a pink shade that enhances the drawing.


Step 3
I adjusted the dimensions of the comb utilizing the dimensions slider, and continued so as to add a number of extra flower shapes across the backside half of the drawing.


Step 4
I modified the comb to a yellow shade and added additional flower stamps throughout the gaps within the backside half of the web page.


Now We’re Completed!
Now you understand how to create a stamp brush in Procreate and methods to make a flower brush in Procreate. Thanks for following this tutorial with me, I hope you’ve a lot of enjoyable creating your personal flower brushes!
5 Prime Procreate Stamp Brush Units From Envato Components
Now you understand how to make use of Procreate to create lovely flower Procreate brushes. When you use Procreate and different design software program repeatedly, Envato Components is a tremendous possibility for you. The subscription-based market presents you limitless Procreate brush units, add-ons for Photoshop and Illustrator, premium fonts, and extra! All the things is included in a single subscription for a flat month-to-month payment.
If you would like to discover extra premium Procreate stamp brushes, right here we now have chosen 5 high choices:
1. 10 Flower Stamps for Procreate (BRUSHSET)
This funky flower brush set of ten Procreate stamp brushes is the proper addition to your brush library. These seamless stamp brushes for Procreate are excellent for creating lovely patterns for cloth, wrapping paper, branding, stationery, and extra.
2. Fiore Procreate Stamp Brush (BRUSHSET)


Containing 24 totally different hand-drawn flower Procreate brushes, that is the proper set for including some magnificence to your designs. These high-quality Procreate stamp brushes are excellent for creating patterns, branding, marriage ceremony stationery, and rather more.
3. Floral Colour Brush Procreate (BRUSHSET)


This enjoyable and vibrant stamp brush Procreate set is ideal for creating distinctive and crowd pleasing designs. Create lovely patterns, stationery, material designs, and rather more with these funky Procreate brush stamps.
4. Roses Leaves Brush Stamp Procreate (BRUSHSET)


This beautiful rose flower brush set comprises every part that you must make lovely floral designs. With a wide range of totally different line artwork stamps for Procreate, that is the proper set for including some elegant florals to your art work.
5. Procreate Floralia Line Artwork Brushes (BRUSHSET)


Containing over 30 beautiful Procreate flower brushes, this line artwork Procreate stamp set is the proper addition to any designer’s library.
Take your art work to the following degree with a flower Procreate brush. Stamps are fast and straightforward to make use of, and so they’re excellent for clothes, logos, trend, wall artwork, and stationery designs (and rather more!).
Uncover Extra Wonderful Procreate Tutorials and Sources
When you favored this flower brush Procreate tutorial, be certain to go to these different wonderful Procreate tutorials and sources from Envato Tuts+:
