 Thermal cameras, or thermal equipment, are helpful for thermal scanning-based fault detection, thermal throttle evaluation, thermal monitoring, and lots of different functions.
Thermal scanning can also be utilized in monitoring the temperature of furnaces or boilers, or for analysing physique temperature with out bodily contact-like detection of Covid-19 in an individual.
Whereas thermal cameras are costly with their worth anyplace between ₹30,000 and ₹100,000, and generally even increased, some cameras can be found as exterior equipment for cell phones. These can convert a telephone right into a thermal digital camera, however even these equipment can value as much as ₹30,000, or increased, which many people might discover nonetheless fairly costly for fundamental thermal evaluation or thermal scanning or to check Covid-19 signs.
So, right here is how one can make an reasonably priced thermal digital camera accent with which you’ll be able to flip a telephone right into a thermal digital camera for as little as ₹5000 to ₹6000. This digital camera can be utilized to get a really fundamental thermal video and for different fundamental duties like thermal screening, thermal testing evaluation, and thermal monitoring.
| Invoice of Materials | ||
| Parts | Amount | Description |
| AMG 8833 (S1) | 1 | 8×8 Thermal Sensor |
| Raspberry Pi Zero W (MCU1) | 1 | For Processing Sensor Information |
| Micro USB to iPhone OTG (USB 1) | 1 | Male iPhone/USB kind C to Male micro USB OTG |
| 3D Case | 1 | PLA/ABS 3D Printed Enclosure |
(EFY word. An on-the-go adaptor (OTG adaptor) can be utilized in line with the telephone on which this gadget is to be configured. For iPhone, we’ll want an iPhone OTG adaptor, and for an Android telephone, a type-C USB.)
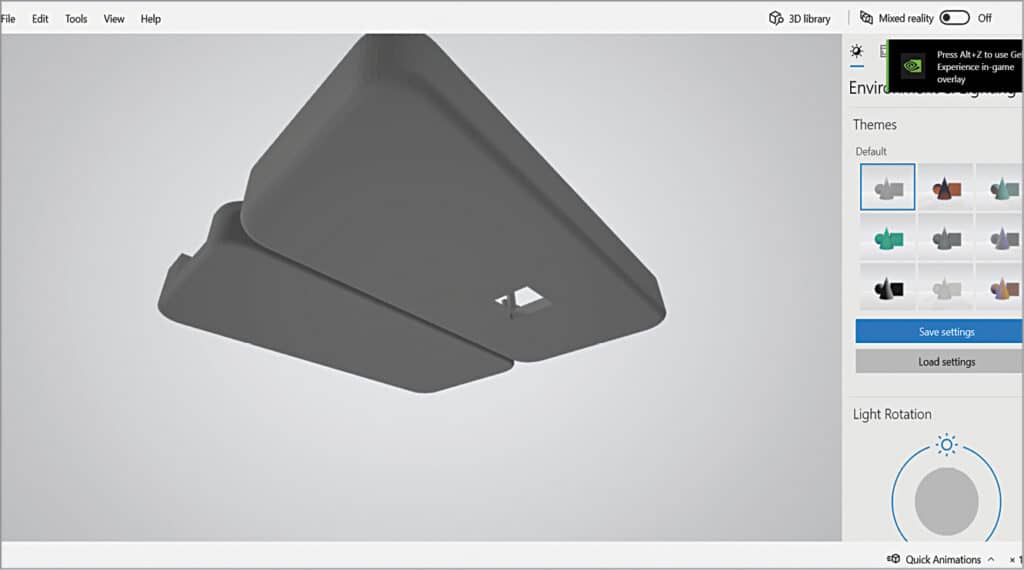
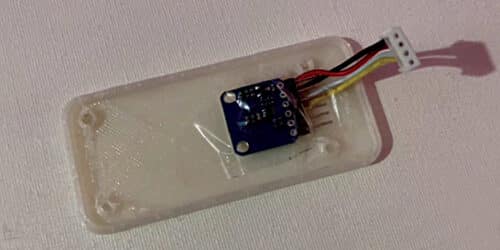
First, the physique of the gadget must be designed in a means that helps and protects the parts and the gadget. The thermal sensor and the Raspberry Pi Zero W are used right here collectively. The enclosure/case of the gadget could be designed as per the dimensions of the Raspberry Pi Zero W. A gap could be made on the backside of the case to reveal the thermal sensor. A reduce for the USM micro OTG outlet could be offered on the prime of the case, as proven in Fig. 3.
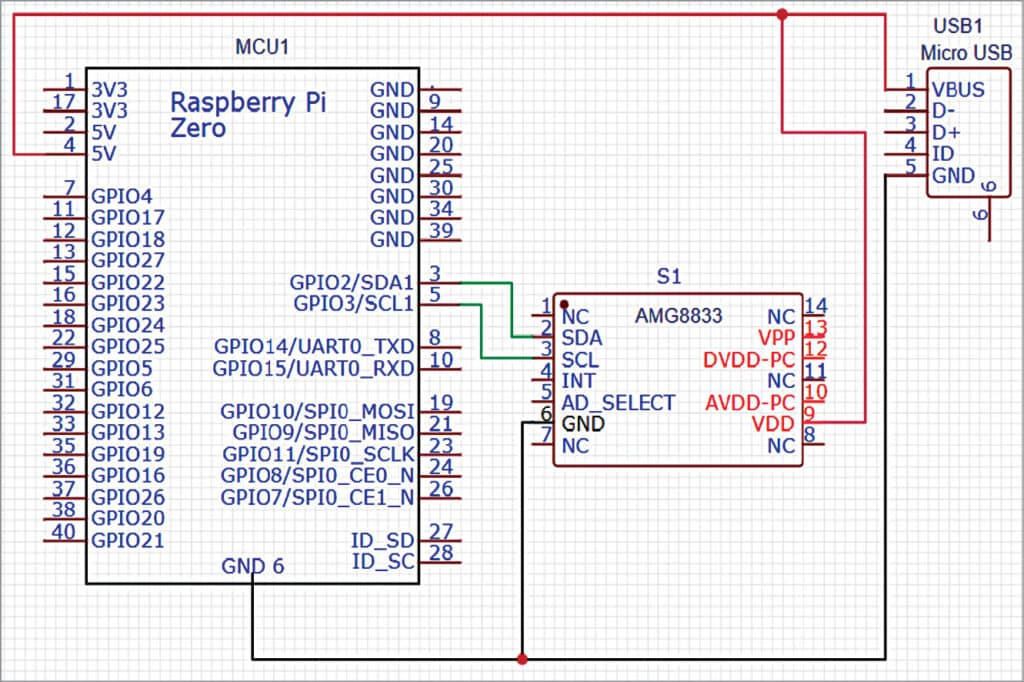
After designing the case, join the sensor, Raspberry Pi and OTG as proven within the circuit diagram in Fig. 4. If in case you have an OTG with a micro USB male output, you possibly can straight join that micro USB to the Raspberry Pi micro USB enter. Or else, you have to reduce the wire of the OTG and solder the +ve wire to the 5V pin of the Raspberry Pi, and GND to the GND pin of the Raspberry Pi. For the iPhone, keep away from utilizing the soldering course of and use the Micro USB male to iPhone male OTG connector.
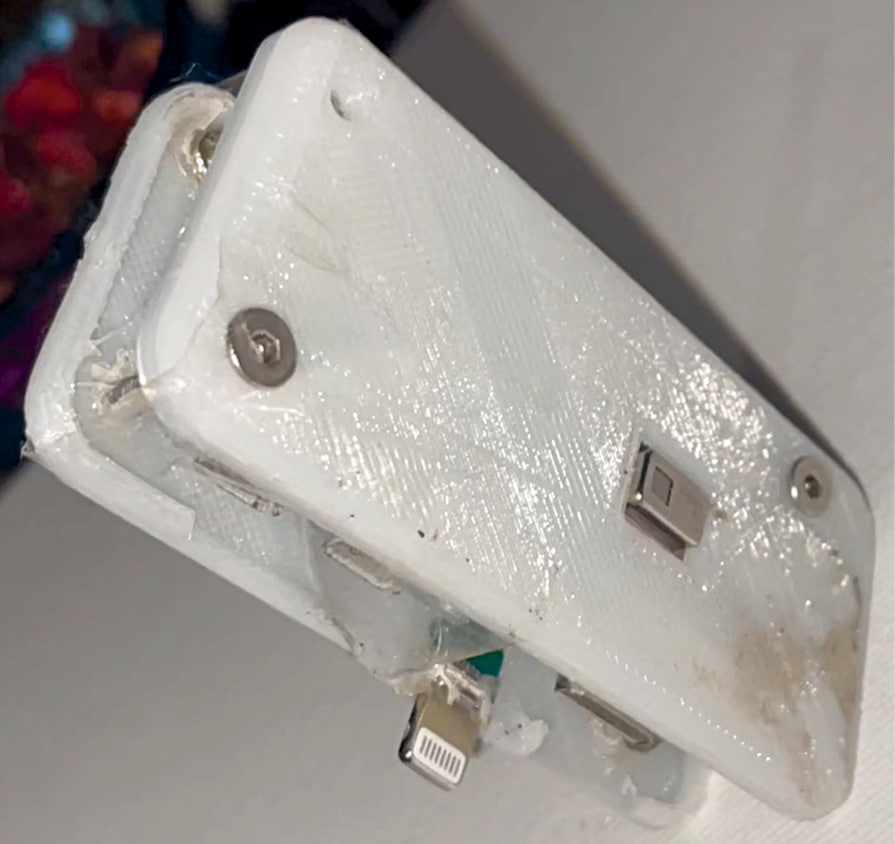
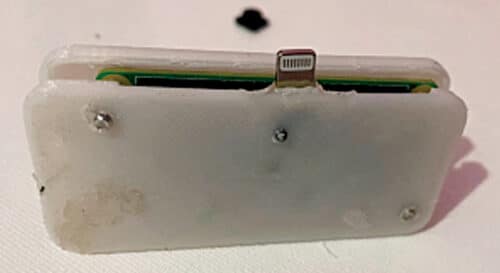
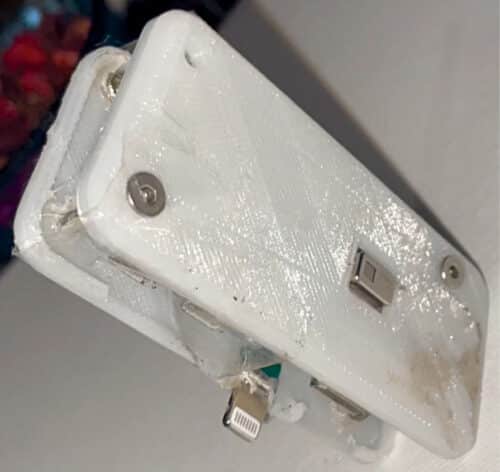
Do verify all connections to keep away from damaging your costly telephone. After connecting the OTG and sensor with the Raspberry Pi, repair the sensor, Raspberry Pi, and OTG adaptor contained in the designed and 3D-printed enclosure (see Fig. 5, Fig. 6, and Fig. 7).

Coding
Set up the Raspberry Pi with the most recent Raspbian OS. Then allow I2C pepherial in Raspberry Pi, because the thermal sensor we’re utilizing is interfaced on I2C communication. Therefore, to allow the I2C on Raspberry Pi, open terminal and run sudo raspi-config after which go to advance and interfacing choice and allow the I2C and VNC.
Now, join the Raspberry Pi to a telephone’s hotspot or Wi-Fi community to which the telephone is related. Subsequent, set up a number of libraries and modules that assist us with interfacing the sensor and getting knowledge from it, in addition to viewing that knowledge in video kind. So open the Linux terminal and run the next command:
sudo pip3 set up pygame
sudo pip3 set up scipy
sudo pip3 set up numpy
sudo pip3 set up Adafruit_AMG88xx
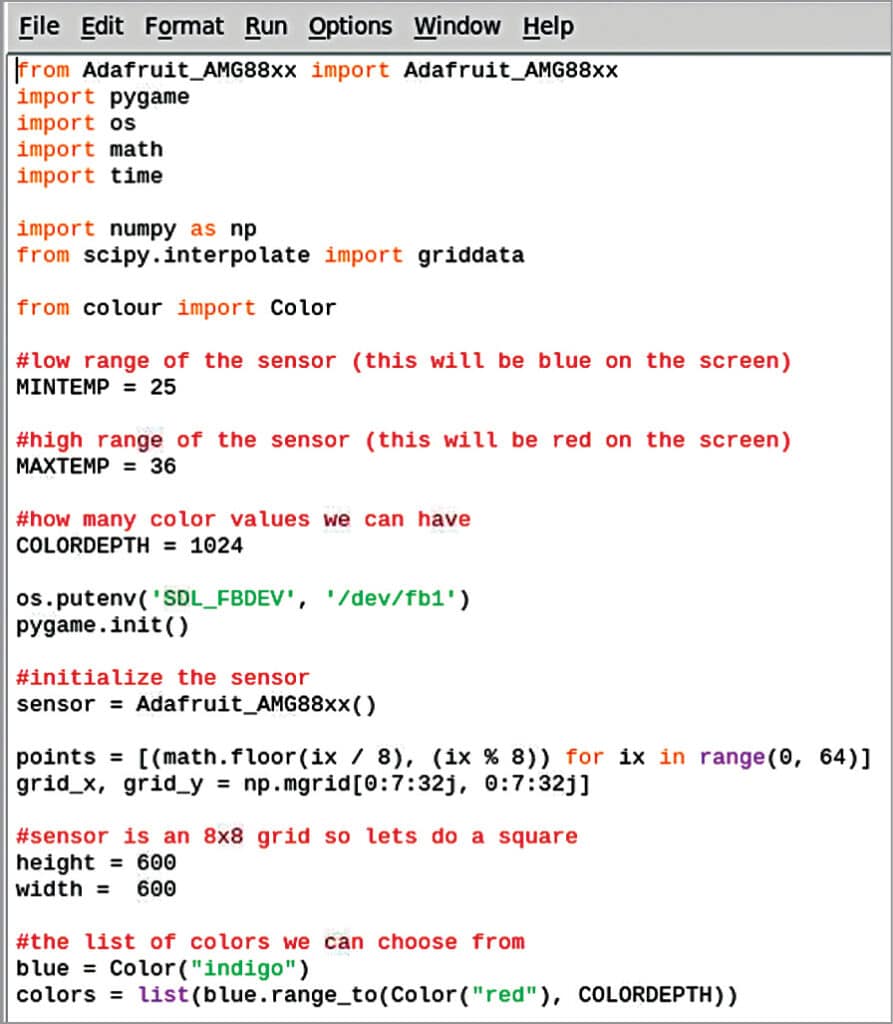
After putting in the libraries, import all put in modules within the code. Then set the utmost and minimal temperature vary to get the AMG sensor readings. Set the vary between 22 and 45. Even a better vary could be set, relying on the requirement and the aim for which you might be utilizing it. Whether it is for use for thermal evaluation and the temperature vary is bigger than 100, you possibly can set the vary accordingly.
Subsequent, set the pygame window measurement, the dimensions at which the video output in your thermal digital camera is obtained. Then map the sensor pixel knowledge to pink, inexperienced, blue, and yellow.
Allow us to perceive how the thermal digital camera works. The thermal digital camera has a thermal sensor inside many small IR thermal sensors. Every thermal sensor acts as a pixel of the thermal digital camera and it’s within the type of a matrix. So, if a good-quality, high-resolution thermal digital camera sensor is used, it has very small thermal sensors within the type of pixels.
Right here, we’re utilizing the AMG8833 thermal sensor, so the pixel measurement is a matrix of 8×8. To get the real-time video, we map these pixels, that’s, the small-sized IR thermal sensor knowledge, with colors like blue, yellow, and pink, the place pink depicts the most well liked and blue the coldest. After color mapping, the thermal picture is fashioned that we see in any thermal digital camera video.
Fig. 8 exhibits the code setting the show measurement and sensor.
Testing
When the gadget is prepared after making ready the above code, join it to the charging port/USB of your iPhone or Android telephone. Set up the VNC viewer on the telephone or PC on which you need to obtain the thermal digital camera video.
If iPhone is being transformed to a thermal digital camera by attaching it to this gadget, set up the VNC viewer, out there on the app retailer, on the iPhone. We have to insert the IP deal with and password of our Raspberry Pi and let the Pi hook up with both a telephone hotspot or to the identical Wi-Fi community that our telephone is related to.
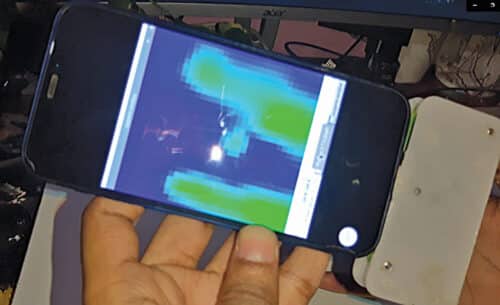
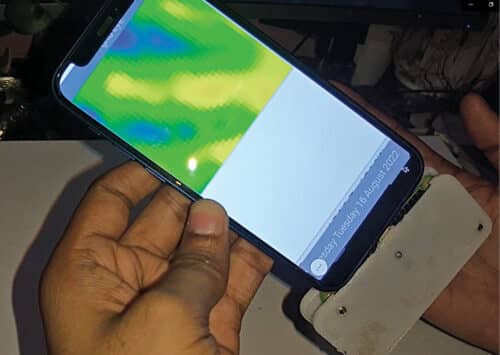
Now run the code that was ready earlier to get the real-time thermal video. Transfer your hand close to the thermal sensor gadget, or carry a scorching object close to the sensor gadget, and you may see the thermal video of the article .
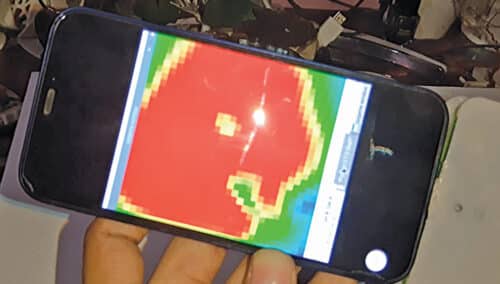
You might have simply designed the thermal screening attachment accent for the telephone. Fig. 9 and Fig. 10 present testing of the mission.
Obtain supply code
Ashwini Kumar Sinha is a know-how fanatic at EFY
