Getting began with Arduino board and importing the code might be a bit of complicated for some freshmen. As a result of getting all the small print from one supply isn’t all the time straightforward. To get began with Arduino board, first you would want to put in drivers, Arduino software program or Built-in Improvement Setting (IDE), after which add the code (referred to as sketch) to the Arduino board.
The step-by-step process to work with an Arduino board is given beneath. It’s relevant for the PCs utilizing Home windows because the working system (OS), together with Home windows 7, 8, and 10 variations.
The steps are additionally relevant for Home windows XP however a number of the dialogue home windows could also be completely different. Observe the steps beneath to begin with Arduino board:
- Set up Arduino IDE in your PC. You’ll be able to obtain the newest model of Arduino software program from https://www. arduino.cc/en/software program
- Join your Arduino board to PC utilizing a USB cable and watch for Home windows to start USB driver set up course of.
- If the Home windows installer doesn’t begin routinely, open the Home windows Gadget Supervisor from Begin→ Management Panel possibility and discover the Arduino beneath Ports (COM&LPT) listing.
- If Arduino isn’t discovered, go to Different Gadgets and choose the Unknown Gadget possibility. Then replace the motive force.
- Choose ‘Browse my laptop for driver software program’ possibility and go to the Arduino software program obtain location and choose Arduino.inf file/Arduino uno.inf (relying in your software program model) to put in the motive force.
- After profitable set up of the motive force, from the Arduino IDE choose Instruments/Board possibility. From right here choose your Arduino board amongst these listed, similar to Arduino Uno, Arduino Mega 2560, Arduino Leonardo, and so on.
- Select the right serial COM port to your board. The COM port quantity shall be seen beneath Gadget Manger.
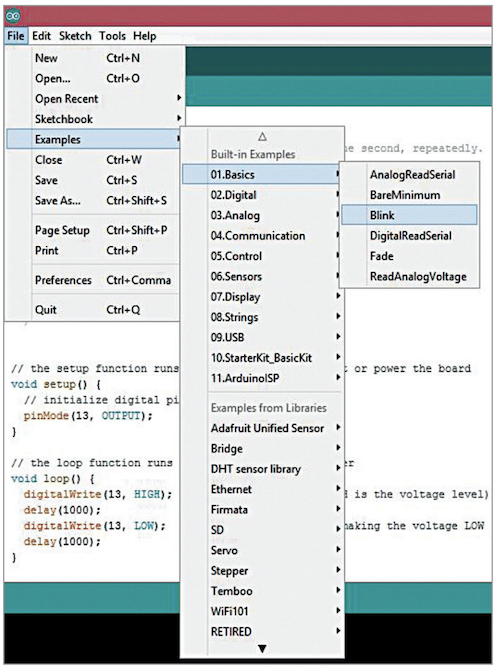
- Open the supply code/sketch, compile it and add the code to Arduino board by clicking the Add button. When you don’t have the sketch prepared, the best technique to begin with the Arduino programming is to make use of the ‘Blink’ sketch from the Examples in Arduino. You’ll be able to entry Blink supply code from File→Examples→Fundamentals possibility, as proven in Fig. 1.
- Compile the code and add it to the Arduino board.
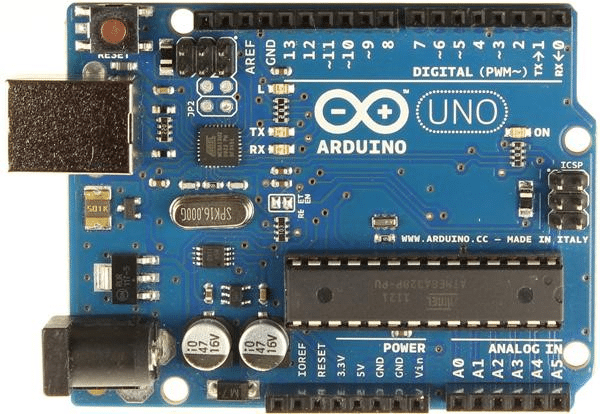
After importing the code, you’ll be able to entry the Arduino pins or interface the pins with different gadgets. For instance, the above Blink sketch is used to manage (activate/off) an LED by Arduino pin 13. You’ll be able to change the LED blinking frequency by altering the code in Blink sketch.
