
At one time, the creation of wealthy and interactive graphical experiences on the internet was solely attainable with the now-defunct Adobe flash participant plugin. However, the arrival of WebGL modified the sport. It caused an period of wealthy visualization on the internet.
WebGL is a JavaScript-rendering API that provides high-performance 2D and 3D interactive graphics functionality and GPU acceleration. The API works inside any suitable net browser with out plugins, in contrast to its predecessor. Nevertheless, WebGL has a steeper studying curve, so a number of frameworks have been constructed upon the API to ease the problems of working with it straight.
Listed below are a few of the hottest frameworks constructed on WebGL:
On this article, we’ll overview every part it is advisable know to begin utilizing PixiJS, a super-fast WebGL framework for rendering 2D graphics, with React. The demo portion of this text will embrace a number of PixiJS animation examples.
Soar forward:
Stipulations
To observe together with this tutorial, you need to have the next:
- Foundational data of React and its ideas
- Fundamental understanding of PixiJS, generally known as PIXI
Implement PixiJS in React
PixiJS is designed to work with HTML5 out of the field. Implementing it in a library like React requires a helper library, reminiscent of ReactPixi, that can facilitate the mixing and rendering of the PixiJS purposes.
ReactPixi is an open supply library for rendering high-performant PixiJS purposes in React. The library supplies helpful elements that make writing PixiJS purposes simpler and sooner utilizing React’s declarative fashion.
Let’s stroll via an instance to see how one can implement and render a PixiJS utility in react.
Arrange a React challenge
As a primary step, we have to arrange a pattern React challenge and set up the required packages.
Let’s bootstrap a React app with create-react-app by working the next command within the terminal:
npx create-react-app pixi-react-app
create-react-app will set up the most recent model of React inside a pixi-react-app folder. Nevertheless, on the time of writing, ReactPixi doesn’t assist React v18. So, earlier than we are able to use the library in our challenge, we might want to downgrade React to model 17.
To do that, first, open the package deal.json file within the root folder of the challenge and substitute the next traces of code:
"react": "^18.0.0"
"react-dom": "^18.0.0"
With this snippet:
"react": "^17.0.2"
"react-dom": "^17.0.2"
Subsequent, go to the index.js file and substitute the next code:
import ReactDOM from 'react-dom/shopper'
With this command:
import ReactDOM from 'react-dom';
Additionally, substitute the next code:
const root = ReactDOM.createRoot(doc.getElementById('root'));
root.render(
  <React.StrictMode>
    <App />
  </React.StrictMode>
);
With this snippet:
ReactDOM.render(
  <React.StrictMode>
    <App />
  </React.StrictMode>,
  doc.getElementById('root')
);
Lastly, delete the node_modules folder within the challenge’s root folder and run:
npm set up
After working the above command, your React challenge shall be downgraded to v17. Now you possibly can go forward and set up PixiJS and ReactPixi:
npm set up pixi.js @inlet/react-pixi
Create a PixiJS canvas
After organising the challenge, clear up the boilerplate codes and information. Subsequent, open the App.js file, and import the Stage part from ReactPixi:
import Stage from "@inlet/react-pixi"
PIXI doesn’t render objects on to the DOM. As an alternative, it has a renderer that generates an HTML5 canvas that serves as a show space for objects like sprites and textures within the browser. The Stage part that we simply imported comprises the underlying code for making a PIXI renderer.
The part additionally serves as a root container object referred to as the Stage in PIXI. This Stage object is a root container that holds all of the objects we would like PIXI to show to the renderer.
You possibly can add the Stage part to the App.js part like so:
const App = () => {
  return(
  <Stage>
  </Stage>
)}
Now, begin the event server by working npm begin inside the terminal. You need to see a rectangular-shaped canvas ingredient in your browser just like the picture beneath.
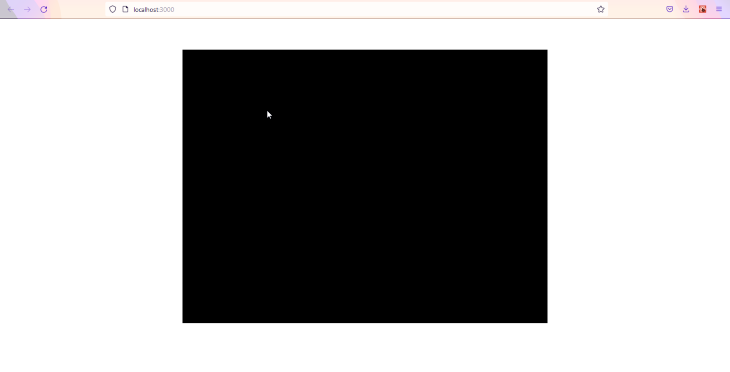
The rendered black sq. is the show space the place PIXI will show objects.
The Stage part accepts properties that can be utilized to configure the canvas. For instance, the width and peak props are set to find out the size of the canvas.
const App = () => {
  return(
  <Stage width={300} peak={300}>
  </Stage>
)}
We are able to additionally use the choices prop to set extra properties, reminiscent of anti-aliasing (antialias), autoDensity, and backgroundColor, to the Stage part.
const App = () => {
  return(
  <Stage
  width={300}
  peak={300}
  choices={{
  backgroundColor: 0x012b30,
  antialias: true
  }}>

  </Stage>
)}
Now, let’s see how we are able to render objects to the canvas.
Render sprites
Sprites are the constructing blocks of PixiJS. These particular photographs will be manipulated and managed with code. Sprites are helpful for making interactive and animated graphics with the assistance of properties that allow us management their place, measurement, and a bunch of different options.
Rendering sprites with ReactPixi is pretty simple. The library supplies a Sprite part that can be utilized to load and render photographs to the browser. This part negates the problems of changing sprite photographs into WebGL textures earlier than loading them to the renderer.
To make use of the Sprite part, import it contained in the App.js file like so:
import { Stage, Sprite} from '@inlet/react-pixi'
The Sprite part supplies a number of helpful properties that can be utilized to control and management the looks and place of sprite photographs. One instance is the picture property, which accepts a relative or absolute URL of the picture to be rendered to the canvas.
Loading a sprite to the canvas is so simple as nesting the Sprite part contained in the Stage JSX tags and passing a URL pointing to the picture supply to the picture prop:
...
import wizard from "./wizard.png";

const App = () => {
  return(
  <Stage ...>
      <Sprite picture={wizard} />
  </Stage>
)}
After you’ve loaded a picture and saved your challenge, you need to see the Sprite picture rendered contained in the canvas within the browser.
Some non-obligatory props of the Sprite part embrace the width and peak props and the x and y props. The width and peak properties are used to control the size of the sprite, whereas the x and y properties are used to place the sprite. The x prop positions the sprite on the x axis, whereas the y prop positions it on the y axis.
<Sprite picture={wizard} x={150} y={150}/>
Render graphics
We are able to do extra with ReactPixi than simply load photographs to the renderer. The library supplies a Graphics part that makes use of PIXI’s low-level drawing software to allow us to attract totally different sorts of shapes and features and likewise add textures to the renderer.
Let’s use the Graphics part to attract an oblong form to the renderer.
First, import the Graphics part from ReactPixi and nest it contained in the Stage tags:
import { Stage, Sprite, Graphics} from '@inlet/react-pixi'
Subsequent, create a perform with the next code and move it as a price contained in the Graphics draw prop:
const App = () => {

    const draw = g => {
      g.beginFill(0x0033cc, 1)
      g.drawRect(250, 150, 150, 120)
      g.endFill()
    };

  return(
  <Stage ...>
      <Sprite picture={wizard} />
      <Graphics draw={draw}/>
  </Stage>
)}
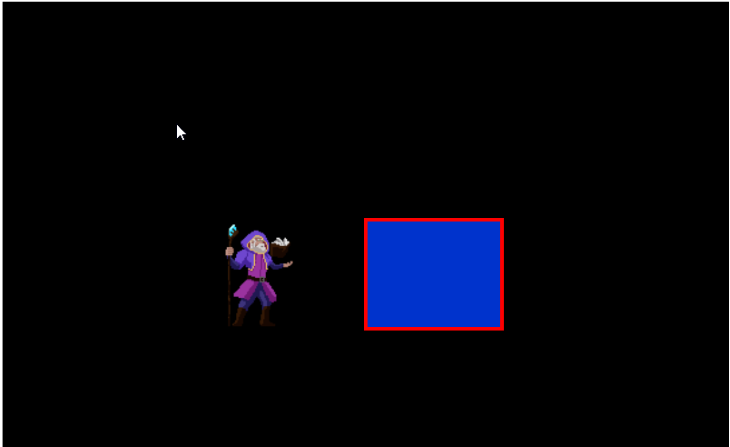
Contained in the draw perform, we’ll set the fill shade of the form with the beginFill methodology, after which draw the form with the drawRect methodology. The drawRect‘s arguments are the x, y, peak, and width properties, respectively.
After you’ve saved the challenge, a blue field ought to seem subsequent to the Sprite picture we loaded earlier contained in the canvas.
![]()
We may give the form an overview by including a lineStyle methodology contained in the draw perform and giving it the next properties:
  const draw = g => {
    ...
    g.lineStyle(4,0xff0000,1)
    g.endFill()
  };
The draw prop is a callback perform that will get referred to as each time its properties change. So you’ll want to memoize it by declaring the draw perform inside React’s useCallback hook:
  const draw = useCallback(g => {
    g.beginFill(0x0033cc, 1)
    g.lineStyle(4,0xff0000,1)
    g.drawRect(250, 150, 150, 120)
    g.endFill()
  },[]);
Render textual content
ReactPixi’s Textual content part makes use of PIXI’s Textual content object underneath the hood to show textual content to the renderer. The part has two main props: textual content, which accepts the textual content to be displayed, and fashion, which accepts an object that defines the textual content properties.
<Textual content
    textual content="Hey World"
    fashion={
      new TextStyle({
        align: 'middle',
        fill: ['#ffffff', '#00ff99'], // gradient
        stroke: '#01d27e',
        strokeThickness: 5,
        letterSpacing: 20,
  />
To make use of the Textual content part in your challenge, first import it from ReactPixi:
import { Stage, Sprite, Graphics, Textual content } from '@inlet/react-pixi';
Subsequent, add it to the Stage and move it some textStyle props:
const textStyle = new TextStyle({
align: "middle",
fontWeight: "daring",
fill: ["#26f7a3", "#01d27e"],
stroke: "#eef1f5",
strokeThickness: 1,
letterSpacing: 5,
wordWrap: false,
wordWrapWidth: 350
})
const App = () => (
<Stage ...>
….
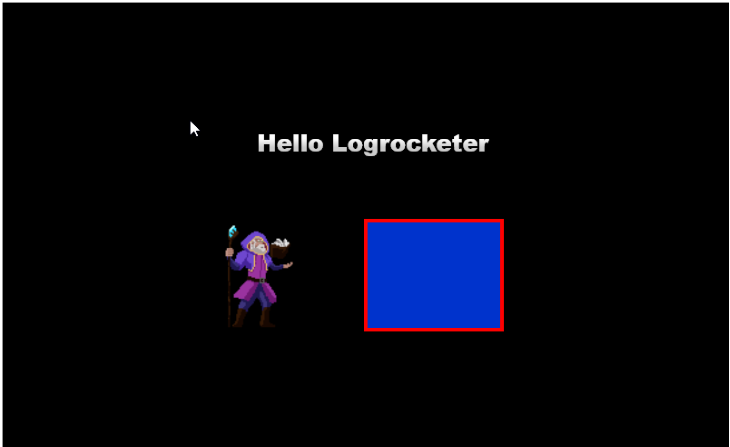
<Textual content textual content="Hey Logrocketer" fashion={textStyle}/>
….
</Stage>
);
After saving the challenge, we see the textual content “Hey Logrocketer” rendered to the canvas.
Add filters
ReactPixi supplies a withFilters perform that simplifies the method of including filters to things within the renderer. The perform makes use of PIXI’s international object to entry the filter object and its properties.
So as to add filters to our sprite, we should first import the withFilters perform and the PIXI international object from PixiJS like so:
import { Stage, Sprite, Graphics, Textual content, withFilter } from '@inlet/react-pixi';
import * as PIXI from 'pixi.js';
The withFilters perform accepts two arguments, a container part, and an object config.
const Filters = withFilters(Container, {
  blur: PIXI.filters.BlurFilter
});
The Container argument offers the withFilters perform the traits of a container object.
As talked about beforehand, a container is an object that’s used for grouping different objects which might be to be displayed within the renderer. The filter we set on the Container shall be utilized to the objects nested inside the container.
The second argument, which is the filter config, comprises the filter’s preferences. That is the place we entry the filter object from the PIXI international object and set the form of filter we need to apply to the container. On this case, we’re making use of a blur filter utilizing the BlurFilter object property.
Don’t neglect to import the Container part from ReactPixi like so:
import { Stage, Sprite, Graphics, Textual content, withFilter, Container } from '@inlet/react-pixi';
Now that we’ve configured a filter container, let’s apply it to our Sprite. Add the Filters container to the Stage and nest the Sprite part inside. Then, move a blur prop to the container and provides it the next property:
const App = () => (
  <Stage>
     ….
    <Filters blur={{ blur: 5 }} >
      <Sprite picture={wizard} .../>
    </Filters>
     ….
  </Stage>
);
It will add a blur filter impact to the sprite within the renderer. You possibly can regulate the blur impact by altering the worth of the blur prop.
Animate sprites
A looper, additionally known as a sport loop, is required to animate objects in PIXI. The gameLoop perform known as 60 occasions per second, and each code nested contained in the perform will get referred to as simply as incessantly.
For instance, the next code will make the wizard sprite transfer to the left at a price of 1 pixel per body:
perform setup() {
  app.ticker.add((delta) => gameLoop(delta));
}
perform gameLoop(delta) {
  wizard.x -= 1;
}
A looper perform is created utilizing PIXI’s ticker occasion; it’s the equal of JavaScript’s requestAnimationFrame methodology. ReactPixi supplies a useTick Hook that binds a listener to the ticker occasion. With it, we are able to animate the place and state of the Sprite.
Earlier than we start animating, we’ll first import the useTick and useState Hooks from ReactPixi and React, respectively:
import { useTick, ... } from '@inlet/react-pixi';
import {..., useState} from 'react'
Subsequent, let’s create a brand new part for the wizard Sprite and nest it inside a container within the App.js part:
...
const Wizard = () =>{
  return(
    <Sprite
      picture={wizard}
      x={x}
      y={y}
      anchor={0.5}
      scale={1.3}
    />
  )
}

const App = () => (
  <Stage ...>
    <Wizard />
     ….
  </Stage>
);
Now. add the next code contained in the Sprite part perform:
import { Stage, Container, Sprite, Textual content, Graphics, withFilters,useTick } from '@inlet/react-pixi'
import { useState, useCallback} from "react";
import * as PIXI from "pixi.js"
import wizard from "./wizard.png";

let i = 0;

const Wizard = () =>{
  const [x, setX] = useState(0)
  const [y, setY] = useState(0)

  useTick(delta =>{
    i += 0.05 * delta;
    setX(Math.sin(i) * 100)
    setY(Math.sin(i/1.5) * 100)
   });

  return(
    <Sprite
      picture={wizard}
      x={x}
      y={y}
      anchor={0.5}
      scale={1.3}
    />
  )
}
const App = () => (
  <Stage ...>
    <Wizard />
     ….
  </Stage>
);
Within the above code block, we declare a variable, i, and assign it a price of 0. Subsequent, we create two state variables, x and y, with an preliminary worth of 0 utilizing the useState Hook. Then, we name the useTick Hook and move to it a callback perform.
Contained in the callback perform, we assign a delta worth to the i variable and set the sine results of the variable’s worth multiplied by 100 to the x and y state variables.
Lastly, we move the worth of the x and y state variables to the Sprite‘s x and y props, respectively.
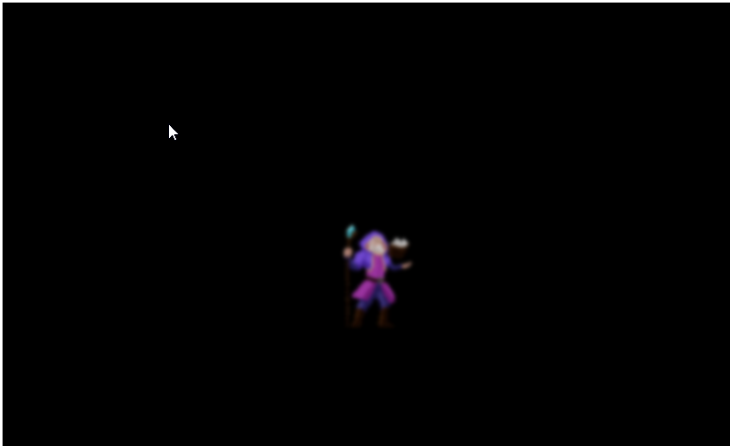
After saving the code, your sprite ought to animate equally to the wizard proven beneath:
![]()
Conclusion
On this article, we demonstrated how one can create a PIXI canvas, load sprites, textual content, and graphic objects into the renderer, add filters to things, and animate objects.
The aim of this text is to present you an thought of how one can implement PixiJS purposes in React. Go to the ReactPixi and PixiJS documentation to be taught extra concerning the framework and the way you need to use it to create advanced interactions in your initiatives.
Full visibility into manufacturing React apps
Debugging React purposes will be tough, particularly when customers expertise points which might be laborious to breed. For those who’re excited by monitoring and monitoring Redux state, robotically surfacing JavaScript errors, and monitoring sluggish community requests and part load time, strive LogRocket. 

LogRocket is sort of a DVR for net and cellular apps, recording actually every part that occurs in your React app. As an alternative of guessing why issues occur, you possibly can mixture and report on what state your utility was in when a problem occurred. LogRocket additionally screens your app’s efficiency, reporting with metrics like shopper CPU load, shopper reminiscence utilization, and extra.
The LogRocket Redux middleware package deal provides an additional layer of visibility into your person classes. LogRocket logs all actions and state out of your Redux shops.
Modernize the way you debug your React apps — begin monitoring at no cost.
