
Getting began together with your initiatives as shortly as potential could be a very important think about internet growth – each in enterprise and personal contexts. That’s why frameworks like Subsequent.js and libraries like MUI are so common and helpful.
On this weblog put up, we’ll cowl the method of organising Subsequent.js with MUI via the next sections:
Earlier than we take a look on the concrete setup, let me first clarify what Subsequent.js and MUI are and why the setup will be completely different from utilizing MUI in different eventualities.
What’s MUI?
MUI (previously Materials UI) is a really well-documented library of elements that implements Google’s Materials Design system. This library is open supply and, therefore, absolutely customizable. Proper out of the field, MUI presents production-ready elements like buttons, alerts, menus, tables, and rather more.
Try MUI’s docs to get an outline of what they provide.
What’s Subsequent.js?
Subsequent.js is a very talked-about framework for creating absolutely practical internet apps with React. Subsequent.js not solely takes the whole lot from you regarding the configuration of your challenge, but in addition presents options for issues like information fetching and routing.
What’s particular in regards to the mixture of Subsequent.js and MUI?
One more reason why Subsequent.js is so common is that it means that you can pre-render each web page of your internet app. As a consequence, Subsequent.js will generate HTML prematurely on the server aspect, as an alternative of constructing JavaScript do all that on the shopper aspect. This conduct usually results in improved efficiency and search engine marketing.
Nonetheless, when mixed with MUI, server-side rendering presents us with some challenges. Despite the fact that MUI is designed to be rendered on the server aspect, builders have to guarantee that this performance is appropriately built-in — and that is precisely what this weblog put up is about.
Usually, it isn’t completely essential to render CSS on the server aspect. However when you don’t embody the kinds in your server response and let the CSS be injected by the shopper, the chance of FOUC (flickering) can be current.
Getting began
To comply with alongside nicely, I’d advocate having primary information of JavaScript, React and Subsequent.js (particularly ideas like server-side rendering) can be useful.
The supply code from this weblog put up will be discovered right here.
In an effort to get began, let’s create a brand new Subsequent.js challenge. For that, change right into a listing the place you need to retailer your challenge and run:
npx [email protected]
Within the course of, you’ll be requested to call your challenge. Select no matter you want right here. After that, become your challenge with:
cd <project-name>
There’s one factor left regarding the setup and that’s to put in the required packages.
npm set up @mui/materials @emotion/react @emotion/server
You’ll discover that we set up packages from a library known as Emotion. In brief, Emotion is a library that means that you can write CSS in JavaScript and is used within the newest model of MUI (5) to create kinds.
Upon getting put in all packages, go forward and begin your Subsequent.js utility:
npm run dev
Create your customized theme
Earlier than we customise the theme, we are able to clear up our challenge. You possibly can delete the API listing within the pages listing, since we received’t implement any API routes on this put up.
Secondly, exchange all of the kinds within the House.module.css file within the kinds listing with the next CSS:
.container {
 padding: 0 2rem;
 show: flex;
 flex-direction: column;
 justify-content: heart;
 align-items: heart;
 top: 100vh;
 background-color: aquamarine;
}
Now, soar over to the index.js file in your pages listing and exchange the code with the next:
import kinds from "../kinds/House.module.css";
import Swap from "@mui/materials/Swap";

const label = { inputProps: { "aria-label": "Swap demo" } };

export default perform House() {
 return (
   <div className={kinds.container}>
     <div>
       <span>With default Theme:</span>
     </div>
     <Swap {...label} defaultChecked />
     <Swap {...label} />
     <Swap {...label} disabled defaultChecked />
   </div>
 );
}
As you may see within the code above, we import a Swap part, which we use 3 times with three completely different states. Your webpage ought to appear like this:
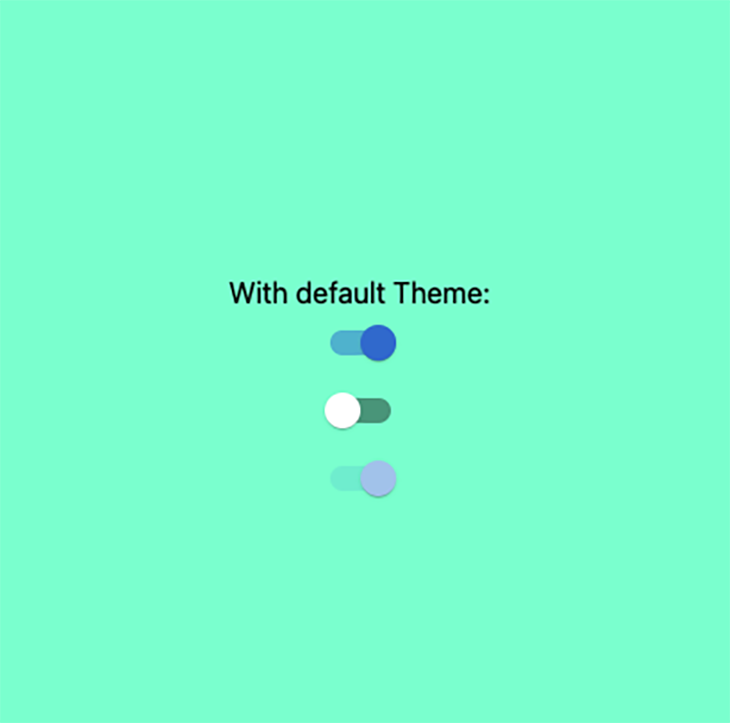
At this level, there isn’t a rendering of the kinds on the server aspect but. Nonetheless, our web page seems to be like we intend it to, and it’s fairly potential that you just received’t discover any flickering.
However, if the web page will get extra advanced and intensive, the chance of flickering will enhance.
Implement the customized theme
Subsequent, let’s really implement our customized theme. For that, you’ll have to create a brand new listing on the root degree of your challenge. In my case, I known as it utils. Inside that listing, create a file known as theme.js and add the next code:
import { createTheme } from "@mui/materials/kinds";
export const theme = createTheme({
palette: {
major: {
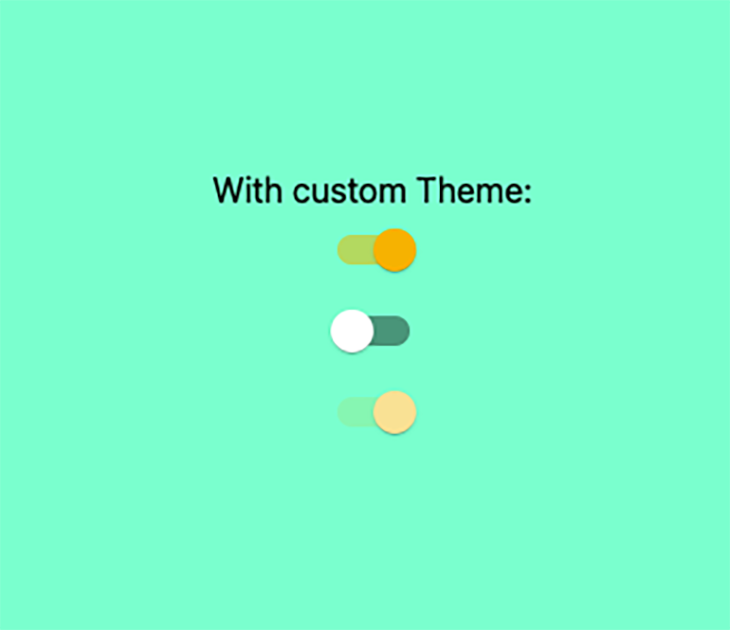
most important: "#fcba03",
},
},
});
This file will will let you override MUI’s default theme settings. For the sake of simplicity, we’ll solely change the first palette to be orange.
To really apply these modifications, we have to inform our webpage to make use of this tradition theme. That is executed within the _app.js file within the pages listing:
import "../kinds/globals.css";
import { ThemeProvider } from "@mui/materials";
import { theme } from "../utils/theme";

perform MyApp({ Element, pageProps }) {
 return (
   <ThemeProvider theme={theme}>
     <Element {...pageProps} />
   </ThemeProvider>
 );
}

export default MyApp;
The one factor that must be adjusted right here is to wrap our part with a ThemeProvider part and move our customized theme to it. This ThemeProvider part will deal with the injection of our theme to our utility.
Now, our web page ought to appear like this:
 id=”add-server-side-rendered-styles”>Add server-side-rendered kinds
To lastly add server-side-rendered CSS, we have to add/customise three ultimate recordsdata.
First, create a brand new file within the utils listing known as createEmotionCache.js.
import createCache from "@emotion/cache";

export default perform createEmotionCache() {
 return createCache({ key: "css", prepend: true });
}
This createEmotionCache perform ensures that Emotion’s default settings can be changed with our customized kinds and that this data can be configured each on the shopper and server sides. The prepend choice is about to be true, which is able to trigger our customized kinds to load first.
Within the subsequent step, we’ll first present this cache to the shopper aspect within the _app.js file within the pages listing:
import "../kinds/globals.css";
import { ThemeProvider } from "@mui/materials";
import { theme } from "../utils/theme";
import createEmotionCache from "../utils/createEmotionCache";
import { CacheProvider } from "@emotion/react";

const clientSideEmotionCache = createEmotionCache();

perform MyApp({
 Element,
 emotionCache = clientSideEmotionCache,
 pageProps,
}) {
 return (
   <CacheProvider worth={emotionCache}>
     <ThemeProvider theme={theme}>
       <Element {...pageProps} />
     </ThemeProvider>
   </CacheProvider>
 );
}

export default MyApp;
Within the first line of the code snippet above, we create the client-side cache with the perform we simply outlined. After that, all we have to do is to wrap our part inside a CacheProvider in an effort to present our styling to our elements.
Lastly, we have to determine a technique to inform the server aspect to render the kinds appropriately earlier than the web page/response is distributed to the shoppers. This can be executed in a customized _document.js file, which we have to add to the pages listing. The intention is so as to add our kinds to the <head> tag of our web page. Add following code to the newly created _document.js file:
import * as React from "react";
import Doc, { Html, Head, Important, NextScript } from "subsequent/doc";
import createEmotionServer from "@emotion/server/create-instance";
import createEmotionCache from "../utils/createEmotionCache";

export default class MyDocument extends Doc {
 render() {
   return (
     <Html lang="en">
       <Head>
         {this.props.emotionStyleTags}
       </Head>
       <physique>
         <Important />
         <NextScript />
       </physique>
     </Html>
   );
 }
}

MyDocument.getInitialProps = async (ctx) => {
 const originalRenderPage = ctx.renderPage;

 const cache = createEmotionCache();
 const { extractCriticalToChunks } = createEmotionServer(cache);

 ctx.renderPage = () =>
   originalRenderPage({
     enhanceApp: (App) =>
       perform EnhanceApp(props) {
         return <App emotionCache={cache} {...props} />;
       },
   });

 const initialProps = await Doc.getInitialProps(ctx);

 const emotionStyles = extractCriticalToChunks(initialProps.html);
 const emotionStyleTags = emotionStyles.kinds.map((fashion) => (
   <fashion
     data-emotion={`${fashion.key} ${fashion.ids.be a part of(" ")}`}
     key={fashion.key}
     dangerouslySetInnerHTML={{ __html: fashion.css }}
   />
 ));

 return {
   ...initialProps,
   emotionStyleTags,
 };
};
The code from the snippet above will solely run on the server aspect. Despite the fact that the getInitialProps perform will also be used on the shopper aspect, this code is not going to be executed on the shopper aspect. It’s because Subsequent.js is configured in a manner that this _document.js file is just being rendered on the server.
In case you check out the highest of the getInitialProps perform, you’ll discover that we’re utilizing the identical createEmotionCache perform as on the shopper aspect. Simply this cache is then handed to the App part within the ctx.renderPage perform because the emotionCache prop.
The very last thing we’re going to have a better take a look at is the emotionStyleTags, which will be discovered on the backside of the code snippet within the return assertion of our getInitialProps perform.
Ultimately, emotionStyleTags is an array of JSX-elements; respectively, style-tags. These style-tags are created based mostly on this line of code:
const emotionStyles = extractCriticalToChunks(initialProps.html);
This code is from the place we seize the kinds from Emotion.
Lastly, we add emotionStyleTags contained in the <Head> part with this line of code:
<Head>
   {this.props.emotionStyleTags}
</Head>
Conclusion
As you may see on this weblog put up, organising Subsequent.js together with MUI will be form of a battle. However contemplating some great benefits of this mix, the commerce off remains to be fairly good. If you wish to get began immediately, be happy to clone the repo with the code from this weblog put up.
LogRocket: Full visibility into manufacturing Subsequent.js apps
Debugging Subsequent purposes will be troublesome, particularly when customers expertise points which can be troublesome to breed. In case you’re enthusiastic about monitoring and monitoring state, routinely surfacing JavaScript errors, and monitoring gradual community requests and part load time, attempt LogRocket. 

LogRocket is sort of a DVR for internet and cell apps, recording actually the whole lot that occurs in your Subsequent app. As a substitute of guessing why issues occur, you may mixture and report on what state your utility was in when a difficulty occurred. LogRocket additionally displays your app’s efficiency, reporting with metrics like shopper CPU load, shopper reminiscence utilization, and extra.
The LogRocket Redux middleware bundle provides an additional layer of visibility into your person periods. LogRocket logs all actions and state out of your Redux shops.
Modernize the way you debug your Subsequent.js apps — begin monitoring free of charge.
