Web sites are normally hosted on-line, however chances are you’ll have to construct an area WordPress web site for varied causes. Whether or not you’re making a staging space, testing new designs, or beginning your subsequent freelance challenge, Native is likely one of the finest methods to make an offline WordPress web site.
It’s easy to place WordPress in your pc, clone your web site, and even publish content material straight out of your native machine with this easy-to-use and highly effective instrument. Plus, you may push your web site stay with Native integrations.
On this weblog publish, we’ll present you the best way to simply begin a brand new freelance challenge with Native. We’ll additionally supply useful tricks to make the method run as easily as doable. Let’s get began!
An Introduction to Native (And Why You Would possibly Wish to Use It)
As a freelancer, you seemingly need to juggle many various tasks without delay. In the event you’re engaged on WordPress websites, meaning continually updating themes and plugins, including new content material, and ensuring all the pieces stays suitable. It may be rather a lot to maintain monitor of.
That’s the place Native WordPress improvement is available in. Through the use of Native, you may be sure that your adjustments gained’t have an effect on your stay web site till you’re able to push them stay. Moreover, you should use Native to check new plugins and themes earlier than making them public.
Furthermore, an area WordPress web site lets you prototype consumer web sites and tasks earlier than making them public. Then your purchasers may give you suggestions and work to develop the right closing product.
There are a lot of advantages to utilizing Native, together with:
- One-click WordPress installations
- Assist for domain-validated SSL certificates
- The power to entry your native websites’ root information utilizing Safe Shell (SSH)
- Shareable demo URLs to showcase your web site
Fortuitously, it’s additionally simple to arrange an area web site. We’ll discover this course of in-depth within the subsequent a part of this publish.
Find out how to Begin a Freelance Venture with Native
You’ll have to do just a few key issues when beginning a contract challenge with Native. Let’s check out this complete course of!
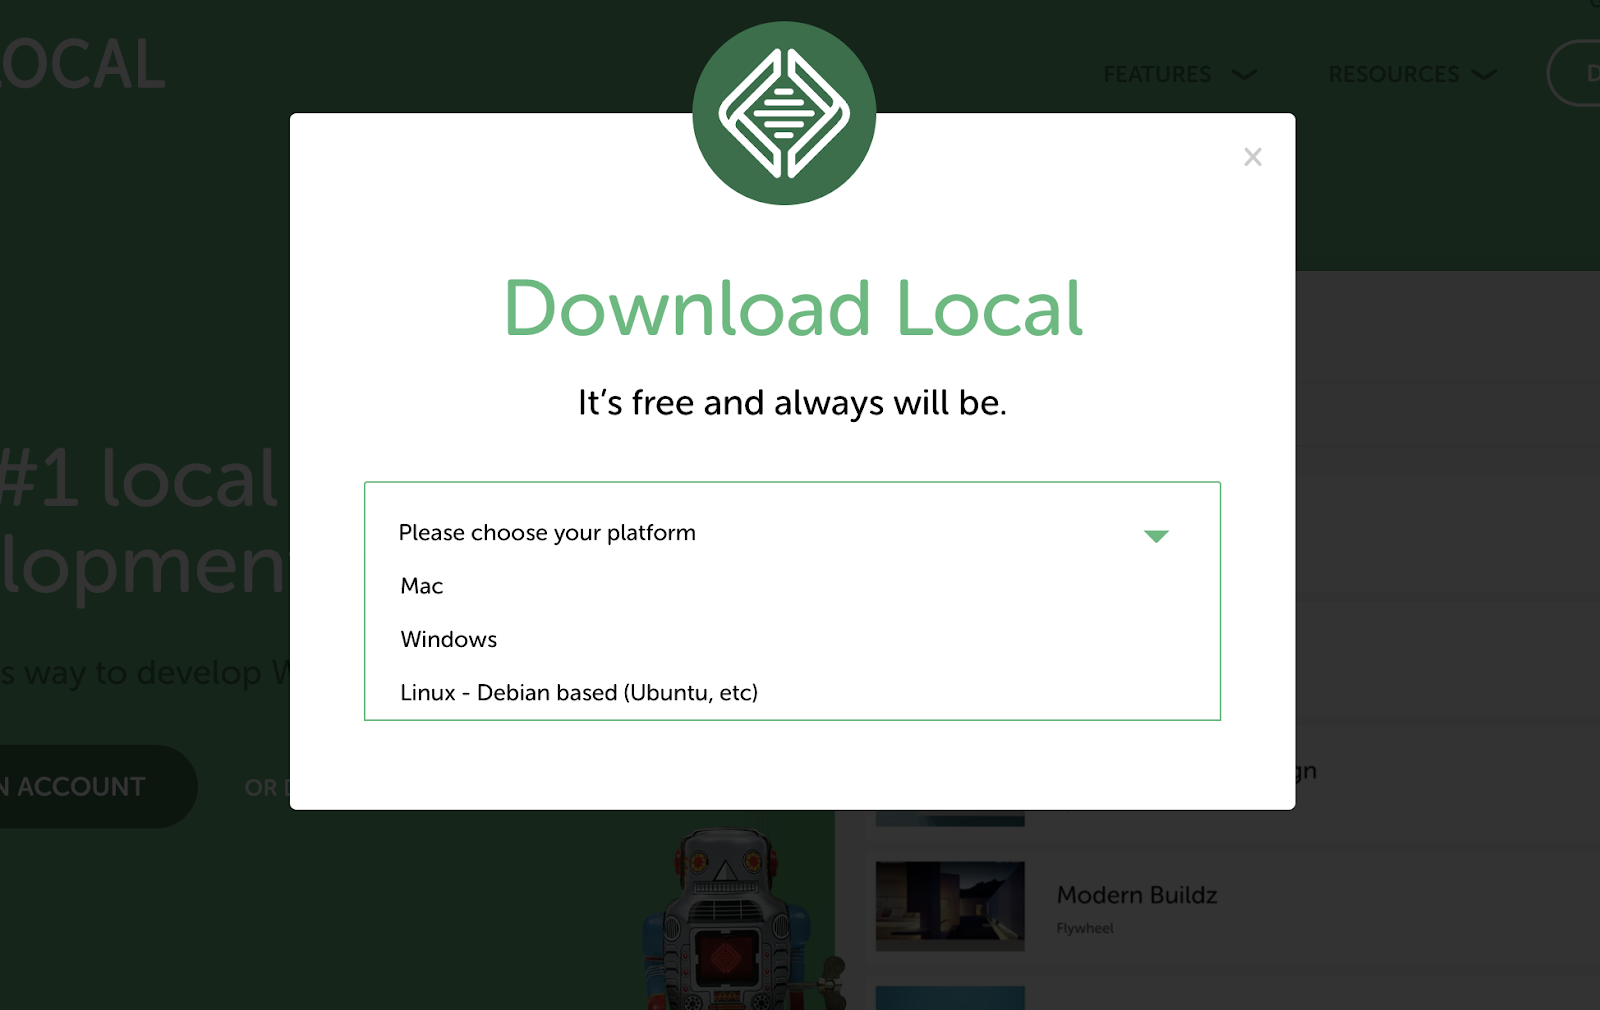
Step 1: Set up Native
To put in Native, you’ll have to obtain it from the web site first. After that, select your platform and observe the prompts. The entire course of ought to take lower than a minute:
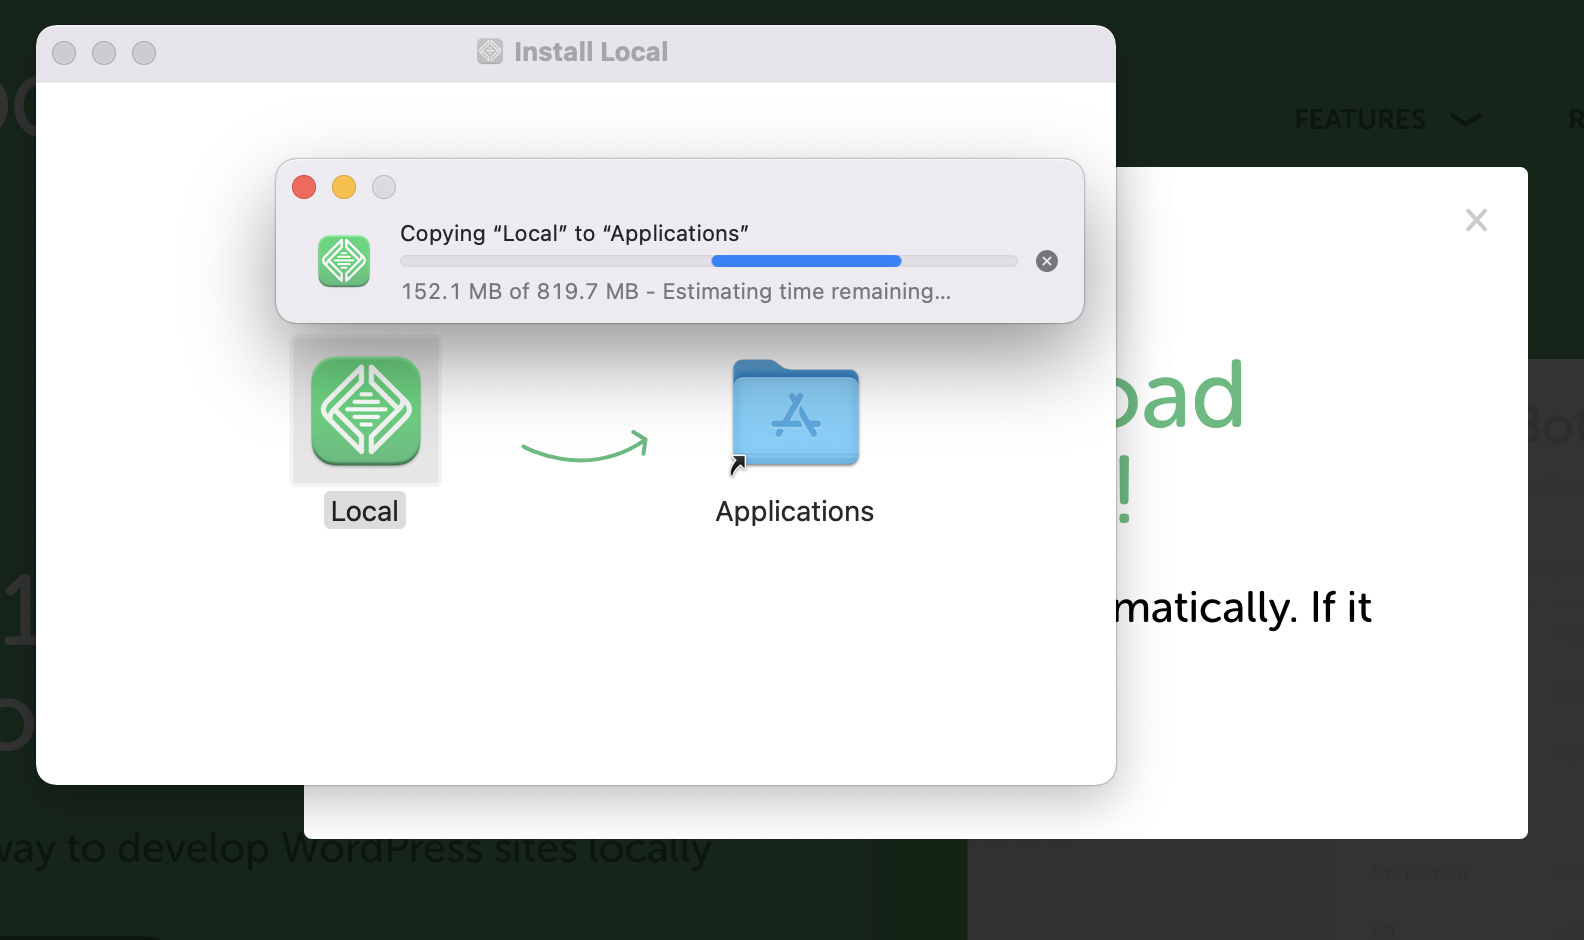
Subsequent, run the installer file and observe the prompts to put in Native in your system. Relying in your platform, chances are you’ll have to enter your admin password or affirm some settings:
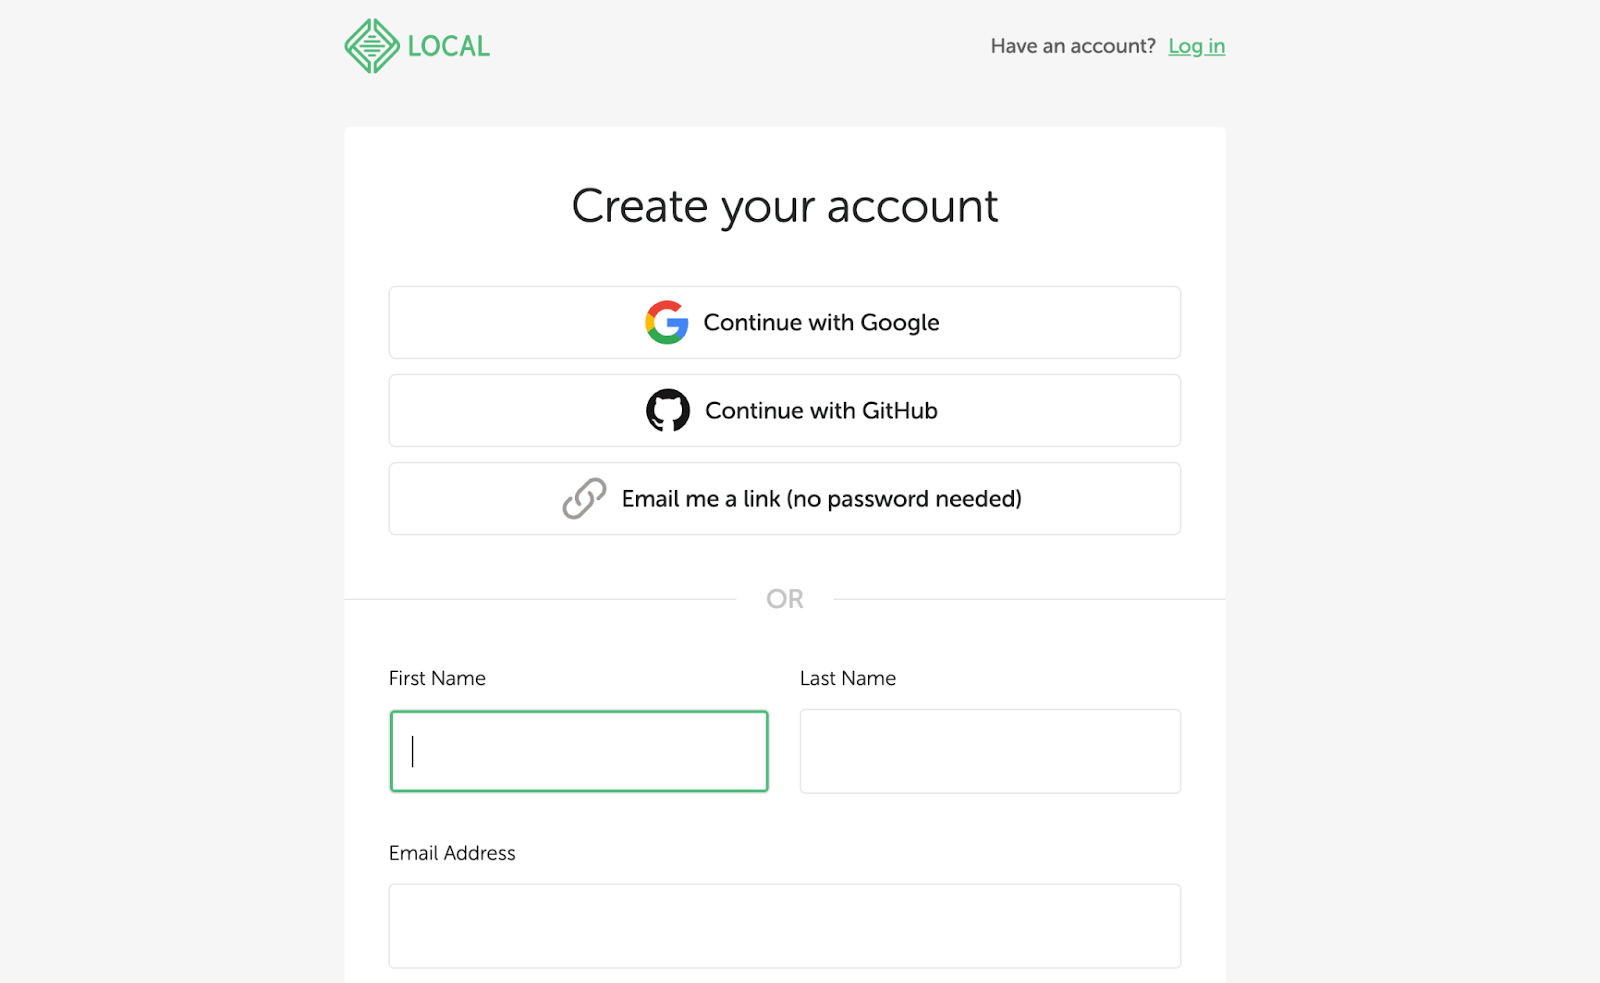
Go to the start-up display screen, hit Create A Free Account, and Native will take you to the display screen to arrange your account:
When you create your account, you can be taken to the Dashboard display screen:
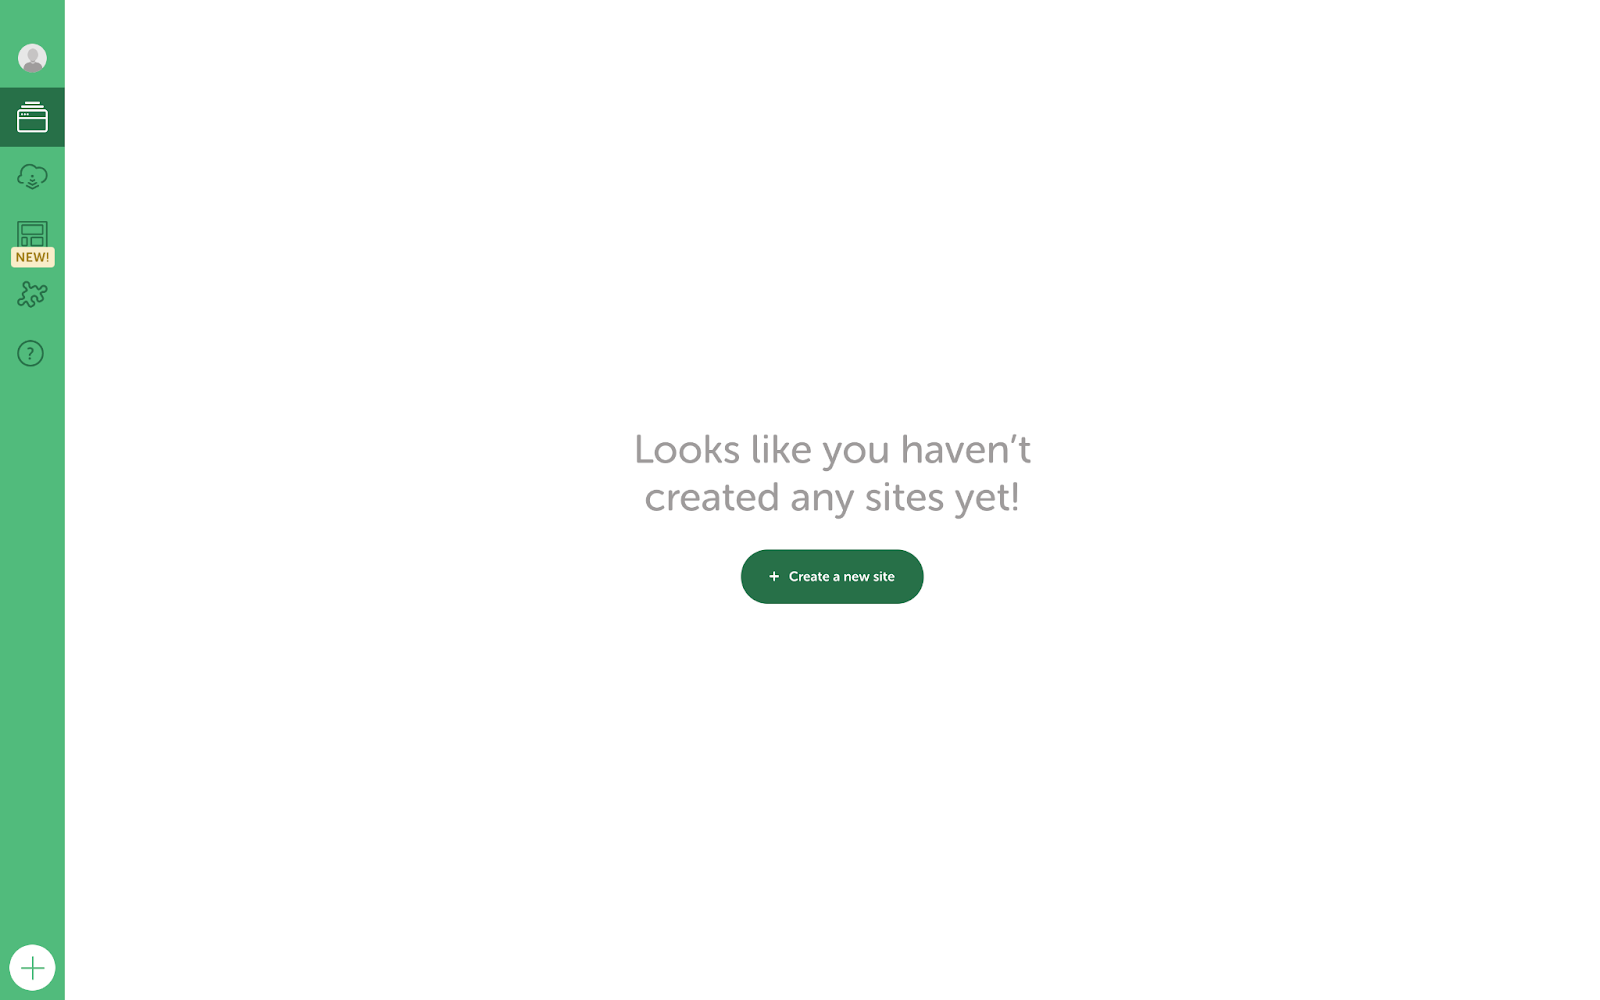
From right here, you can begin creating an area web site and connecting your WordPress account.
Step 2: Construct Your Native WordPress Web site
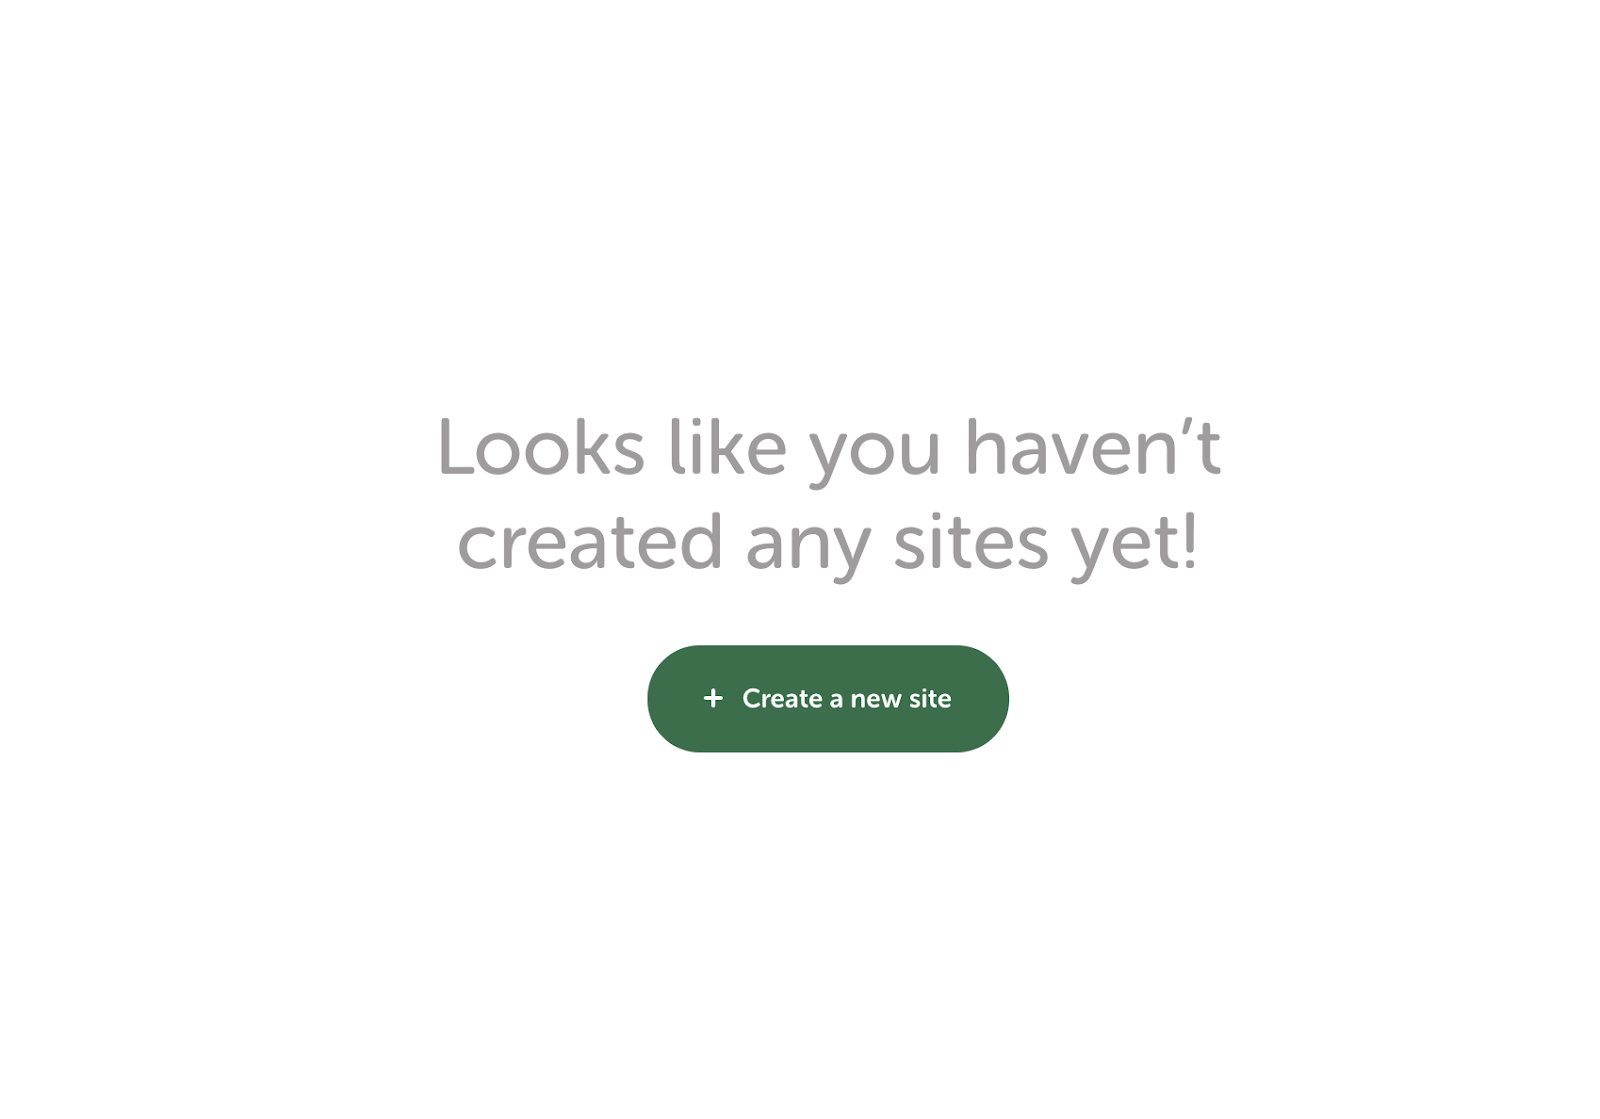
Subsequent choose the + Create a brand new web site button:
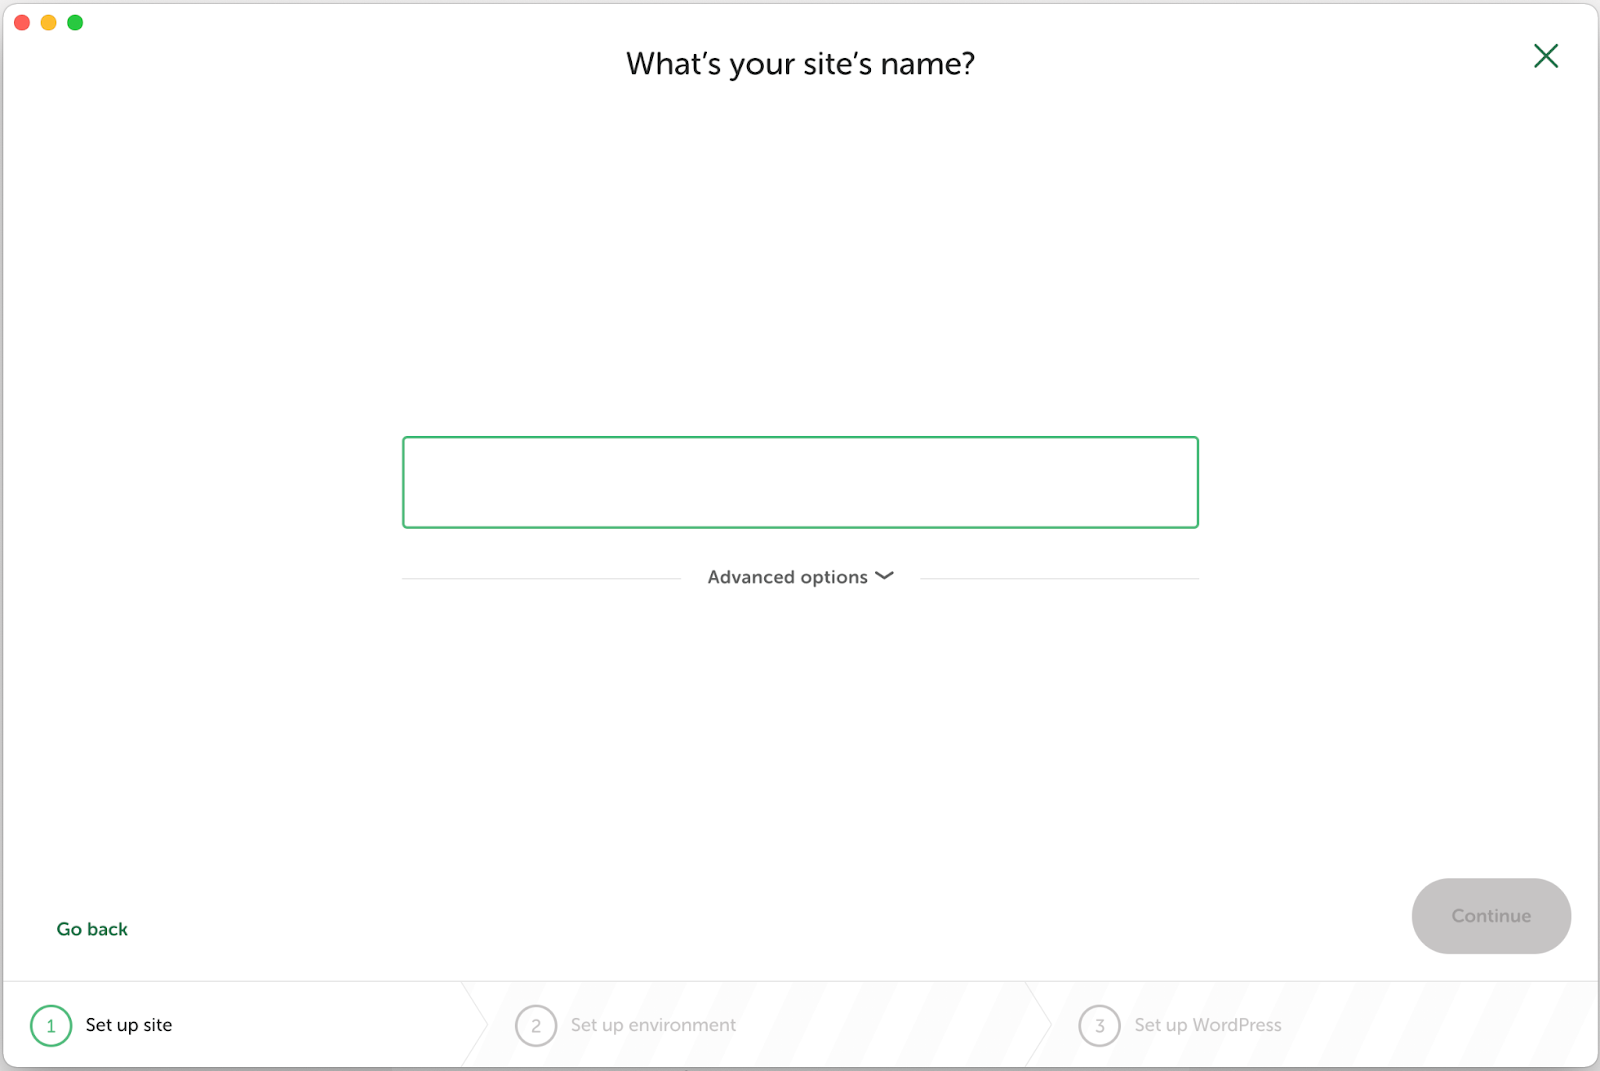
Within the easy setup wizard, give your web site a reputation:
Subsequent, select your setting — both Most popular or Customized. We advocate choosing the Most popular possibility in case you’re a newbie, as it’s less complicated and simpler to make use of:
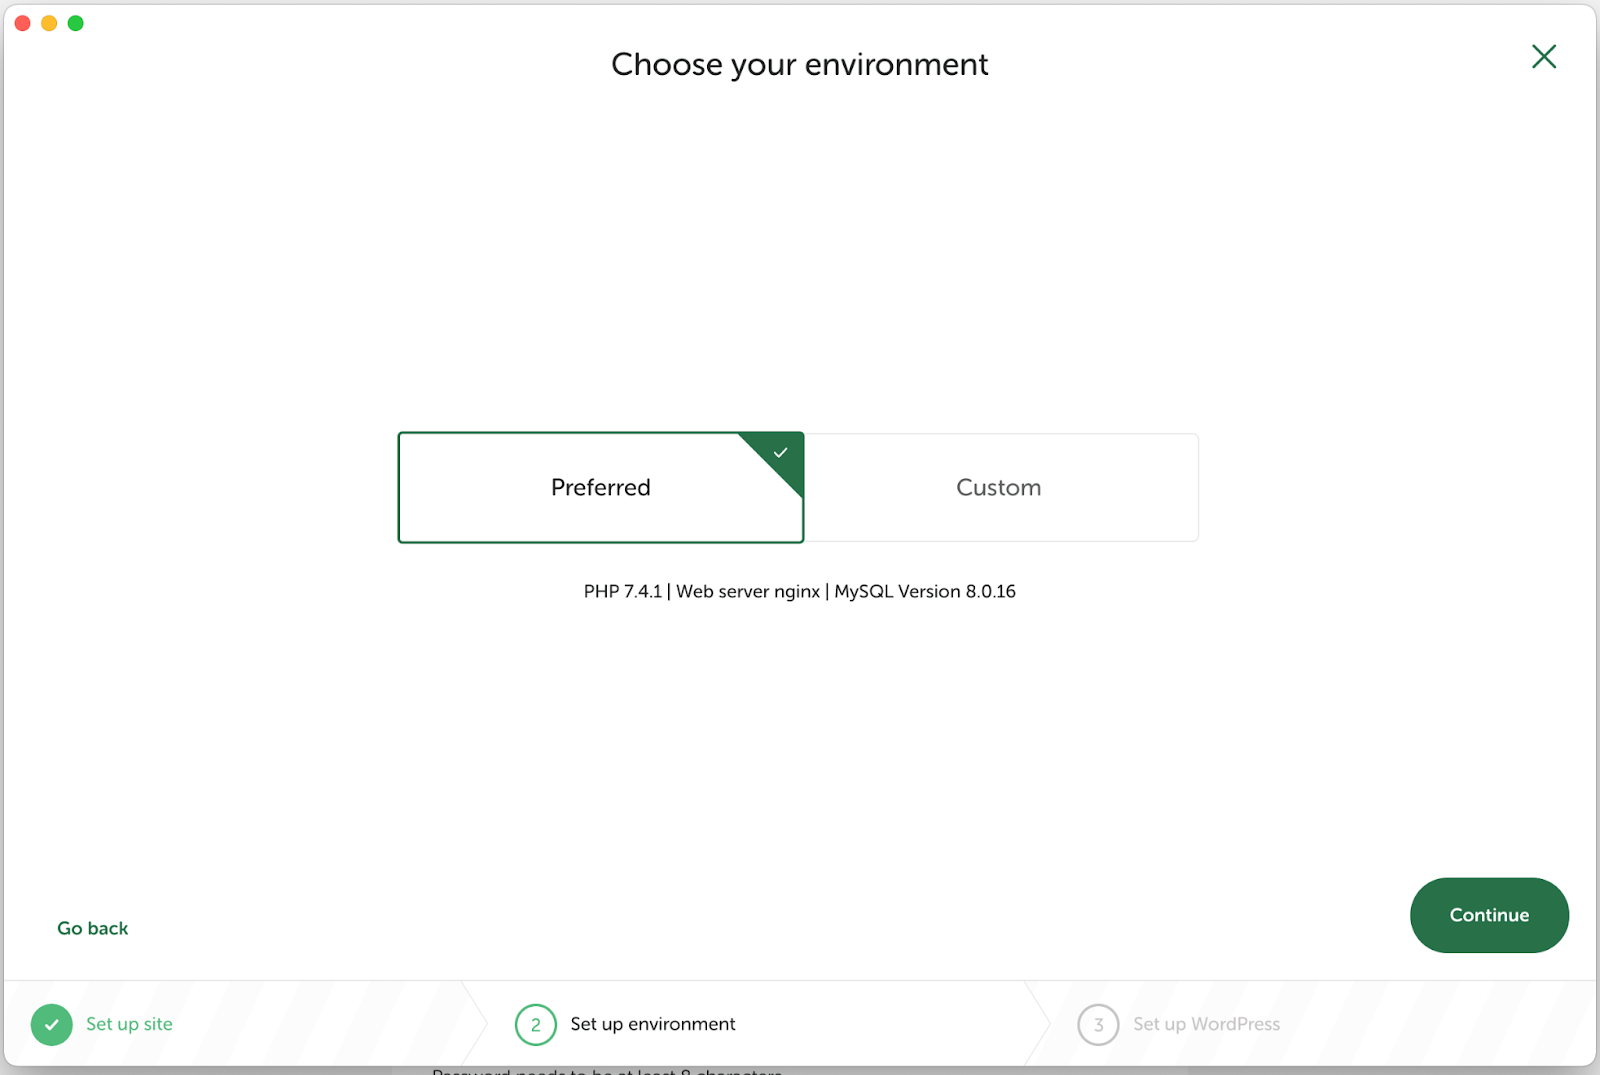
In case you are extra skilled or need better management over your web site, you may select the Customized possibility.
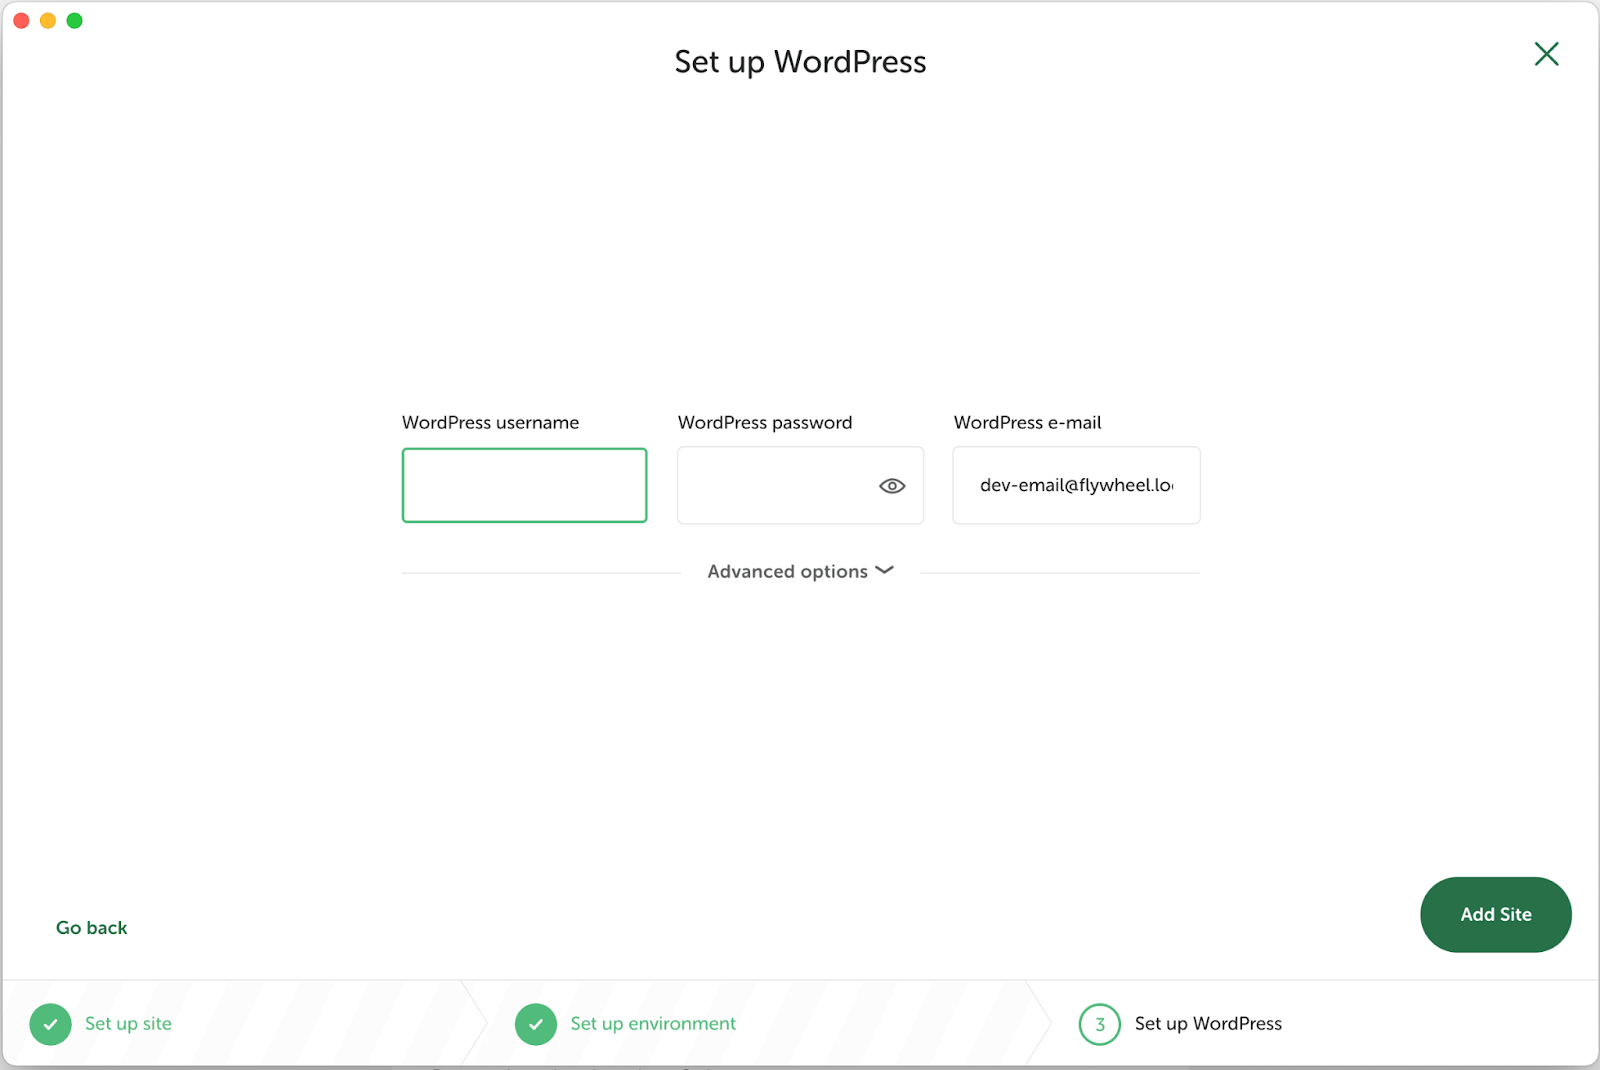
Now enter a WordPress username, password, and admin electronic mail handle. In Superior Choices, you may choose whether or not you wish to set up a multisite WordPress file:
When all the pieces is configured to your liking, click on on Add Web site and log in to your native WordPress web site. From right here, you may start engaged on tasks that can assist develop what you are promoting.
Step 3: Study Extra About WordPress
In the event you’re new to WordPress, we advocate taking a while to study the Content material Administration System (CMS). This course of can contain exploring the dashboard, selecting your theme, and putting in plugins. In any case, your livelihood could rely on utilizing these instruments successfully!
We advocate exploring official WordPress studying supplies, such because the Study WordPress sources, group assist boards, and technical documentation. You additionally would possibly like to take a look at our helpful sources for getting began with WordPress.
As soon as you’re feeling like you have got deal with on the fundamentals of WordPress, you can begin exploring extra superior subjects. By taking the time to study now, you’ll save your self time and complications down the street.
Step 4: Export Your Web site and Make It Dwell
You now have the choice to export your web site and make it stay. You gained’t have to observe this step in case you merely want an area setting for testing functions. Nevertheless, this course of is crucial if you wish to make your content material public.
Assuming you’ve already deployed your web site domestically and are able to launch it, there are just a few extra steps you’ll have to observe. To start, you’ll have to export the native web site after which import it to your host server.
The method of importing and launching a web site varies relying on the internet hosting supplier. WP Engine, for instance, wants just a few clicks to switch your native web site on-line.
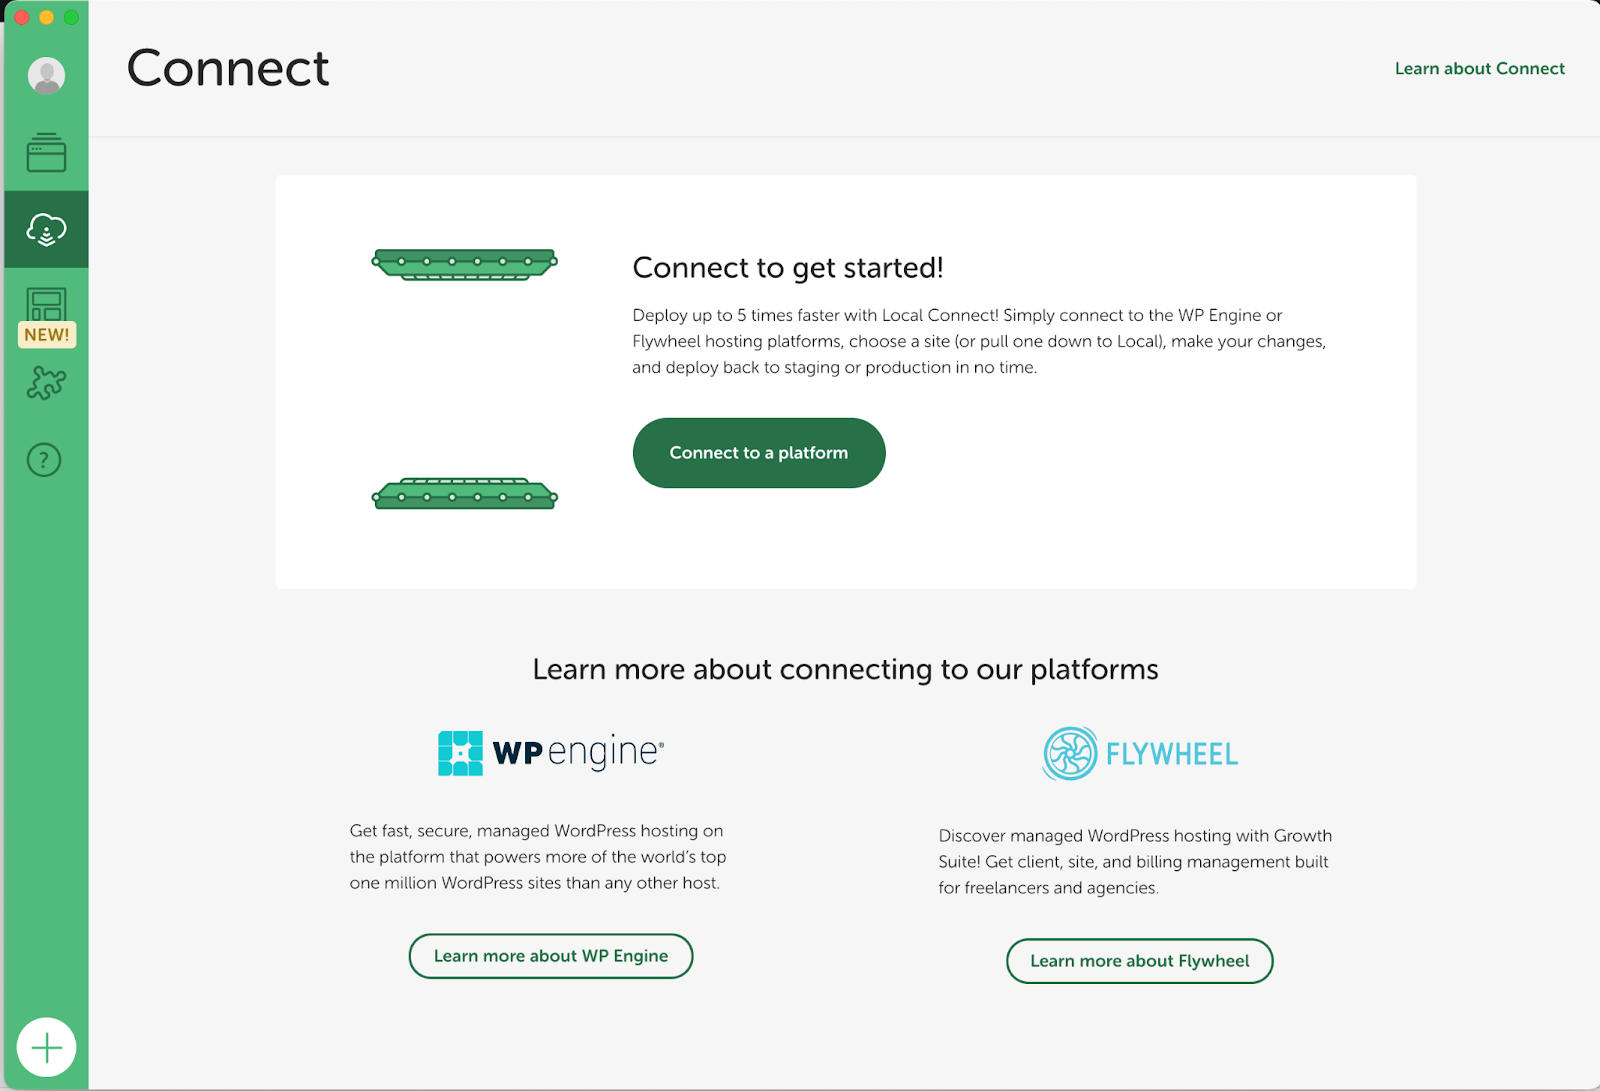
Begin by making certain that the positioning you wish to export is working. Subsequent, click on on the cloud icon from the left panel. From right here, choose Connect with a platform and select WP Engine:
You’ll then have to sign up to your internet hosting account, select the positioning the place you wish to push your adjustments, and make sure just a few settings.
In the event you don’t have WP Engine internet hosting, you’ll want to put in a plugin, export, import, and zip some information whereas making certain that your migration labored appropriately.
Alternatively, Native by Flywheel’s Native Join function lets you rapidly relocate a web site from an area setting to a stay one:
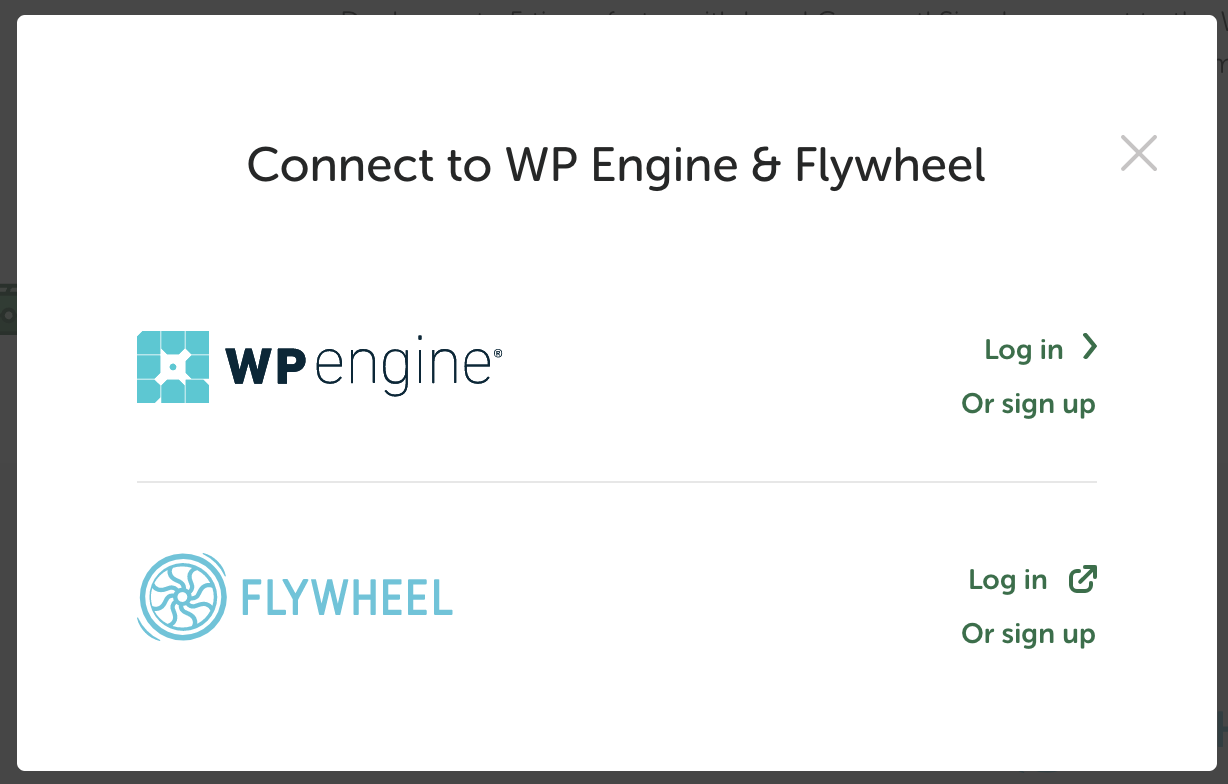
Once more, you’ll have to log in to your Flywheel account to attach the service. As soon as that is accomplished, you should have efficiently exported your native web site and made it stay!
Conclusion
As a freelancer, with the ability to rapidly and simply create a brand new native WordPress web site is extremely helpful. This setup lets you get began in your tasks instantly with out worrying about establishing a distant server or utilizing a stay web site.
Fortuitously, you should use Native in your freelance tasks by following these steps:
- Set up Native in your pc.
- Construct the native WordPress web site.
- Study extra about WordPress.
- Export the positioning and make it stay.
Do you have got any questions on beginning a contract challenge with Native? Tell us within the feedback part beneath!
 Model New Engineering Open Positions – Week #26 of 2022