
Not way back, I confirmed you the right way to add tracing to a JavaScript utility with Sentry. On this article, we’ll stroll via utilizing Sentry on the again finish to trace errors in a Python-Django utility stack.
Set up and arrange Python and Django
Step one is to create a Django utility. We’re going to make use of Python 3, so begin by putting in Python 3 in your system. We’ll additionally want pip3. On Debian, I set up them each by coming into the command, sudo apt-get set up python3 python3-pip. After you have Python and pip put in you need to get responses from the -V swap, as proven in Itemizing 1.
Itemizing 1. Be certain that python3 and pip3 can be found
$python3 -V
Python 3.11.0
$ pip3 -V
pip 22.3.1 from /usr/lib/python3/dist-packages/pip (python 3.11)
Subsequent, set up the Django framework and confirm it’s working, as proven in Itemizing 2.
Itemizing 2. Set up Django
$ pip3 set up Django
…
$ django-admin --version
4.1.3
Now we will begin a brand new utility utilizing Django. Enter the command, django-admin startproject djangosentry. This creates a listing to carry our starter undertaking. Now, CD into the undertaking, /djangosentry. Django manages the applying database, so we simply must fill it with the preliminary knowledge wanted for operating a Django sort. Enter, python3 handle.py migrate, the place handle.py is the primary Django script. After that completes, we’ll add a person by coming into: python3 handle.py createsuperuser. We’ll want this person to log in. (Be aware that you’ll be prompted for a username and password—simply use one thing you’ll keep in mind.)
We have to inform Django to permit the present host. Yow will discover out your IP deal with by pointing your browser to https://whatsmyip.com. Go to djangosentry/setting.py and add the IP deal with the place the occasion is positioned to the ALLOWED_HOSTS array; one thing like: ALLOWED_HOSTS = ['192.168.0.122']. Now, you can begin the server by typing: python3 handle.py runserver 0.0.0.0:8000.
In the event you go to http://192.168.0.122:8000, you will note the Django welcome display screen proven in Determine 1.
 IDG
IDGDetermine 1. The Django welcome display screen.
Be aware that there’s additionally an admin console so as to add customers and teams at http://192.168.0.122:8000/admin.
Arrange Sentry
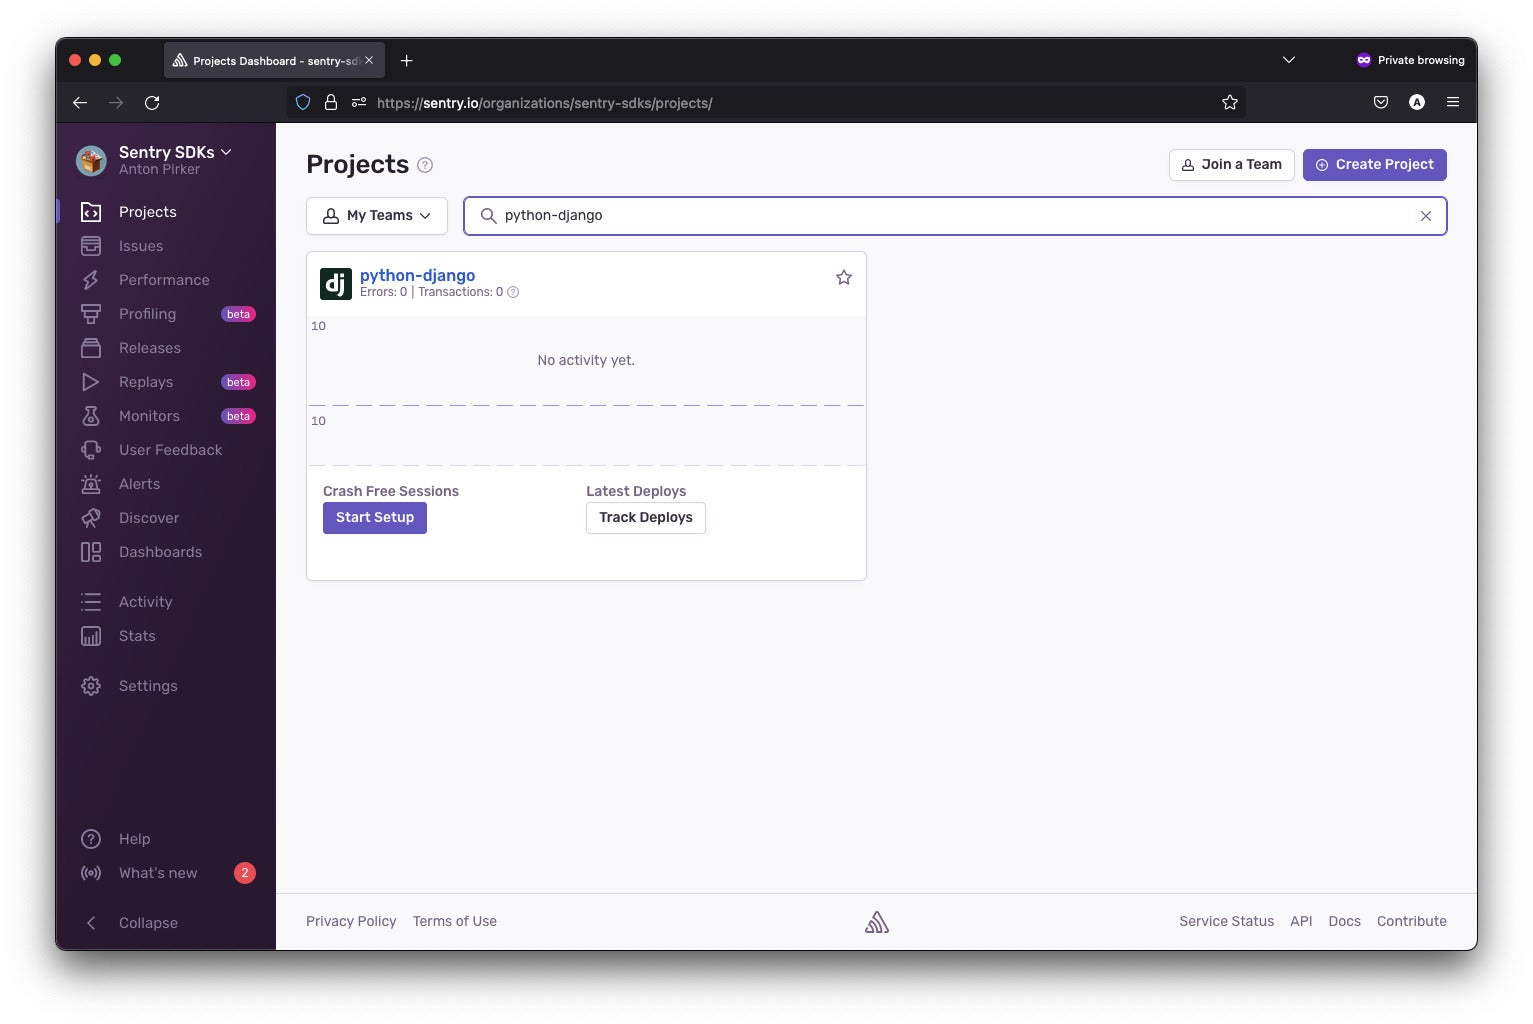
Now that now we have a operating Django utility, let’s arrange Sentry to trace errors. Step one is to create a Sentry account, which is free if you choose the Developer possibility. After you’ve an account and log in, you’ll see the Sentry dashboard. The left-hand menu presents the primary navigation for Sentry. Click on on Tasks and create a undertaking with the Create Undertaking button within the upper-right nook.
 IDG
IDGDetermine 2. Create a brand new undertaking.
Create and configure a Django undertaking
A undertaking provides us a central container for our tracing information. After you hit Create Undertaking, you’ll be able to choose “Django” as the kind and settle for the default title of django-python.
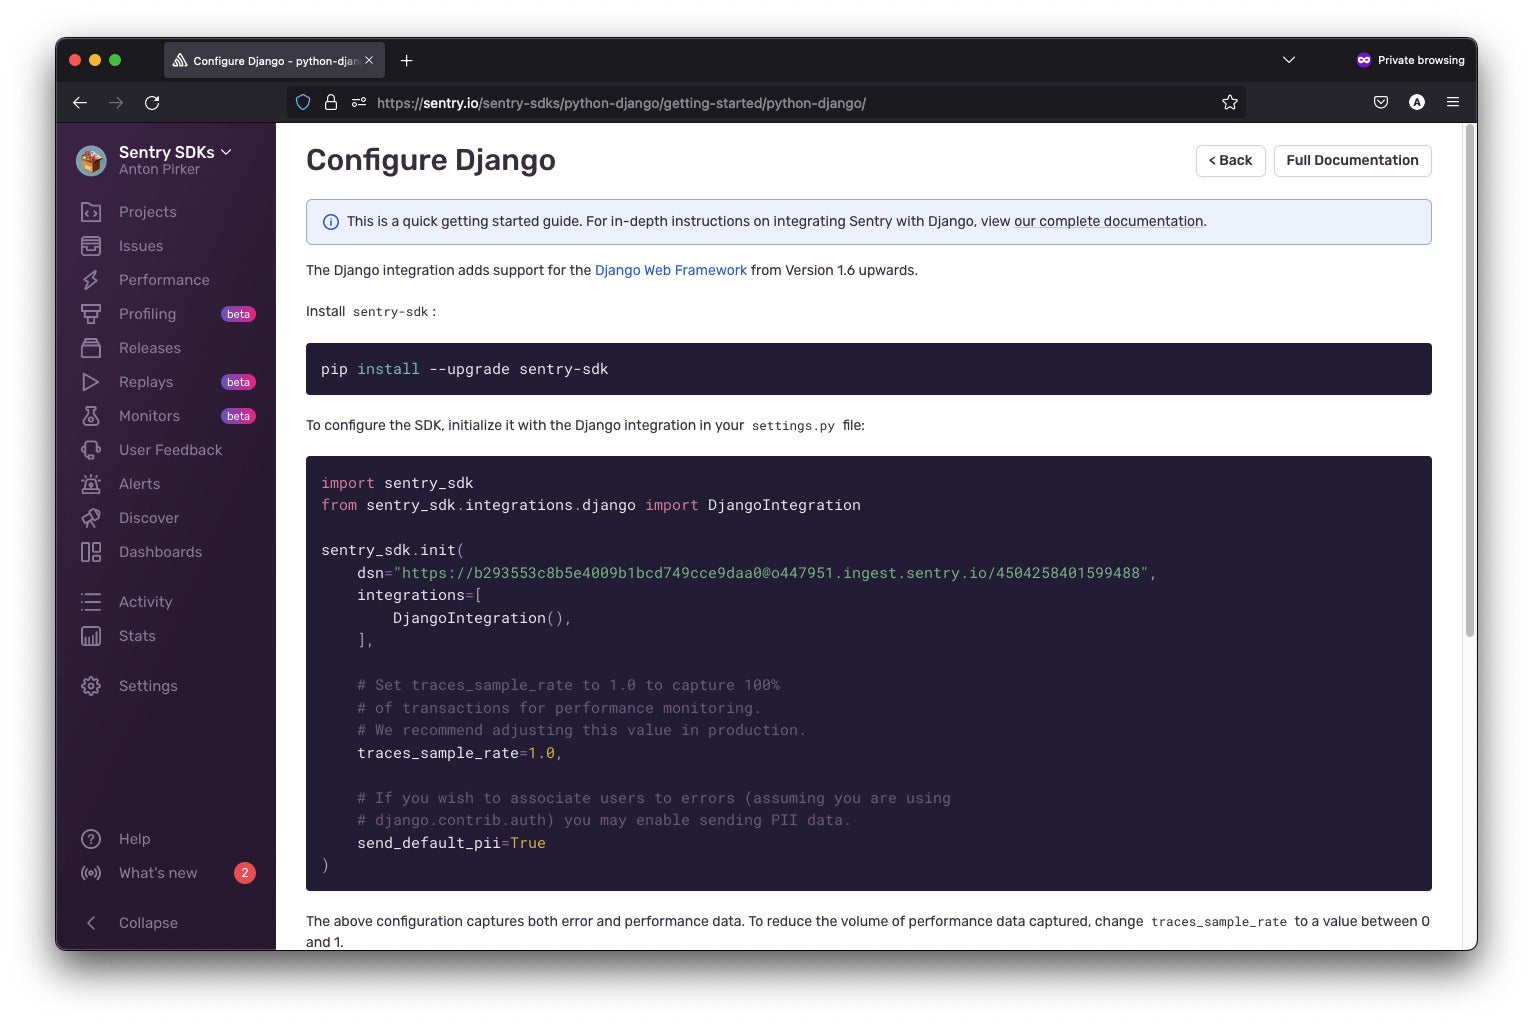
After the undertaking is created, you’ll be offered with the choice to configure it. Copy the code snippet proven in Determine 3 and add it to your undertaking.
 IDG
IDGDetermine 3. Configure Django.
Now that now we have an utility and a undertaking, we will add the Sentry library. Return to the djangosentry undertaking in your command line and kind: pip set up --upgrade sentry-sdk. This command provides the Sentry library to your undertaking.
Now, we’ll import and configure the SDK into our djangosentry/settings.py file, which is the primary configuration file for Django. That is only a few traces of code, however we’d like the info supply title (DSN) for the undertaking. The thought right here is that the DSN will create the affiliation between the Django undertaking and the undertaking in Sentry, so you’ll be able to observe undertaking exercise utilizing the dashboard.
Now go to the djangosentry/djangosentry/settings.py file and add the code you copied to the underside of the file. The end result ought to appear to be what you see in Itemizing 3.
Itemizing 3. Add Sentry SDK and undertaking DSN to settings.py
import sentry_sdk
from sentry_sdk.integrations.django import DjangoIntegration

sentry_sdk.init(
    dsn="<THE DSN YOU COPIED>",
    integrations=[
    DjangoIntegration(),

    ],
    traces_sample_rate=1.0,
    send_default_pii=True
)
Consider it or not, the Django undertaking is able to seize error knowledge. In truth, the traces_sample_rate setting tells Sentry to additionally seize efficiency metrics—this worth will be wherever from 0 to 1.0. Be aware that setting your pattern price to 100% (that’s, 1.0) can rapidly exhaust your quota. Make sure you modify your pattern price after accumulating the preliminary efficiency knowledge.
Error reporting with Sentry
Let’s create a fast error to see if Sentry is working. Return into your settings.py file and take away the IP deal with from the allowed hosts. Then, restart the applying and reload the webpage. You’ll get an error web page just like the one in Determine 4.
 IDG
IDGDetermine 4. An error in Django.
In the event you test the Django console output you’ll additionally discover the error: [20/Nov/2022 11:17:40] "GET / HTTP/1.1" 400 69108. The Django server is returning an HTTP permission error 400.
Now, let’s take a look at the identical error report from Sentry. By default, the e-mail deal with you used to arrange your Sentry account is subscribed to alerts. For the HTTP permission error, you’ll obtain an alert much like what you see in Determine 5.
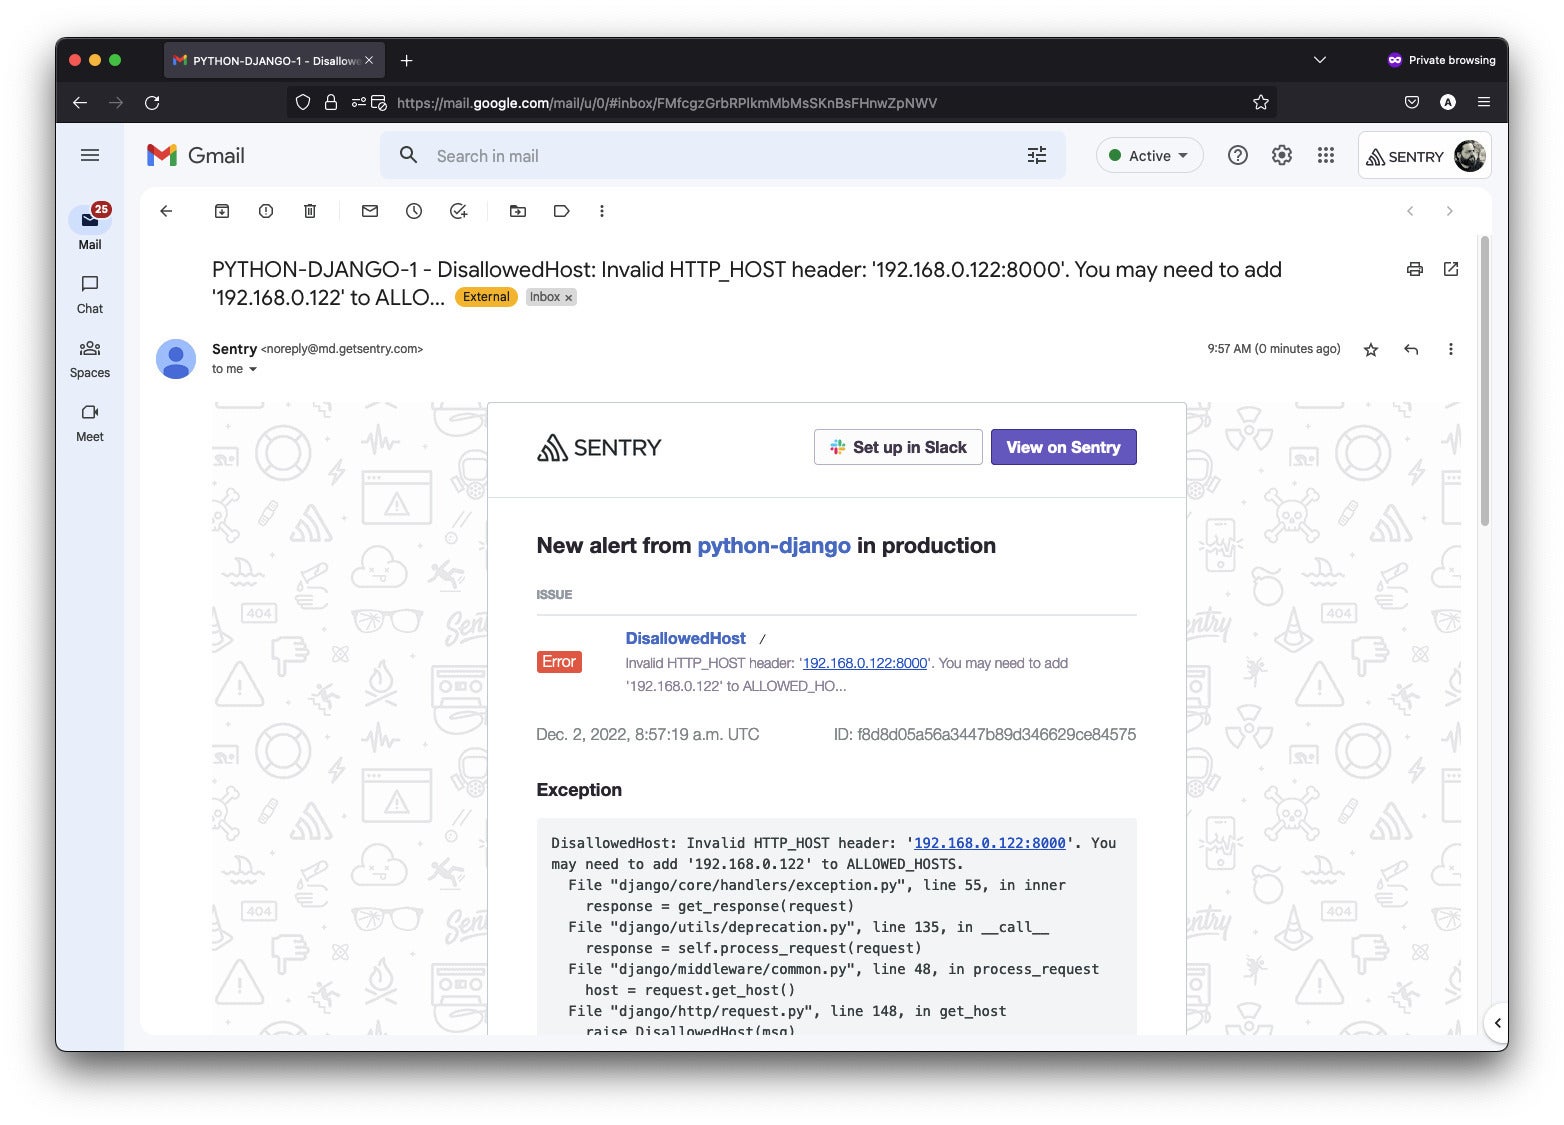 IDG
IDGDetermine 5. An electronic mail alert from Sentry.
Subsequent, check out the Sentry dashboard. In the event you open the python-django undertaking you’ll see the error mirrored there, as proven in Determine 6.
 IDG
IDGDetermine 6. The Django error in your Sentry dashboard.
You’ll be able to click on on the error within the dashboard to get particulars. You will note just about every part the system may find out about what occurred, from the person agent and timestamp as to if it was a dealt with exception (on this case, it was).
Configuring the setting
Discover that the error in Determine 6 is tagged as setting: manufacturing. Missing additional configuration, Sentry assumed the error got here from manufacturing. To manually set the setting, go to the djangosentry/settings.py file. Within the sentry_sdk.init() operate name, add an argument specifying an setting, as proven in Itemizing 4.
Itemizing 4. Including an setting
sentry_sdk.init(
    dsn=”https://5a494c21efc04030af81283b5a98b9f0@o1307092.ingest.sentry.io/4504193108672512”,
    	integrations=[
        	DjangoIntegration(),
   	],
   	 traces_sample_rate=1.0,
    	send_default_pii=True,
    	setting="dev" # < ADD THIS
)
Now, when an error is reported, Sentry will assign it to the dev setting. You would set this string from an setting variable (for instance known as SENTRY_ENVIRONMENT). In your server, you set this variable as manufacturing, staging, or qa. In your native machine, set the variable to dev. You’ll be able to then choose from the dropdown record and filter by the setting within the dashboard.
Coding errors and challenge monitoring
As a substitute of crashing the instance utility, let’s first repair the ALLOWED_HOSTS entry by placing the right IP deal with again in there. Then, let’s create a typical coding error by including a Django route that spews an exception. Open the djangosentry/urls.py file and modify it to incorporate the /error path, as proven in Itemizing 5.
Itemizing 5. Add an error path to urls.py
def trigger_error(request):
    elevate Exception("One thing has gone severely improper and also you're coding expertise are in query.")

urlpatterns = [
    path('admin/', admin.site.urls),
    path('error/', trigger_error)
]
Now, when you go to the localhost:8000/error route you’ll see the customized exception. You’ll discover that Sentry has by default grouped related errors into points. The brand new exception has triggered an alert electronic mail, however repeatedly inflicting the identical error doesn’t. You’ll be able to see the identical sort of group on the Sentry dashboard, as proven in Determine 7.
By default, related errors (or occasions) are grouped into points. That is configurable and you may manage a number of occasions right into a single challenge.
 IDG
IDGDetermine 7. Errors grouped into points.
Efficiency monitoring
Now that you’ve got arrange Sentry to trace and report errors, you’ll be able to set it as much as additionally seize efficiency metrics to rapidly establish latency and throughput points.
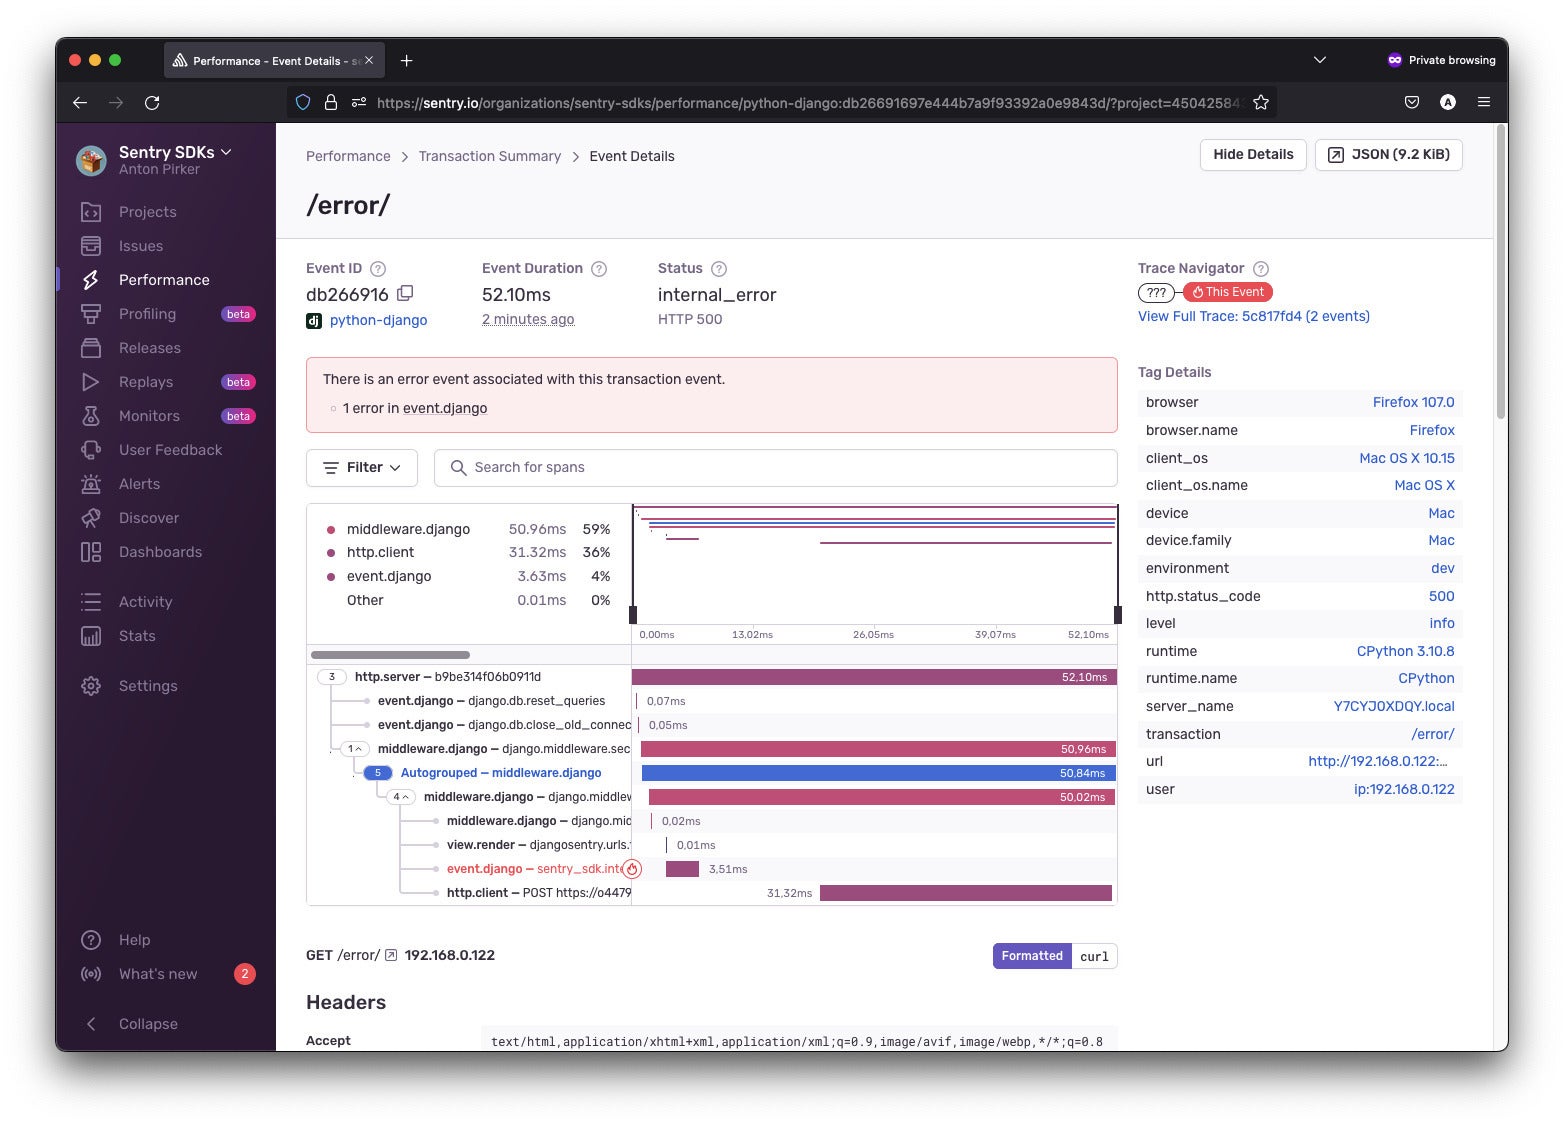 IDG
IDGDetermine 8. Efficiency metrics in Sentry.
Right here, you’ll be able to see the efficiency breakdown of the error path you added earlier. Sentry not too long ago added a brand new function to detect frequent efficiency issues to its utility efficiency monitoring platform. N+1 database queries for Django tasks are the primary downside sort that Sentry launched for the brand new Efficiency Points function. As described in this tweet, the group that created Django used the brand new function to detect an N+1 challenge on Django’s documentation web site. Django Fellow Carlton Gibson commented: “It was good to see the N+1 queries pop-up within the Sentry points record. A fast select_related and all was resolved, because it was simple to overlook the place these [N+1 queries] come up. I feel it’s going to be fairly useful.”
Conclusion
We have performed a fast tour of a few of Sentry’s capabilities in a Python-Django utility context. There’s various energy below the hood on Sentry’s dashboard, however maybe the nicest factor of all is how simply you should utilize it so as to add error monitoring to an utility. All we needed to do was acquire our DSN, make a small code change, and errors have been being reported throughout the applying with cheap, configurable defaults.
Copyright © 2022 IDG Communications, Inc.
