
One of many largest benefits of constructing your website with WordPress is versatility. You are able to do something you need, together with making a fully-fledged membership website.
When you’ve been occupied with beginning a membership or eCommerce website to promote digital merchandise or programs, you could be stunned to be taught that it’s simpler than you suppose. All it takes is WordPress and the fitting membership plugin.
On this article, I’ll present you how one can do it. Let’s get began!
The ProfilePress Plugin
ProfilePress is a paid membership plugin that lets you create and promote membership plans in your WordPress website. ProfilePress additionally helps you create customized registration and login kinds on the entrance finish. Which means subscribers don’t must entry the WordPress admin panel to handle their accounts or work together with the positioning.

While you set up and activate ProfilePress, you’ll be capable to:
- Settle for one-time and recurring funds
- Promote subscriptions
- Prohibit content material and management person entry
When you can think about it, you’ll be able to construct it. There are a number of methods you’ll be able to make the most of the plugin.
Promote Companies and Digital Information
When you create downloadable content material like PDFs, music, podcasts, photographs, or movies, you’ll be able to promote them by means of your web site. ProfilePress helps you shortly arrange cost integrations like Stripe or PayPal to just accept funds.
Let’s say you wish to supply tutorials in your web site. You’ll be able to promote one-time cost programs or let your college students register for a recurring subscription if you happen to like. It’s also possible to present templates and different downloadable add-on content material for a further charge.
Create a Member Listing
Creating a web based neighborhood the place customers work together may be rewarding and a possible supply of revenue. ProfilePress helps you to create customized registration kinds, searchable member directories, and absolutely customizable person profiles.
Prohibit Content material with a Paywall
When you’re an everyday writer of content material, you’ll be able to create a premium paywall the place solely subscribers can entry particular posts, pages, classes, and even customized publish sorts.
The ProfilePress entry restriction settings are primarily based on the principles you arrange. It’s very versatile, and also you’re in management.
ProfilePress gives customizable templates for the whole lot from registration and login to profile kinds and the member listing for the entrance finish. As well as, premium addons can help you prolong the plugin’s performance. They embrace:
- Customized Fields
- Electronic mail Affirmation
- Person Moderation
- Social Login
- Two-Issue Authentication
- WooCommerce
That’s the overview of ProfilePress, which seems to be a fairly strong answer. Let’s get into the nitty-gritty and see the way it all works!
Learn how to Get Began with ProfilePress
In a course of just like WooCommerce, the ProfilePress plugin will prolong the performance of your WordPress website. Nevertheless, as a result of many extra options and capabilities can be found, there are a couple of extra issues to arrange. For this part, we’ll cowl set up after which create a membership plan and a few customized kinds.
Set up ProfilePress
Begin by downloading the ProfilePress plugin straight from its WordPress.org web page.

After you’ve downloaded the plugin zip file, navigate to the Admin Dashboard of your WordPress website. Choose Plugins>Add New. Click on Add Plugin and browse for the .zip file you saved. Click on Set up Now, then activate it.
It’s also possible to seek for the plugin proper out of your WordPress website. Within the Admin Dashboard, choose Plugins>Add New. Within the search bar, search for “ProfilePress,” and also you’ll see it seem as an choice. Click on Set up Now after which activate it.
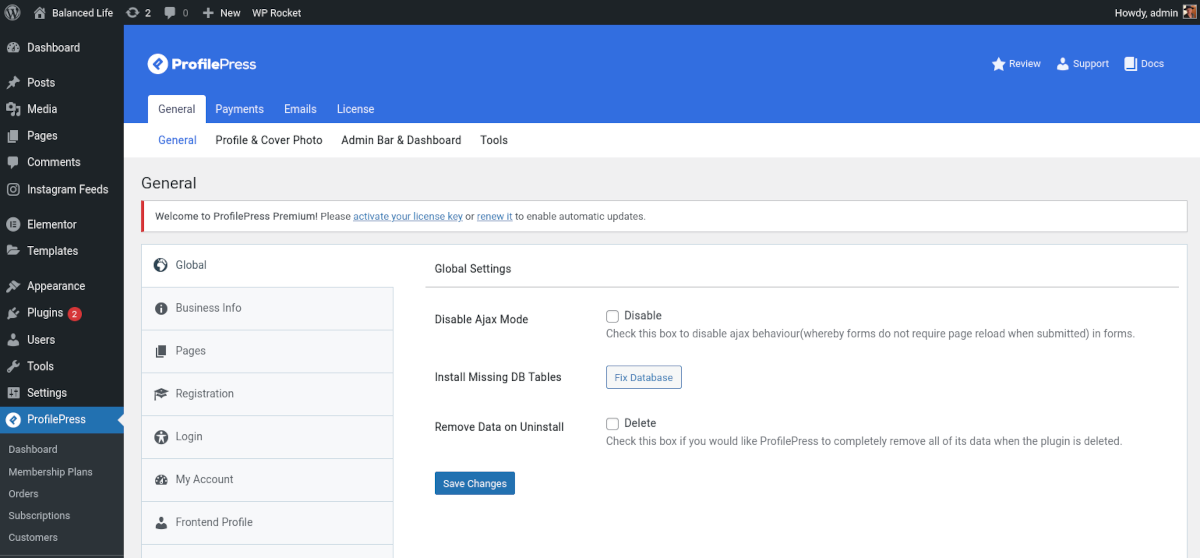
As quickly because it’s activated, it would open a welcome display screen. This display screen is the Settings menu.

In your dashboard left-side menu, you’ll additionally see a brand new merchandise known as ProfilePress. You’ll be able to entry the settings from there at any time.
On the high, you’ll see a notification that ProfilePress must create a number of pages. You’ll wish to click on that Create Pages button to make sure the whole lot is about up appropriately.

With the preliminary setup out of the way in which, let’s create some issues.
Making a Membership Plan
ProfilePress lets you create as many membership plans as your coronary heart needs. For this text, we’ll simply make one.
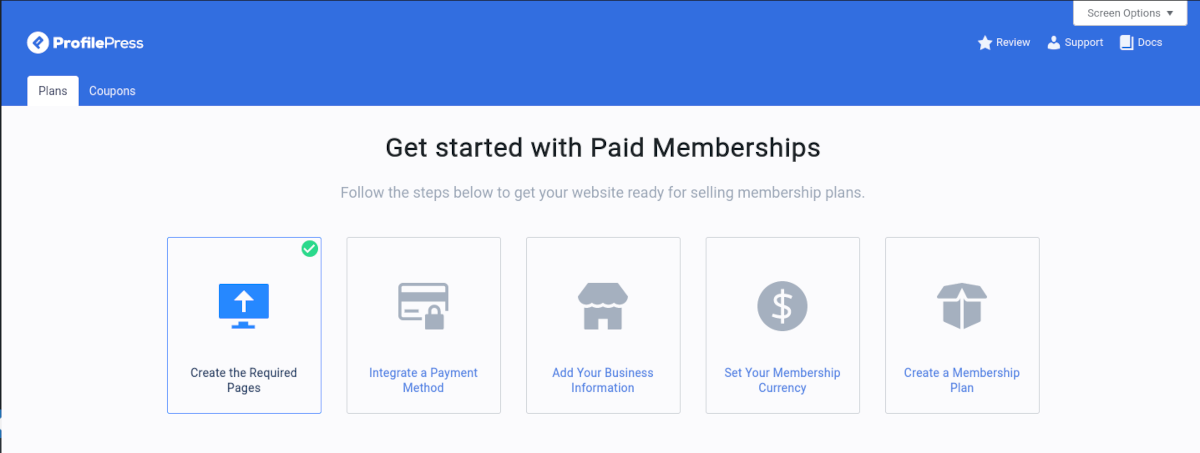
First, navigate to ProfilePress>Membership Plans. You’ll discover that step one has already been accomplished for you — creating the required pages I discussed earlier.

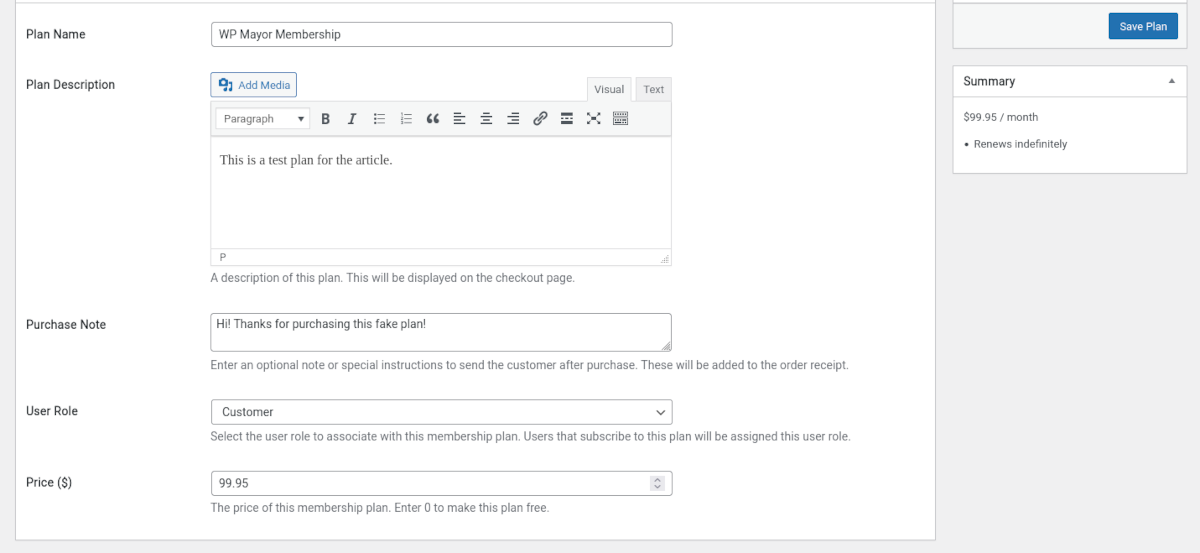
Making a membership plan is straightforward. To create a plan, click on the Add New Plan button. On the following display screen, fill within the fields in your plan title, description, and many others.

You’ll additionally want to decide on a job for brand new subscribers. Because the ProfilePress documentation states, “That is significantly helpful if you happen to use plugins that provide a conditional show of components and contents or set off sure actions primarily based on person roles.”
Within the subsequent part, underneath Subscription Settings, you’ll be able to decide the Billing Frequency, Subscription Size, and Signup Payment and resolve if you wish to supply a free trial. This part is the place you’d decide if you wish to present a recurring subscription or a one-time buy.
You’ll be able to all the time return and edit these settings later.
The final part, Downloads & Integrations, lets you add any digital information you’d like to incorporate with the membership plan. Even if you happen to hadn’t initially deliberate on offering any information, it’s worthwhile to contemplate. First, it’s a major value-add and might improve clients’ belief in your providing. It can be a option to upsell a specific services or products you supply in your website.
After filling out all of the fields, click on the blue Save Plan button on the high of the web page. It’s going to seem in your checklist of Membership Plans, and you may try the URL to see the checkout web page.

The default checkout web page is fairly naked bones. Nevertheless, you’ll be able to customise this web page as a lot as you want. In a while we’ll get into customizing kinds and pages to match your website’s branding.
Combine Cost Technique
If you wish to cost cash in your plans, you’ll must arrange no less than one cost methodology. That is tremendous simple to do. On any of the ProfilePress menus, you’ll discover the containers on the high, one among which says “Combine Cost Technique.” When you click on that, you’ll see the Cost Strategies menu.

As of this writing, the three present strategies are:
- Retailer Funds
- Stripe
- PayPal
The configuration for every methodology is straightforward and intuitive. If you wish to course of funds manually or course of free orders, you’ll wish to allow Retailer Funds.
For configuring Stripe and PayPal, it’s a good suggestion to have your account information useful throughout setup. There’s additionally a useful Check Mode characteristic so you’ll be able to check purchases with out processing funds.
Creating new Membership plans is straightforward. Now let’s discuss customization!
Making a Customized Registration Web page
ProfilePress creates a default registration web page after set up — so long as you clicked that “Create Pages” button earlier. You’ll be able to see it by navigating to Pages>Signal Up and clicking Preview.
Notice: When you’re logged in, it would say you’re already signed up. Simply copy the hyperlink and open it in a non-public browser window to preview the web page as it will seem to a buyer.
The default web page seems effective, however you’ll seemingly wish to make it your individual. Let’s try this now.
Create a Customized Type
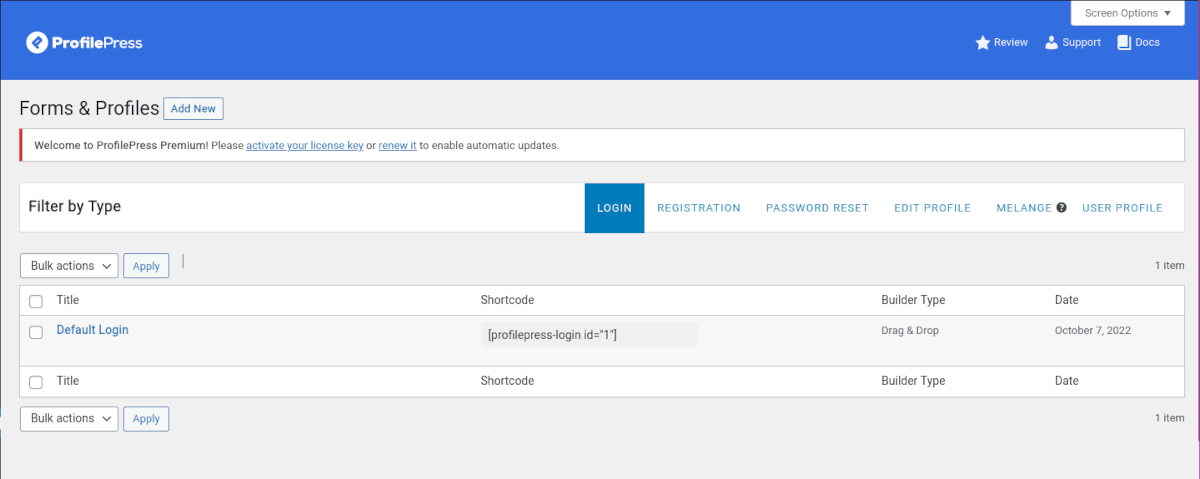
The very first thing it is advisable do is create a customized registration type. Navigate to ProfilePress>Kinds & Profiles.

Click on Add New Type. You’ve got the choice of utilizing a Drag & Drop builder or coding your individual from scratch. For now, let’s select Drag & Drop to make it simple. Below Type Kind, ensure you select Registration.
There are a number of templates to select from, or you’ll be able to create one from scratch. Now you’ll be able to customise your type by dragging and dropping within the fields you need. Below Type Settings, you’ll be able to select colours, fonts, and area shapes to match your website’s branding.

Save the adjustments and preview the shape. A shortcode might be generated — copy it and maintain it useful for the following steps.
Create the Customized Web page
Create a brand new web page as you often would in your WordPress dashboard. Within the block editor, add the shortcode block and paste the shortcode you copied earlier. Voila! You now have a customized registration web page. You’ll be able to add as a lot content material or styling to the web page as you want. Simply ensure you have that shortcode in there.
Extra Options of ProfilePress
There are options in ProfilePress that I didn’t have room to cowl intimately for this text. The Content material Safety characteristic offers you highly effective choices for organising a paywall or controlling your website’s entry. It’s price exploring.
You additionally get Popups and Optins to maximise gross sales throughout checkout. And there are detailed analytics offered in the primary dashboard of the plugin.
Pricing
ProfilePress is free to put in and use. Nevertheless, you’ll be able to transfer past the core options with one of many three annual subscription tiers obtainable:
Normal = $99
Plus = $199
Company = $399

Along with the added options, they take away the additional 2% Stripe charge. In addition they supply a 14-day money-back assure, so there’s no threat in making an attempt it out.
Construct a Highly effective eCommerce and Membership Web site with ProfilePress
When you’ve been contemplating beginning a membership website or providing digital merchandise on the market, you don’t have to make use of twenty totally different plugins or code it your self. The performance you want is contained in a single plugin, ProfilePress.
