
On this article, we’re going to construct a stopwatch in React Native and join it to the gadget’s digital camera to create a selfie digital camera timer from scratch. For added complexity, the consumer is given the chance to create and save customized durations as their timers. Right here, you could find a hyperlink to a video that demonstrates the performance and look of the demo app. The supply code of this mission might be discovered on my GitHub.
Bounce forward:
Stipulations
To be able to observe together with this tutorial, some primary data of JavaScript and React Native could be useful. I used Expo to develop this app. That is an open supply platform that goals to reinforce React Native by offering all of the JavaScript APIs wanted for the most typical use circumstances.
To put in the Expo shopper in your machine, run the next command in your shell:
npm i -global expo-cli
Initializing the mission
Navigate to the place the place you wish to retailer this mission and run expo init my-project to initialize the mission. Then, go to the newly created mission with cd my-project.
As a primary step, let’s set up some dependencies to assist us develop this app: expo-camera and expo-media-library. With the assistance of expo-camera, we will entry the gadget’s digital camera and take photographs. The expo-media-library takes care of saving the photographs.
Run npm i expo-media-library expo-camera in your terminal to put in these dependencies. Then, run npx expo begin to begin the event server.
Accessing the gadget’s digital camera with expo-camera
The very first thing we have to tackle is having access to each the gadget’s digital camera and the consumer’s media library. For this function, I created a customized Hook known as usePermission in a newly created listing, src. Contained in the src listing I created the usePermission.jsx file:
// scr/usePermission.jsx
import { useEffect, useState } from "react";
import * as MediaLibrary from "expo-media-library";

const usePermission = (Digital camera) => {
 const [hasCameraPermissions, setHasCameraPermissions] = useState(null);

 useEffect(() => {
   (async () => {
     MediaLibrary.requestPermissionsAsync();
     const cameraStatus = await Digital camera.requestCameraPermissionsAsync();
     setHasCameraPermissions(cameraStatus.standing === "granted");
   })();
 }, []);

 return hasCameraPermissions;
};

export default usePermission;
Inside the useEffect Hook, we first ask for permission to entry the media by calling MediaLibrary.requestPermissionsAsync(). Secondly, we ask the consumer to grant our app permission to entry the digital camera by calling requestCameraPermissionsAsync() on the Digital camera object, which will get handed as a parameter to this practice Hook. We’ll check out the Digital camera object in a second.
Lastly, we return the hasCameraPermissions state, which is a boolean and might both maintain true or false as a worth.
Contained in the App.js file, we will now use the usePermission Hook to get began with rendering out the digital camera on our display. Substitute the code within the App.js file with the next code:
import { Digital camera } from "expo-camera";
import { Picture, StyleSheet, Textual content, View } from "react-native";
import { useState, useRef, useEffect } from "react";
import usePermission from "./src/usePermisson";

export default perform App() {
 const hasCameraPermissions = usePermission(Digital camera);
 const [type, setType] = useState(Digital camera.Constants.Kind.entrance);
 const cameraRef = useRef(null);

 if (hasCameraPermissions === false) {
   return <Textual content>No permission to entry digital camera</Textual content>;
 }

 return (
   <View fashion={types.container}>
     <Digital camera fashion={types.digital camera} sort={sort} ref={cameraRef}></Digital camera>
   </View>
 );
}

const types = StyleSheet.create({
 container: {
   flex: 1,
   backgroundColor: "#000",
   justifyContent: "middle",
   paddingBottom: 20,
 },
 digital camera: {
   flex: 1,
   place: "relative",
 },
});
Let’s first check out the variables that we declare within the first three traces of the App perform.
hasCameraPermissions holds the worth returned from the usePermission Hook we simply had a have a look at. Please discover that we’re passing the Digital camera object imported from the expo-camera package deal to our Hook.
Within the subsequent line, we outline the kind of the digital camera. Since we’re constructing a selfie digital camera, I initially set it to make use of the entrance digital camera and go this state to the digital camera element. Lastly, we create a ref that we additionally go to the digital camera element to create a mutable object that inherits the digital camera props. This may enable us to make adjustments to the digital camera element later.
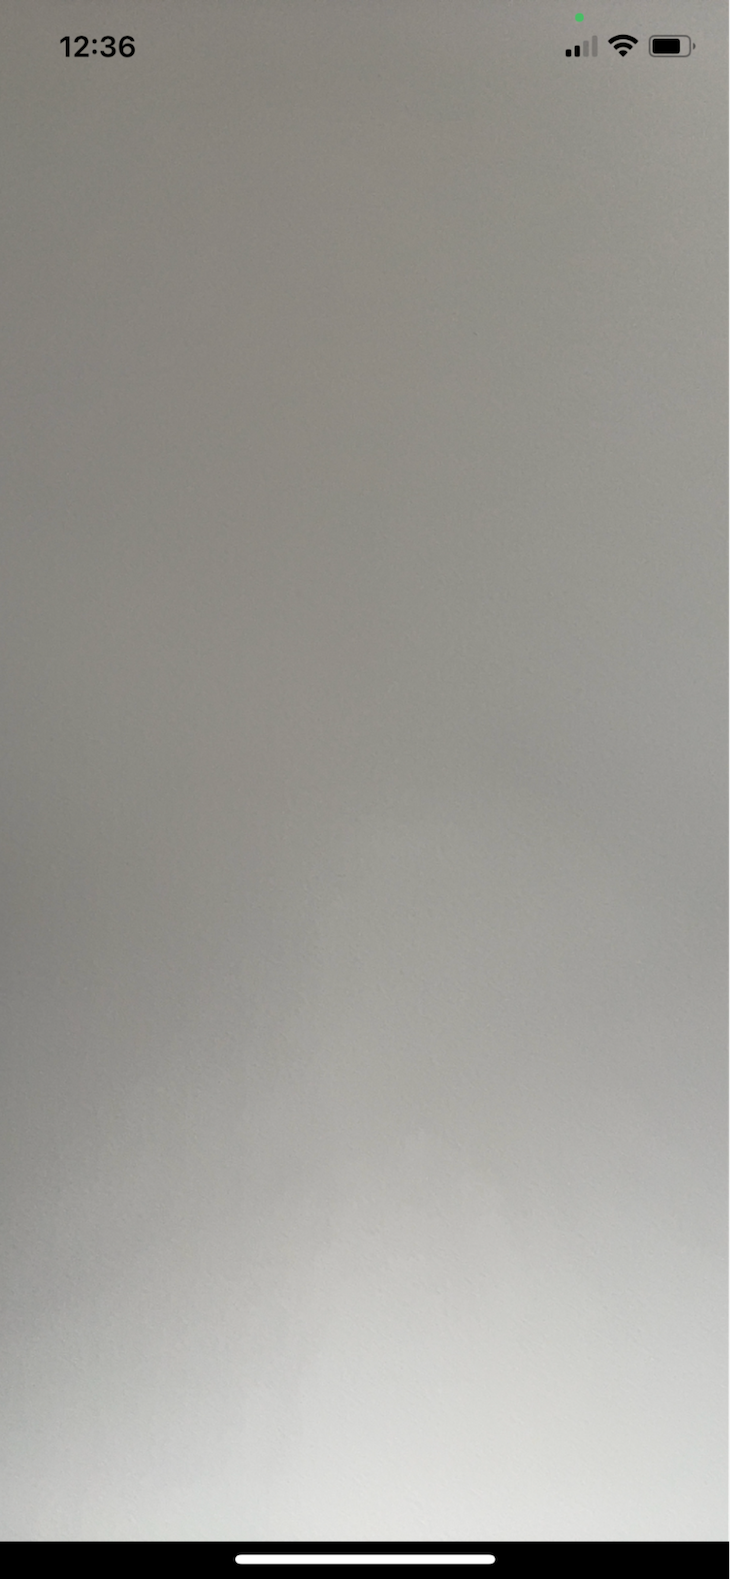
In case the usePermission Hook returns false, we received’t render the digital camera, however a textual content field saying that we don’t have entry to the digital camera. If we’re efficiently granted entry to the gadget’s digital camera, the app ought to now present the entrance digital camera over the entire display like this:
Taking and saving photos
Now, we’ll implement the performance for taking and saving photos. For that, I created a parts listing contained in the src listing, and there I added a customized Button element:
import { Textual content, TouchableOpacity, StyleSheet } from "react-native";
import React from "react";
import { Entypo } from "@expo/vector-icons";

export default perform Button({ title, onPress, icon, shade }) {
 return (
   <TouchableOpacity onPress={onPress} fashion={types.button}>
     <Entypo identify={icon} measurement={28} shade={shade ? shade : "#f1f1f1"} />
     <Textual content fashion={types.textual content}>{title}</Textual content>
   </TouchableOpacity>
 );
}

const types = StyleSheet.create({
   button: {
       peak: 40,
       flexDirection: "row",
       justifyContent: "middle",
       alignItems: "middle",
   },
   textual content: {
       fontWeight: "daring",
       fontSize: 16,
       shade: "#f1f1f1",
       marginLeft: 10,
   },
 });
This element is designed in a means which you could modify the title, the onPress perform, the icon, and the colour of the button.
Let’s import the Button element within the App.js file and use this element:
return (
   <View fashion={types.container}>
     <Digital camera fashion={types.digital camera} sort={sort} ref={cameraRef}></Digital camera>
     <View>
       <Button title={"Picture"} icon={"digital camera"}/>
     </View>
   </View>
 );
This may add a button to the underside of our app. This results in the next look of our app:

To this point, so good.
Managing picture state
Now let’s implement a perform, which is able to guarantee that we will truly take an image and put it aside to our gadget:
const [image, setImage] = useState(null);

const takePicture = async () => {
   if (cameraRef) {
     strive {
       const knowledge = await cameraRef.present.takePictureAsync();
       setImage(knowledge.uri);
     } catch (error) {
       console.log(error);
     }
   }
 };
First, we have to create a brand new state that manages the photographs. Then, we create the takePicture perform, the place we name the takePictureAsync() technique on our cameraRef object, which takes an image and saves it to the app’s cache listing.
The very last thing we have to do right here is to assign the perform to the onPress prop of our customized Button element:
<Button title={"Picture"} icon={"digital camera"} onPress={takePicture}/>
The draw back of this method is that the photographs that have been taken should not proven contained in the app but. Let’s change that!
Displaying taken photographs within the app
<View fashion={types.container}>
     {!picture ? (
       <Digital camera fashion={types.digital camera} sort={sort} ref={cameraRef}></Digital camera>
     ) : (
       <Picture fashion={types.digital camera} supply={{ uri: picture }} />
     )}

     <View>
       <Button title={"Picture"} icon={"digital camera"} onPress={takePicture} />
     </View>
</View>
This conditional rendering assures that if we’ve got saved a picture within the picture state, then it’ll render the <Picture fashion={types.digital camera} supply={{ uri: picture }} /> element; in any other case it’ll render the digital camera.
Saving photos to the gadget
Subsequent, we wish to give the consumer the chance to avoid wasting the image to the gadget:
import * as MediaLibrary from "expo-media-library";

const savePicture = async () => {
   if (picture) {
     strive {
       const asset = await MediaLibrary.createAssetAsync(picture);
       alert("Picture saved!");
       setImage(null);
     } catch (error) {
       console.log(error);
     }
   }
 };
Contained in the savePicture perform, we name MediaLibrary.createAssetAsync(picture) technique, which creates an asset from the picture and shops it on our gadget. Please discover that we’re setting the picture to be null after efficiently saving it. That is necessary for conditional rendering as a result of we wish to render the digital camera if there isn’t any truthy worth saved within the picture state.
Let’s lengthen our app with two buttons: one for saving the image and one for re-taking the image:
return (
   <View fashion={types.container}>
     {!picture ? (
       <Digital camera fashion={types.digital camera} sort={sort} ref={cameraRef}></Digital camera>
     ) : (
       <Picture fashion={types.digital camera} supply={{ uri: picture }} />
     )}

     <View>
       {picture ? (
         <View fashion={types.takenImage}>
           <Button
             title={"Re-take"}
             icon="retweet"
             onPress={() => setImage(null)}
           />
           <Button title={"Save"} icon="examine" onPress={savePicture} />
         </View>
       ) : (
         <Button title={"Picture"} icon={"digital camera"} onPress={takePicture} />
       )}
     </View>
   </View>
 );
This may result in the next consequence after taking an image:
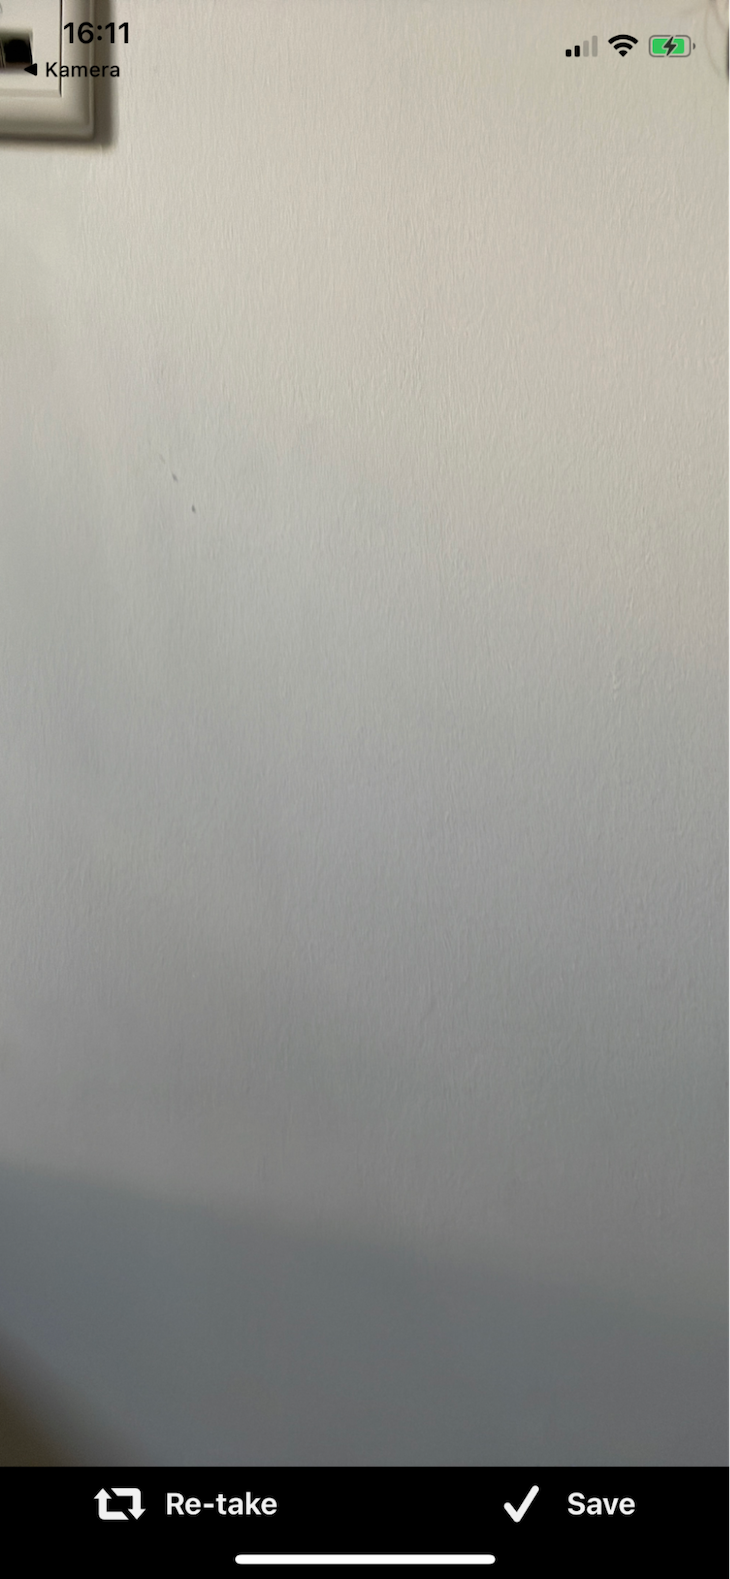
When clicking the Re-take button, we execute onPress={() => setImage(null)} with a view to render the digital camera once more.
Lastly, let’s add a button to permit the consumer to flip the digital camera if desired. Contained in the digital camera element, we’ll merely add an extra button:
<Digital camera fashion={types.digital camera} sort={sort} ref={cameraRef}>
         <View fashion={types.buttonContainer}>
           <Button
             icon={"retweet"}
             title="Flip"
             onPress={() =>
               setType(
                 sort === Digital camera.Constants.Kind.again
                   ? Digital camera.Constants.Kind.entrance
                   : Digital camera.Constants.Kind.again
               )
             }
             shade="#f1f1f1"
           />
         </View>
</Digital camera>
Including the timer to our app
The one factor left now could be to implement the timer performance and to attach it to our digital camera. I’ve created one other element contained in the src/parts listing known as Timer.jsx. The code from this element appears to be like like this:
import {
 View,
 Textual content,
 FlatList,
 StyleSheet,
 TouchableOpacity,
} from "react-native";
import { knowledge } from "../knowledge";

export default perform Timer({ onPress }) {
 const onClick = (time) => {
   onPress(time);
 };
 return (
   <View fashion={types.timerContainer}>
     <FlatList
       knowledge={knowledge}
       fashion={types.timerList}
       renderItem={({ merchandise }) => (
         <TouchableOpacity onPress={() => onClick(merchandise.time)}>
           <Textual content fashion={types.merchandise}>{merchandise.key}</Textual content>
         </TouchableOpacity>
       )}
     />
   </View>
 );
}

const types = StyleSheet.create({
 timerContainer: {
   place: "absolute",
   width: "50%",
   prime: "25%",
   proper: "25%",
   backgroundColor: "white",
   zIndex: 1,
   borderRadius: 10,
   padding: 10,
 },
 timerList: {
   paddingTop: 10,
 },
 merchandise: {
   fontSize: 18,
   textAlign: "middle",
   peak: 44,
   fontWeight: "daring",
 },
});
In the long run, the Timer element consists of a Flatlist, which renders such key-value pairs:
{key: "5s", time: 5}
Again in our App.js, we will now import the Timer element and add following code:
const [timerClicked, setTimerClicked] = useState(false);

const onPressTimerItem = () => {
   setTimerClicked((prevState) => !prevState);
 };

return (
   <View fashion={types.container}>
     {timerClicked && <Timer onPress={onPressTimerItem} />}
     {!picture ? (
       <Digital camera fashion={types.digital camera} sort={sort} ref={cameraRef}>
         <View fashion={types.buttonContainer}>
           <Button
             icon={"retweet"}
             title="Flip"
             onPress={() =>
               setType(
                 sort === Digital camera.Constants.Kind.again
                   ? Digital camera.Constants.Kind.entrance
                   : Digital camera.Constants.Kind.again
               )
             }
             shade="#f1f1f1"
           />
           <Button
             icon={"back-in-time"}
             title="Timer"
             onPress={() => setTimerClicked((prevState) => !prevState)}
           />
         </View>
       </Digital camera>
………
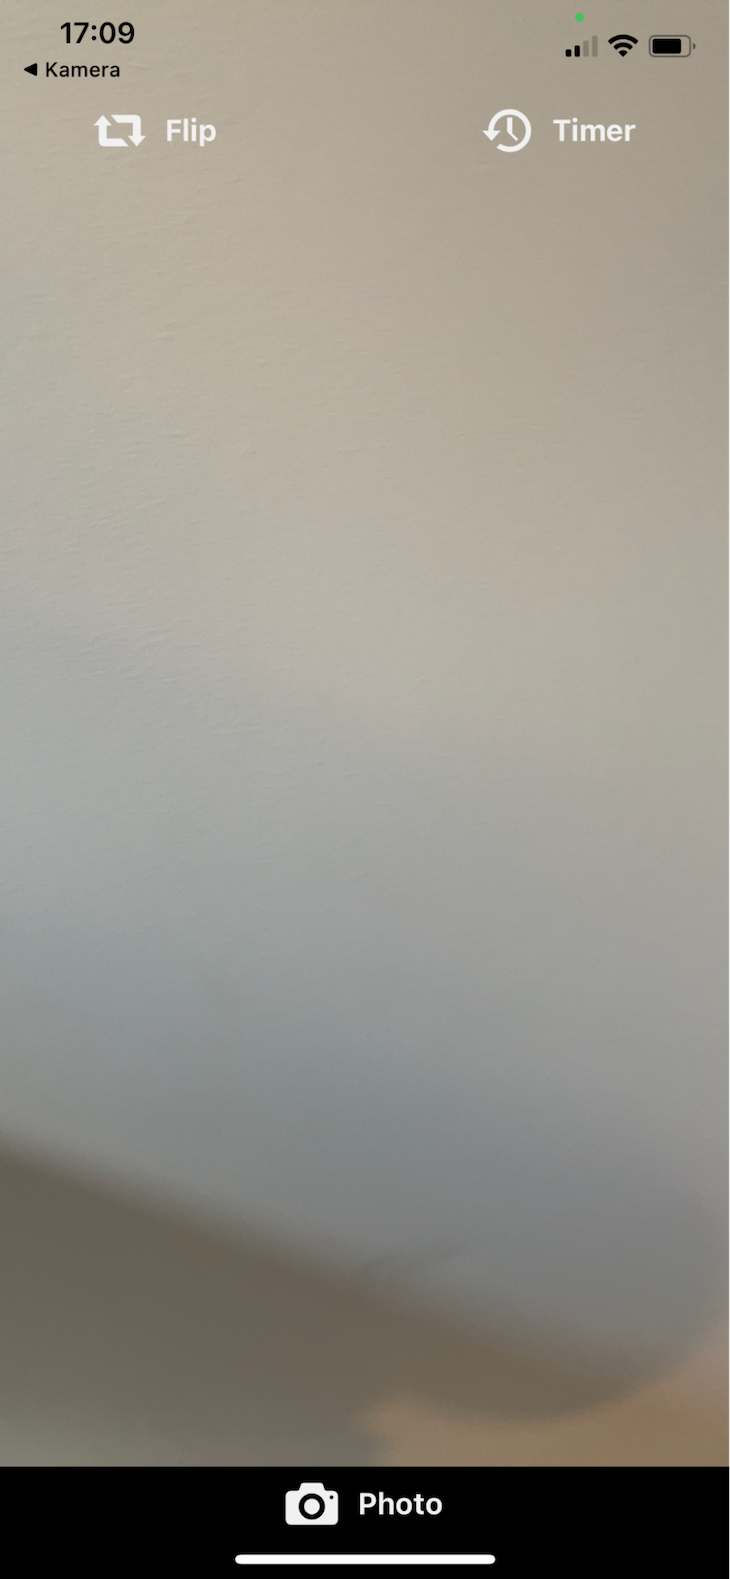
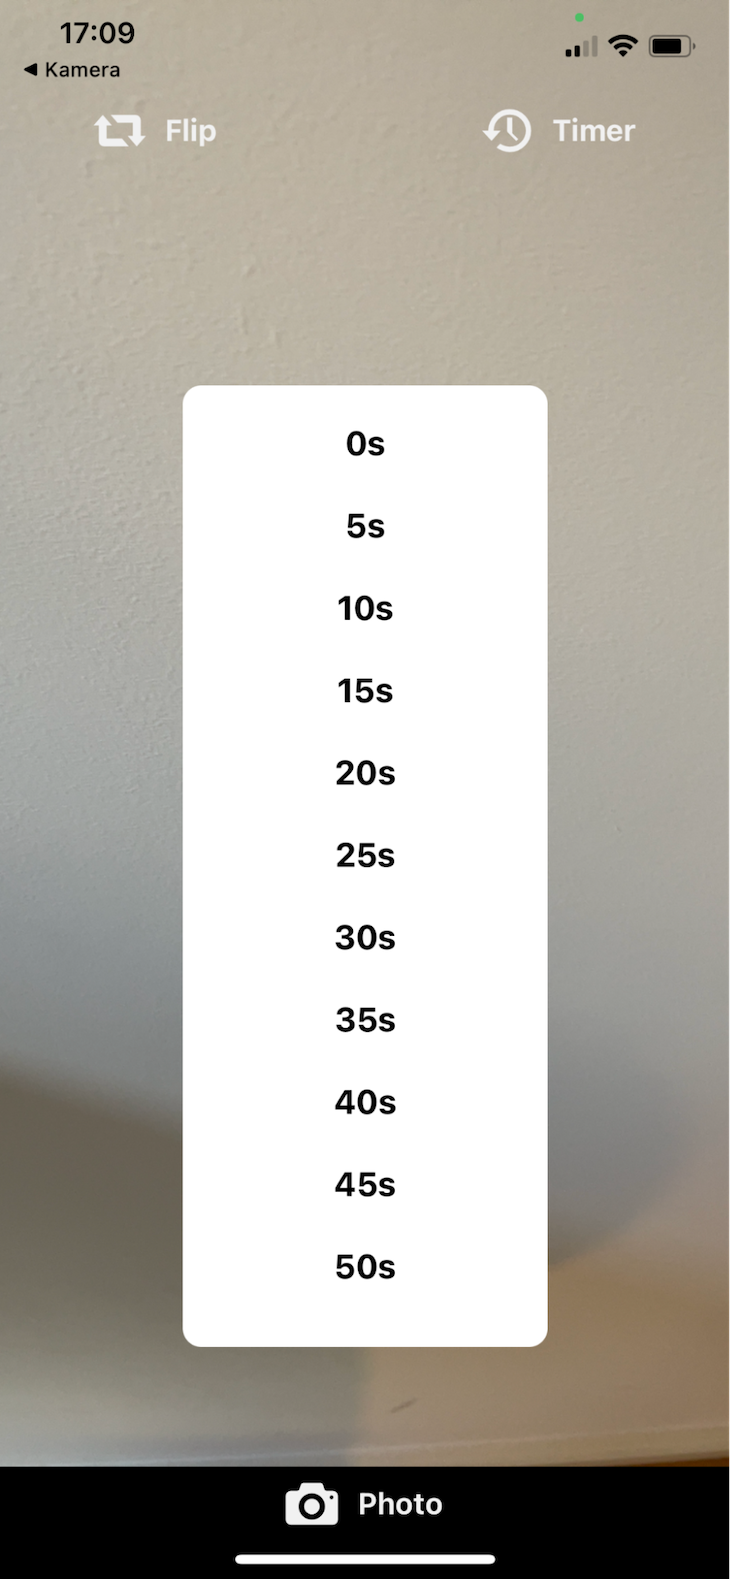
The aim of the timerClicked state and the onPressTimerItem perform is to examine whether or not the timer element needs to be rendered or not. Contained in the digital camera element, I added one other button for the timer performance. Beneath you could find photos displaying the format earlier than and after clicking the Timer button.
To begin with the logic behind the timer, we first want so as to add a brand new state which is able to maintain the present worth of the specified timer. As well as, we’ll name setTimer contained in the onPressTimerItem perform. Furthermore, we wish to show the present worth of the timer subsequent to the icon within the higher proper nook. For that, we wrap the timer button inside an extra View and add a brand new Textual content ingredient:
<View fashion={types.timerContainer}>
             <Button
               icon={"back-in-time"}
               title="Timer"
               onPress={() => setTimerClicked((prevState) => !prevState)}
             />
           <Textual content fashion={types.timerText}>{timer}s</Textual content>
</View>
As a subsequent step, we will check out the takePicture perform once more and join the performance between the timer and taking the photograph. For that function, we will wrap the physique of the perform inside a setTimeout technique like this:
const [timerOn, setTimerOn] = useState(false);

const takePicture = async () => {
 setTimerOn(true);
 setTimeout(async perform () {
   if (cameraRef) {
     strive {
       const knowledge = await cameraRef.present.takePictureAsync();
       setImage(knowledge.uri);
       setTimerOn(false);
     } catch (error) {
       console.log(error);
     }
   }
 }, timer * 1000);
};
A brand new state timerOn is applied for maintaining monitor whether or not the timer continues to be working or not. This will probably be related for the final step in creating the stopwatch.
When you run the app now, choose a period on your timer, and click on the Take Picture button, the photograph needs to be taken with a delay of the identical quantity of seconds as your chosen timer.
Implementing the countdown timer
The final step to ending this app is to implement a component that exhibits the timer counting down for an enhanced user-friendliness. We is not going to use the timer state to show the rely down, however as an alternative use one other variable known as displayTimer as a result of we wish to hold the worth of the timer state fixed.
const [displayTimer, setDisplayTimer] = useState(timer);

useEffect(() => {
 if (!timerOn) {
   return;
 }
 setDisplayTimer(timer);

 const interval = setInterval(() => {
   setDisplayTimer((prevTimer) =>
     prevTimer > 0 ? prevTimer - 1 : clearInterval(interval)
   );
 }, 1000);
}, [timerOn, setTimerOn, timer]);
Within the useEffect Hook above, we use the setInterval technique the place we cut back the worth of displayTimer by 1 each second. If the displayTimer reaches a worth of 0, we wish to name clearInterval(interval) with a view to cease the perform from executing.
Extra nice articles from LogRocket:
Conclusion
On this put up, we coated create a stopwatch in React Native and join it to the gadget’s digital camera to create a selfie digital camera timer from scratch. When you misplaced monitor in some unspecified time in the future, take a look at the corresponding repo on my GitHub for the entire supply code.
LogRocket: Immediately recreate points in your React Native apps.

LogRocket is a React Native monitoring answer that helps you reproduce points immediately, prioritize bugs, and perceive efficiency in your React Native apps.
LogRocket additionally helps you improve conversion charges and product utilization by displaying you precisely how customers are interacting along with your app. LogRocket’s product analytics options floor the the reason why customers do not full a selected move or do not undertake a brand new characteristic.
Begin proactively monitoring your React Native apps — strive LogRocket without cost.
