
Popup types may be important advertising instruments, enabling you to seize e-mail addresses, promote gross sales, and extra. Nonetheless, making engaging and customised popups in WordPress isn’t all the time easy.
Luckily, the Elementor web page builder plugin makes it straightforward to create and customise popups in your web site. You’ll be able to tweak them to match your website’s design and add triggers primarily based on consumer conduct or origins.
This information will give an summary of the totally different sorts of Elementor popups and why you would possibly need to use them. Then, we’ll clarify tips on how to make these popups with each the free and Professional Elementor instruments. Let’s get began!
An Overview of Elementor Popups
Elementor is likely one of the most common web page builder plugins for WordPress web sites. It allows you to drag and drop components into place to design lovely and user-friendly pages:

Moreover, Elementor allows you to create a wide range of popups. These are customized types that seem in your website after a predetermined time, or after a consumer completes a selected motion.
Popups may be important instruments for varied causes. You should utilize them to gather leads and develop your e-mail advertising checklist. Elementor popups combine with e-mail advertising software program, sending buyer addresses on to your platform of alternative.
You would possibly even make the most of them to advertise gross sales, reductions, and occasions associated to your ecommerce retailer. As such, popups may be integral to your total advertising technique.
Furthermore, popups might help you join together with your prospects. You’ll be able to embed surveys to ask for shopper suggestions and enhance your services.
Nonetheless, popups can really feel low cost and intrusive in the event you don’t design them nicely and select the right triggers to your viewers. Due to this fact, you’ll must just be sure you use them successfully. That is the place Elementor is available in.
 Discover ways to make your individual on this information!
Kinds of Elementor Popups
Elementor comes with greater than 100 popup templates you can customise to your wants. These designs embody:
- Lead seize types
- Electronic mail signup popups
- Promotional popups
- Login and welcome types
- Restricted content material popups
- Upsell and cross-sell types
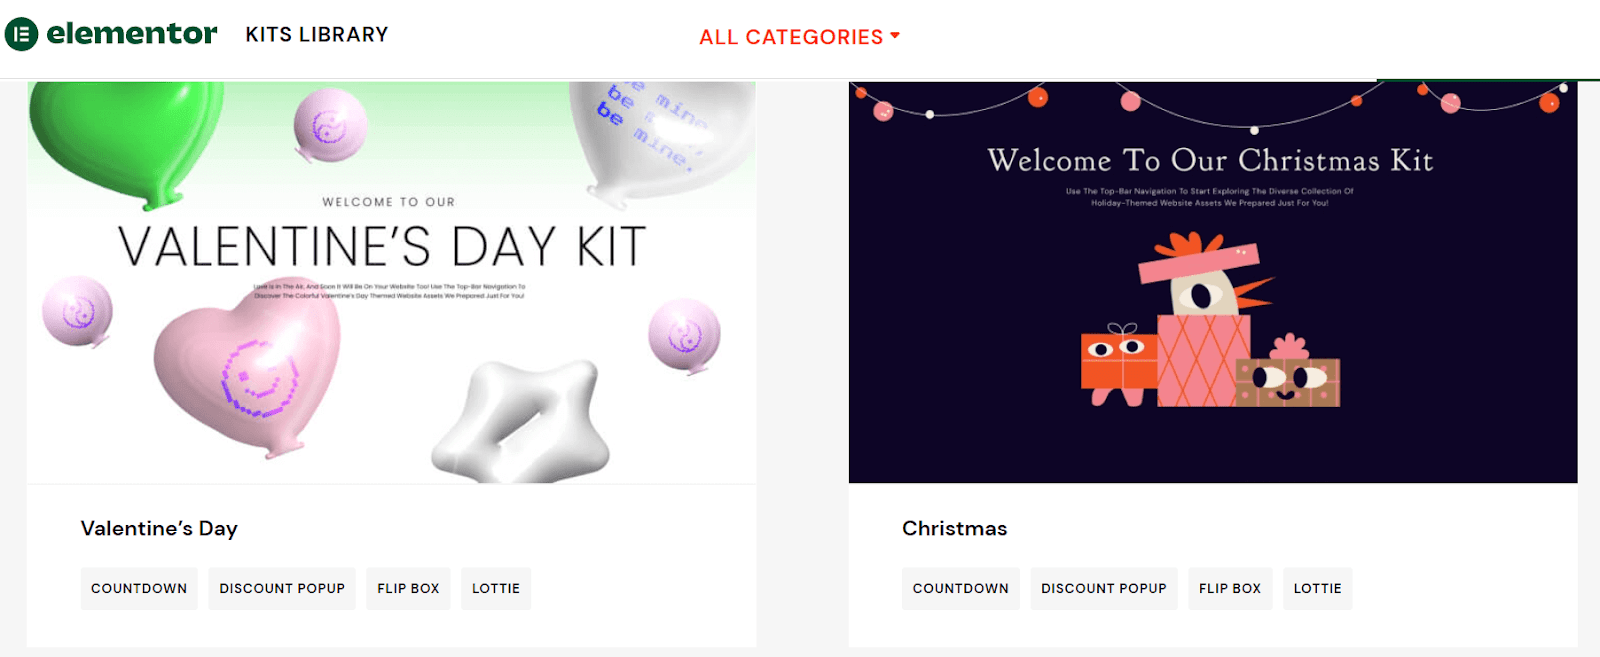
These popup templates come constructed into Elementor kits, which embody varied design options for various sorts of internet sites:
Moreover, you possibly can select from totally different popup placements and visible designs, together with:
- Modal
- Slide-in
- Fullscreen
- Prime or backside bar
Lastly, you need to use the Elementor editor to shortly customise any popup template to suit your wants. We’ll now clarify how you are able to do that with free and Elementor Professional.
How To Create a Popup With Elementor (Free)
Beforehand, the Important Addons for Elementor plugin had a Modal Popup characteristic that allows customers to create a free popup type. Utilizing it was probably the most common methods to get round paying for Elementor Professional. You could find many tutorial movies from a number of years in the past to point out you tips on how to use this technique.
Nonetheless, the free Modal Popup characteristic has remodeled right into a premium Lightbox and Modal ingredient. It’s now not free to make use of. Due to this fact, you’ll must improve to Elementor Professional or pay for one of many premium Elementor plugins that we cowl later on this submit.
How To Create a Popup With Elementor Professional (in 5 Simple Steps)
Elementor Professional comes with an in-built Popups characteristic that we are going to use on this tutorial. You’ll first must buy and activate Elementor Professional. Then, you possibly can head to your WordPress dashboard to get began with making popups.
Step 1: Make Your Popup
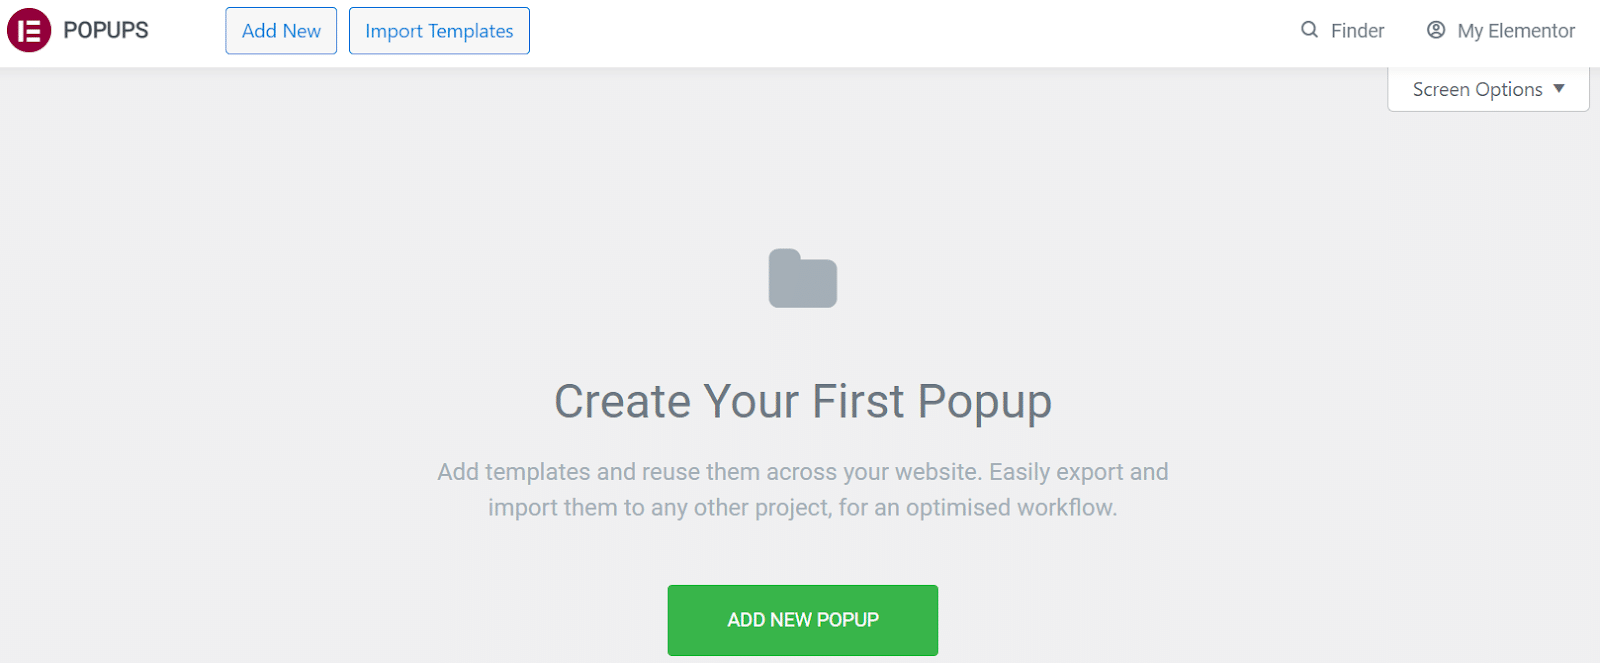
Begin by navigating to Elementor > Templates > Popups in your WordPress dashboard. Then, click on on ADD NEW POPUPto create a brand new one:
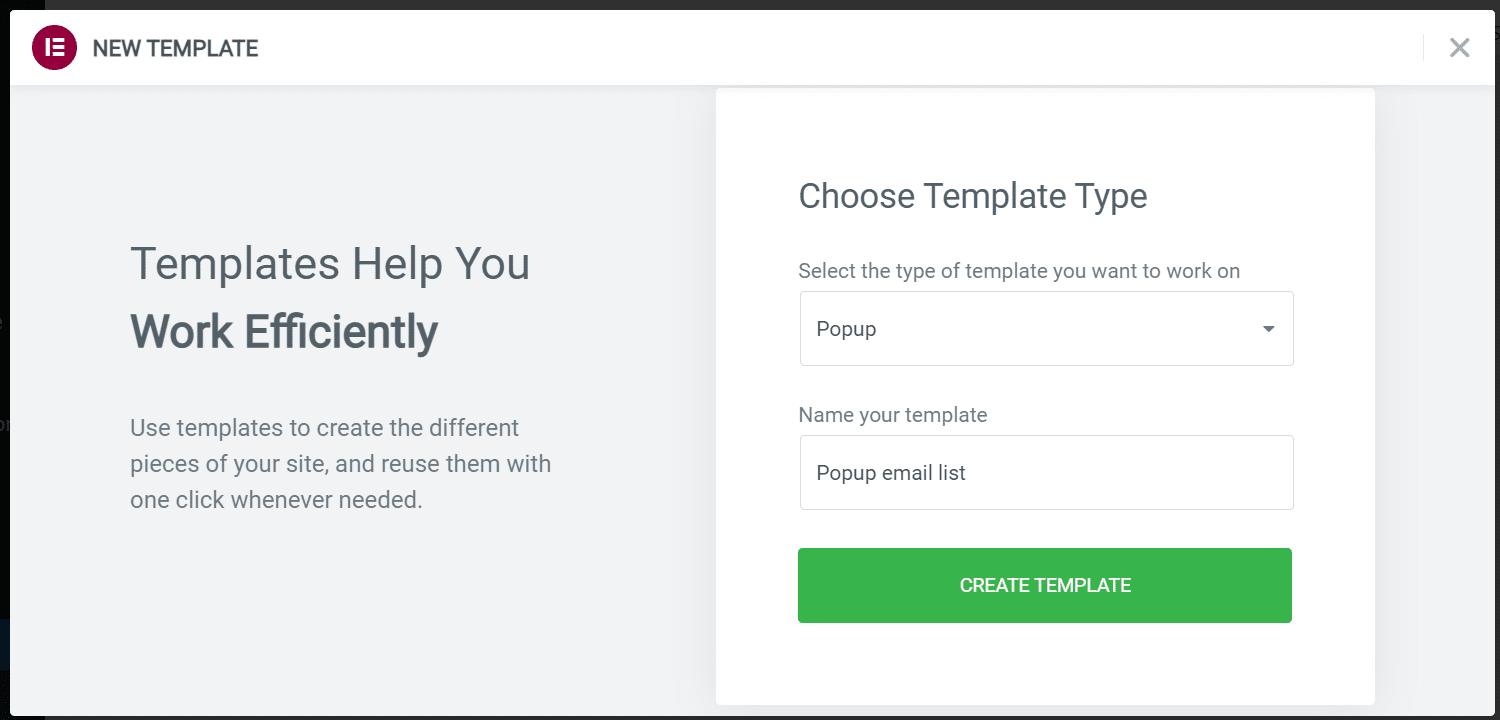
You’ll then be prompted to call your template. When you’ve selected a reputation, choose CREATE TEMPLATE:
This can launch the Elementor web page builder. Now you can select from the present popup template designs or construct your individual from scratch. In our instance, we’ve chosen one of many present templates to edit:
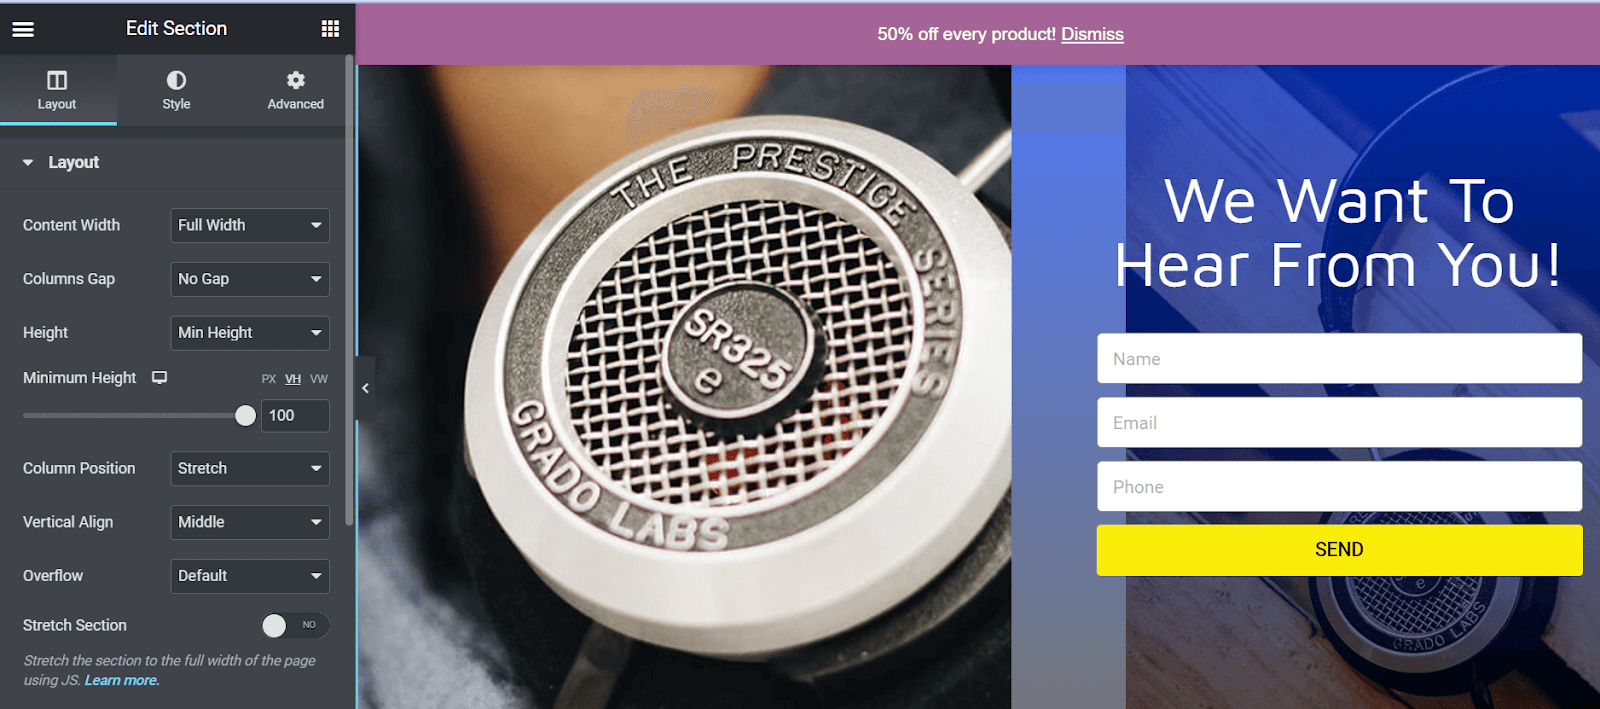
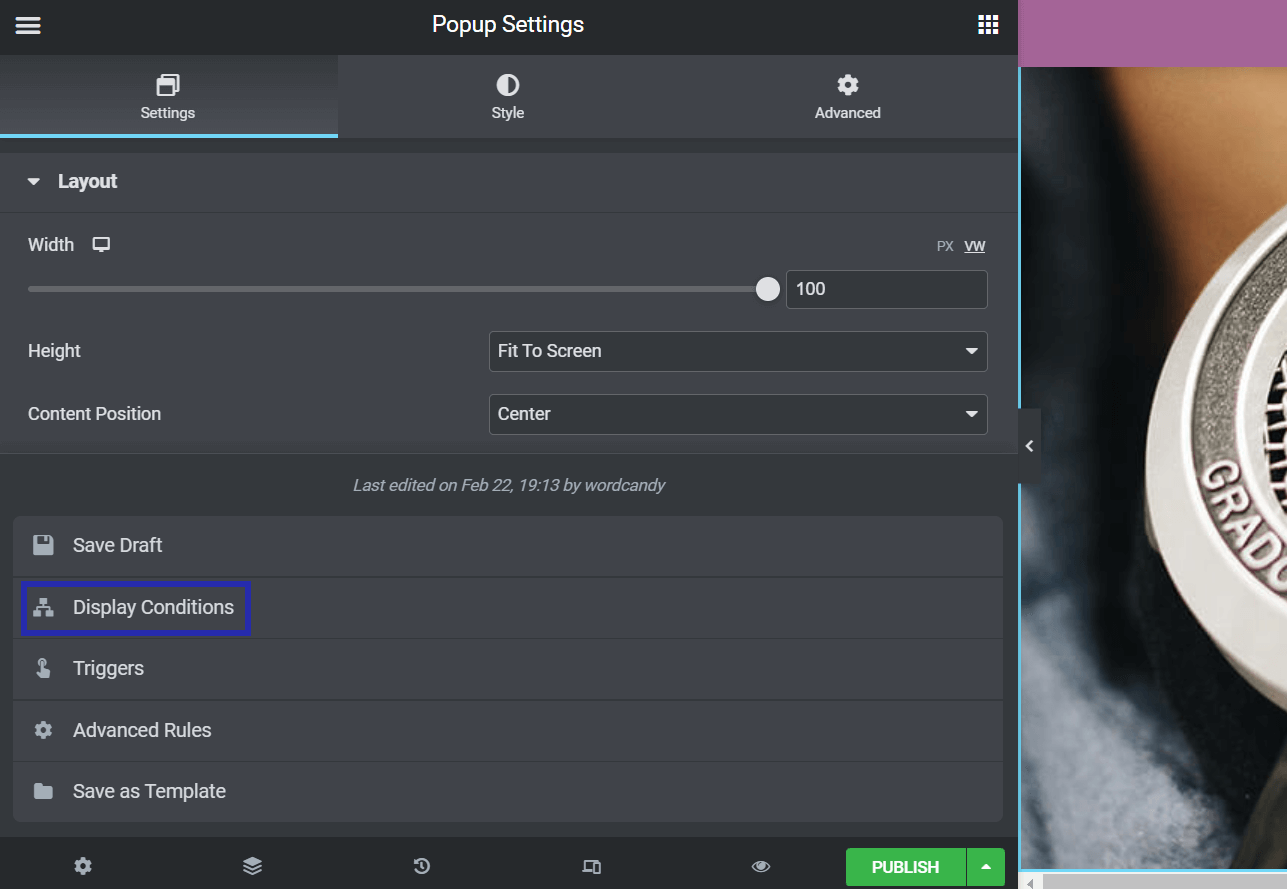
Now you can mess around with the design settings to customise your popup. For instance, you possibly can change its structure, alignment, background photos, and colours.
Step 2: Select Your Show Circumstances
When you’re pleased together with your design, click on on the upward-facing arrow subsequent to PUBLISH. Then, choose Show Circumstances from the menu that seems:
Subsequent, hit ADD CONDITION to decide on the place your Elementor popup will show in your web site. You’ll be able to then choose a location from the next choices: Total Website, Archives, Singular, or WooCommerce:
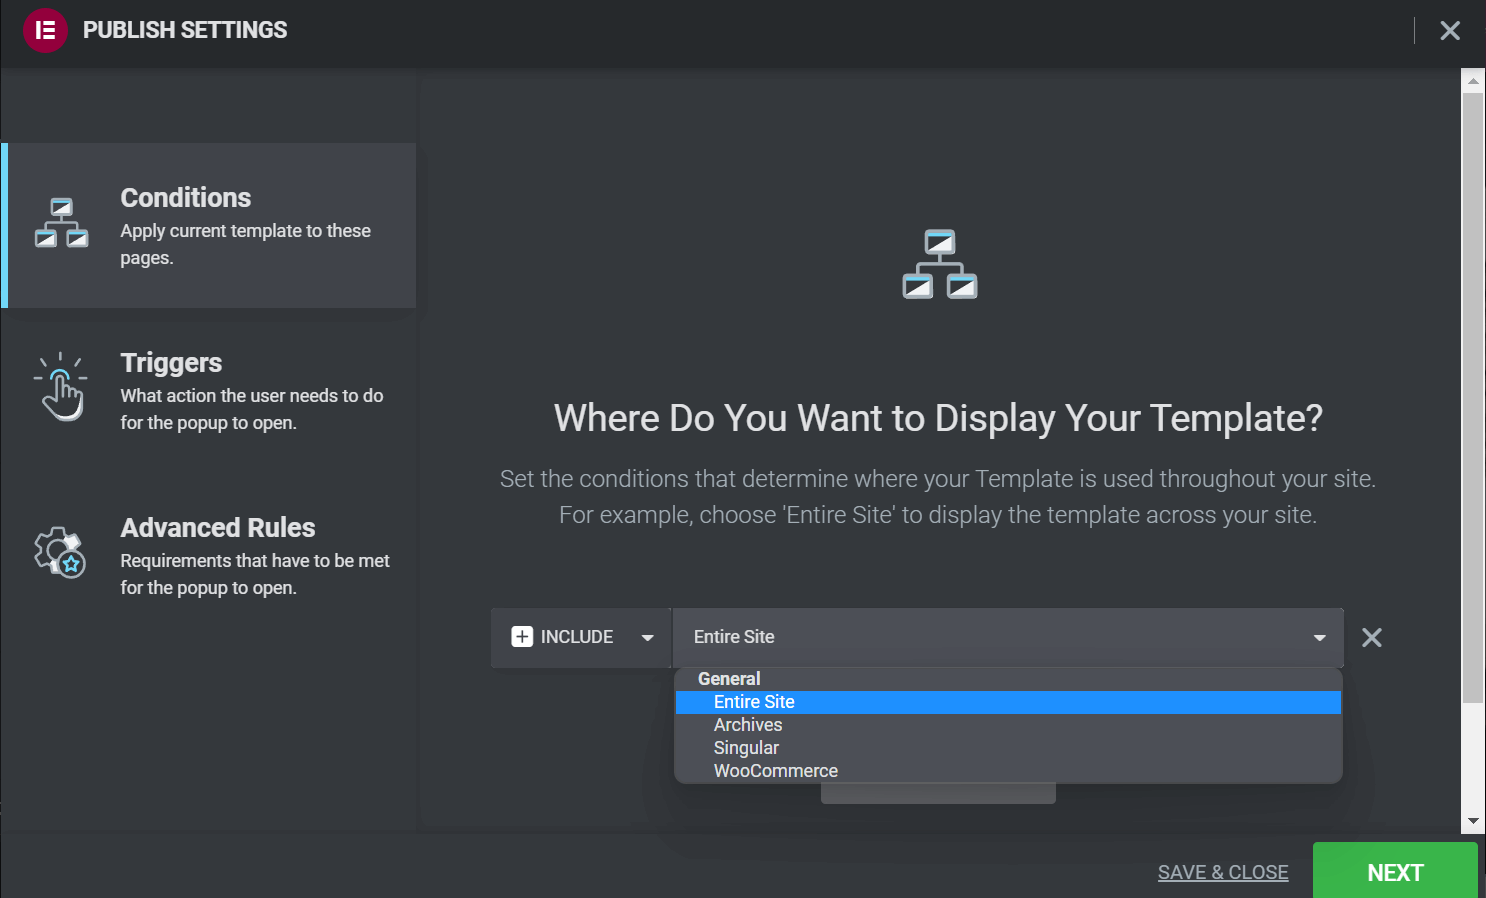
Whenever you’re pleased together with your alternative, hit NEXT. You’ll be taken to the Triggers to your popup type.
Step 3: Set Up Your Popup Triggers
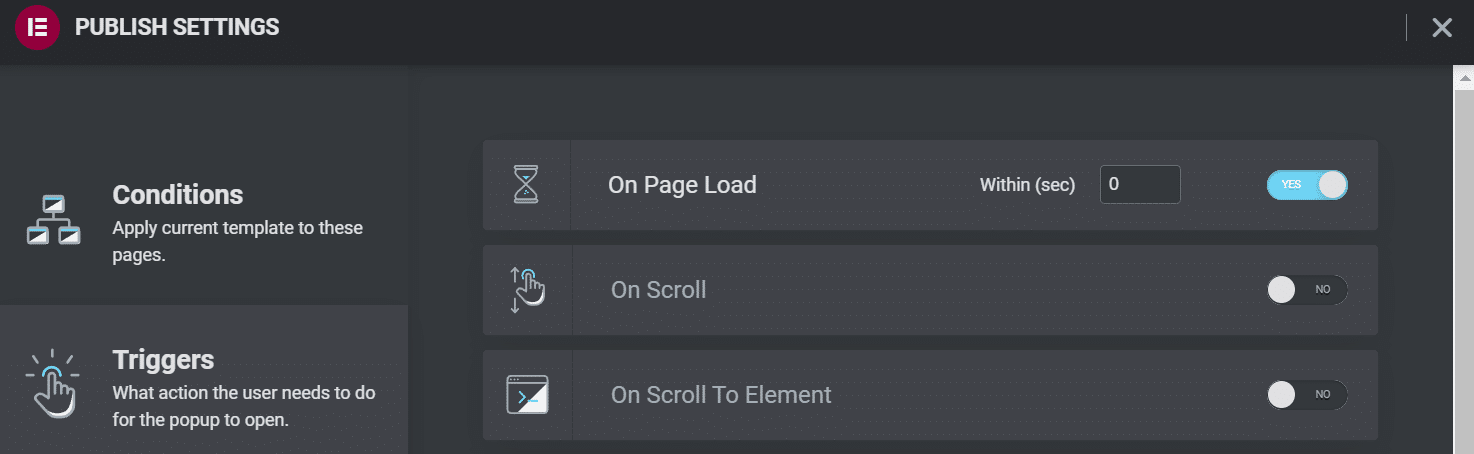
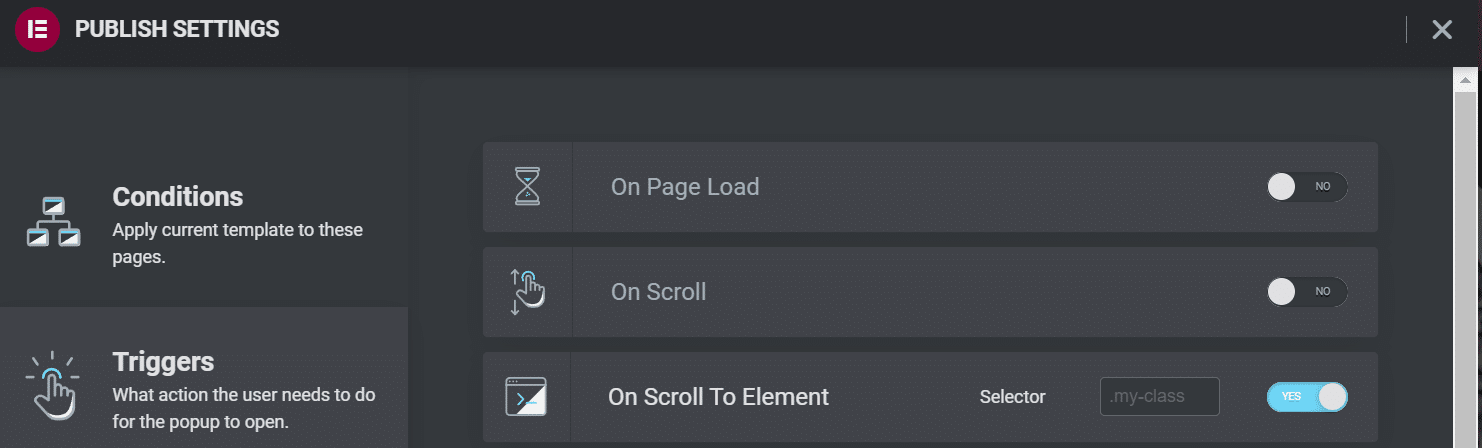
On the Triggers web page, you possibly can determine what customers must do to view your Elementor popup. By default, every possibility is disabled, and you may allow it by clicking on the slider. Then, you’ll must specify values to your set off.
For instance, in the event you go for On Web page Load, you’ll want to decide on inside what number of seconds your popup will show:
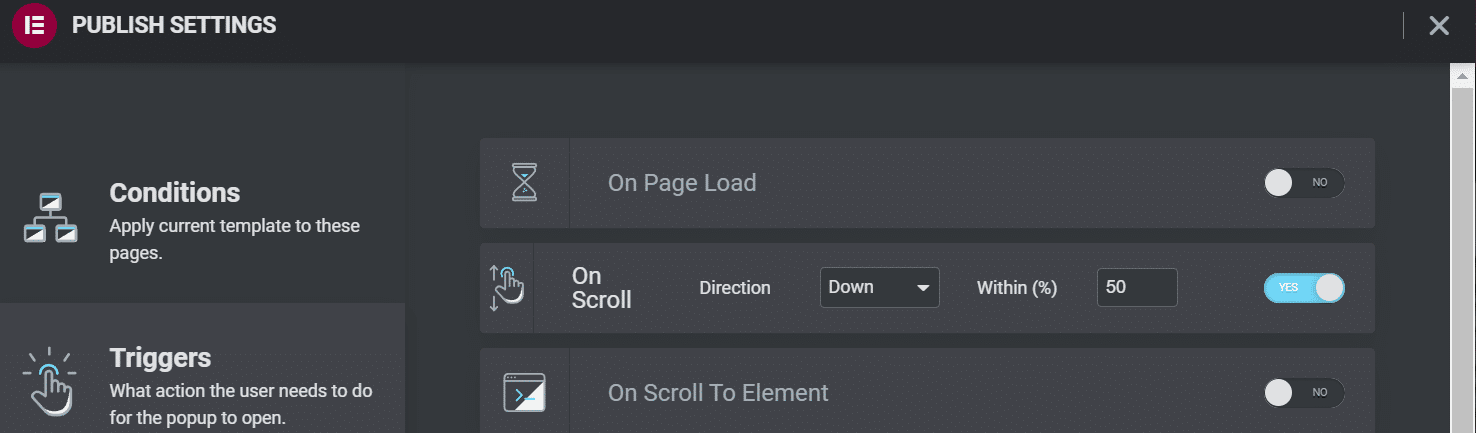
With On Scroll, you possibly can select which course the consumer must scroll and the way a lot of the web page they have to cowl earlier than the popup seems:
The On Scroll To Ingredient setting requires you to enter a CSS ID. When a consumer reaches that ingredient in your web page, the popup will seem:
With On Click on, you’ll should specify what number of occasions a consumer should click on in your web site earlier than the popup shows:
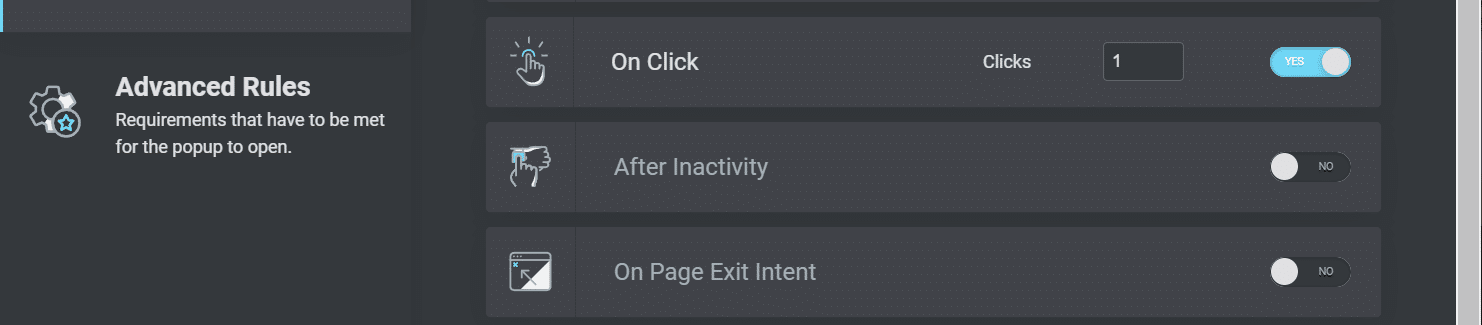
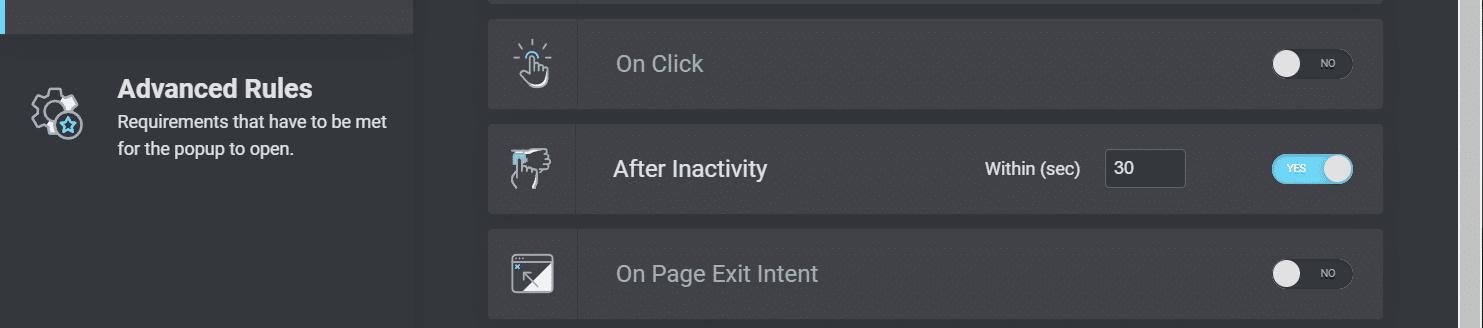
The After Inactivity setting allows you to set off your popup after the consumer has been idle in your web page for a selected period of time:
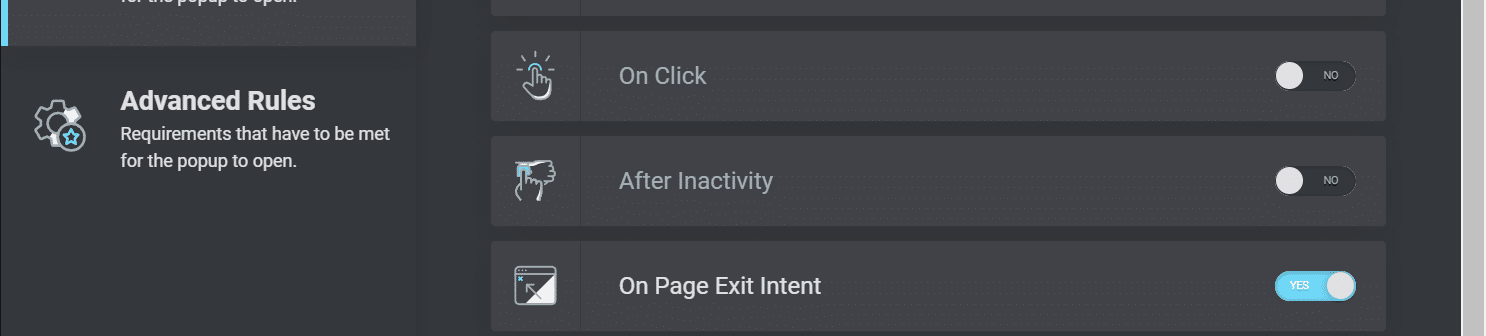
Lastly, you possibly can decide to allow On Web page Exit Intent. This setting will set off your popup when a consumer tries to go away your web page:
Click on on SAVE & CLOSE or NEXT to navigate to the Superior Guidelines while you’re carried out. We’ll have a look at these guidelines somewhat bit later on this tutorial.
Step 4: Add a Popup Button to Your Website (Optionally available)
You would possibly need to set off your Elementor popup when a consumer clicks on a selected ingredient in your web page. For instance, you would design a button that claims “Signal Up Now” and embed it in your footer. When a consumer clicks the button, they’ll see your e-mail registration type on their display.
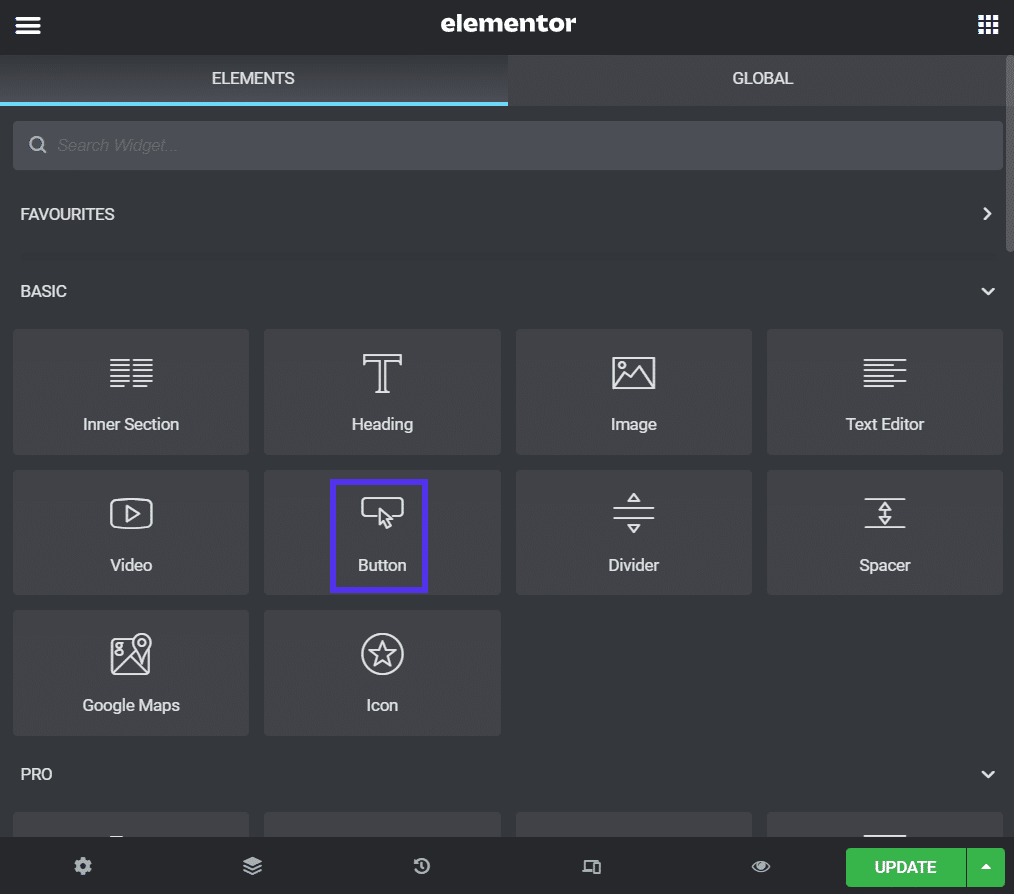
First, you’ll must create an Elementor button in your web site. Open the submit or web page within the Elementor editor and select Button from the menu. Drag and drop it onto your web page:
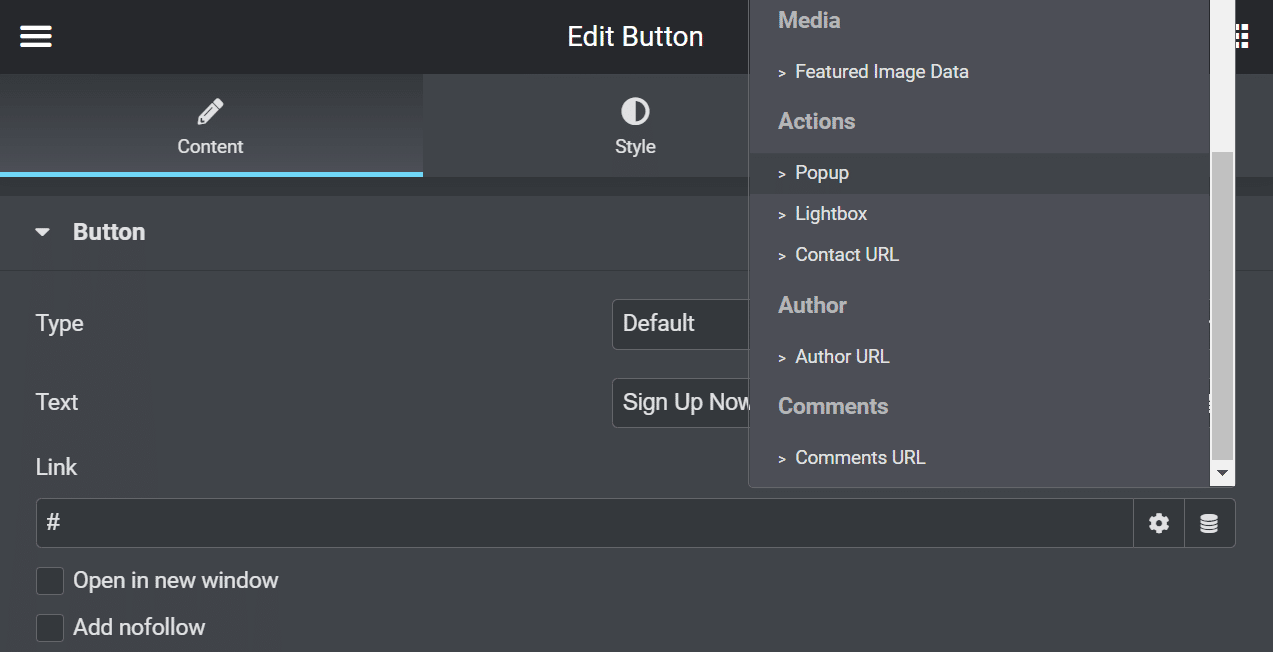
When you’ve specified the button textual content and customised its look, click on on Hyperlink > Dynamic Tags. Then, select Actions > Popup from the dropdown menu:
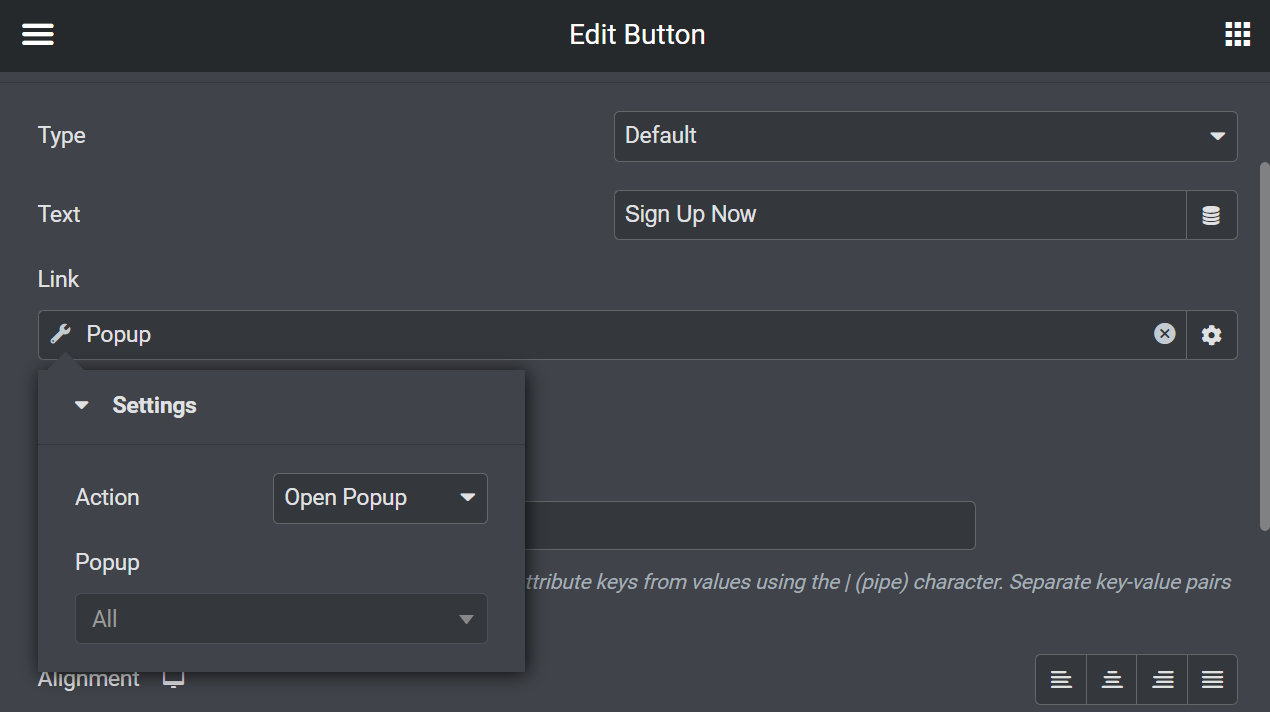
Click on on Popup and select Open Popup from the Motion dropdown. You may also choose your type from the Popup menu:
Lastly, choose UPDATE to publish your button. Every time a consumer clicks on it, they’ll be taken to your signup type.
Step 5: Save Your Popup Templates for Later
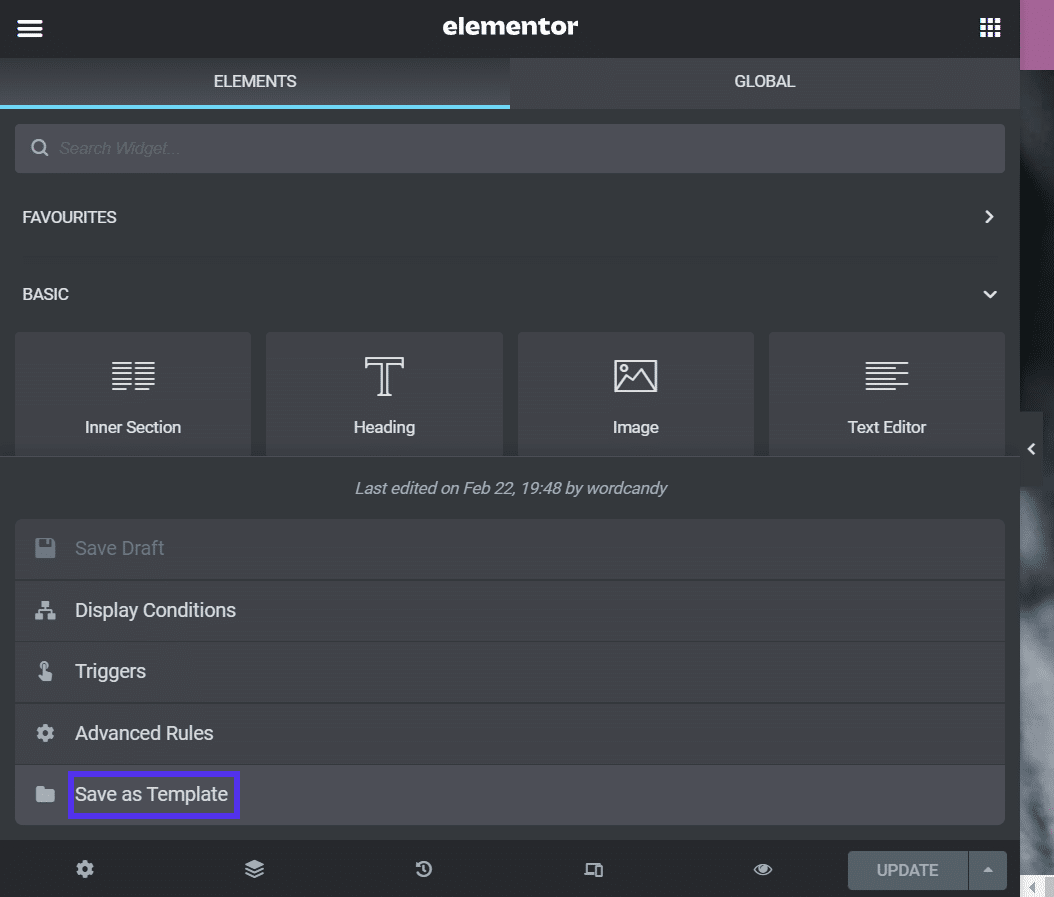
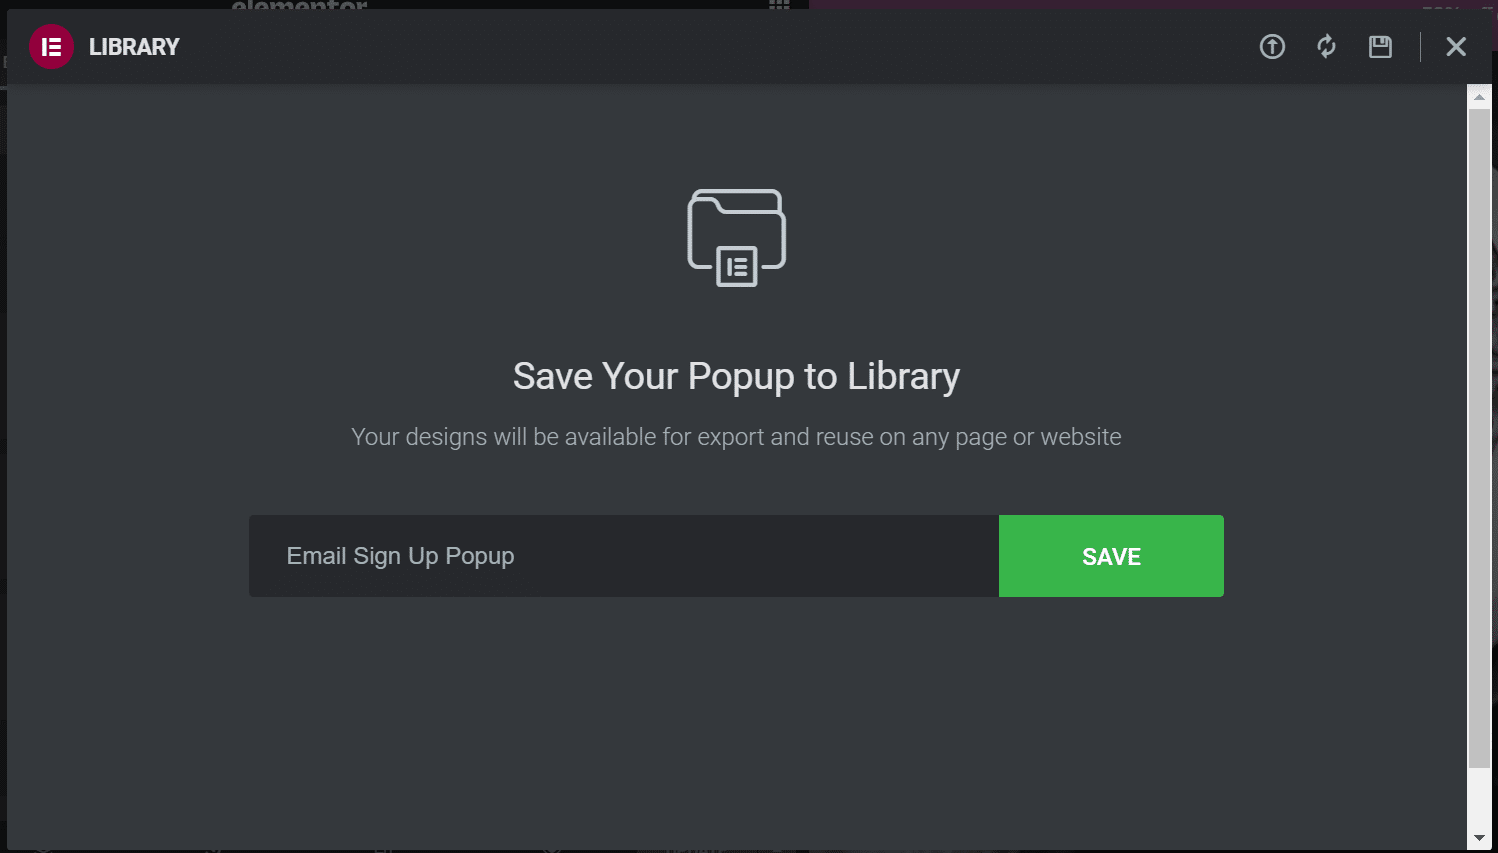
You may also save your popups as templates. Open your popup with the Elementor editor and click on on the upward arrow subsequent to UPDATE. Select Save as Template from the menu:
You’ll then be prompted to call your template. Whenever you’re carried out, click on on SAVE:
The popup shall be saved to your Template Library. Now you can use it when constructing a web page or submit with templates.
How To Configure Superior Elementor Popup Settings
We already lined tips on how to make a primary Elementor popup. Nonetheless, there are additionally some superior settings that you just would possibly need to use.
Open your popup once more with the Elementor editor and navigate to Show Guidelines. Let’s check out the totally different settings.
Popup Show Settings
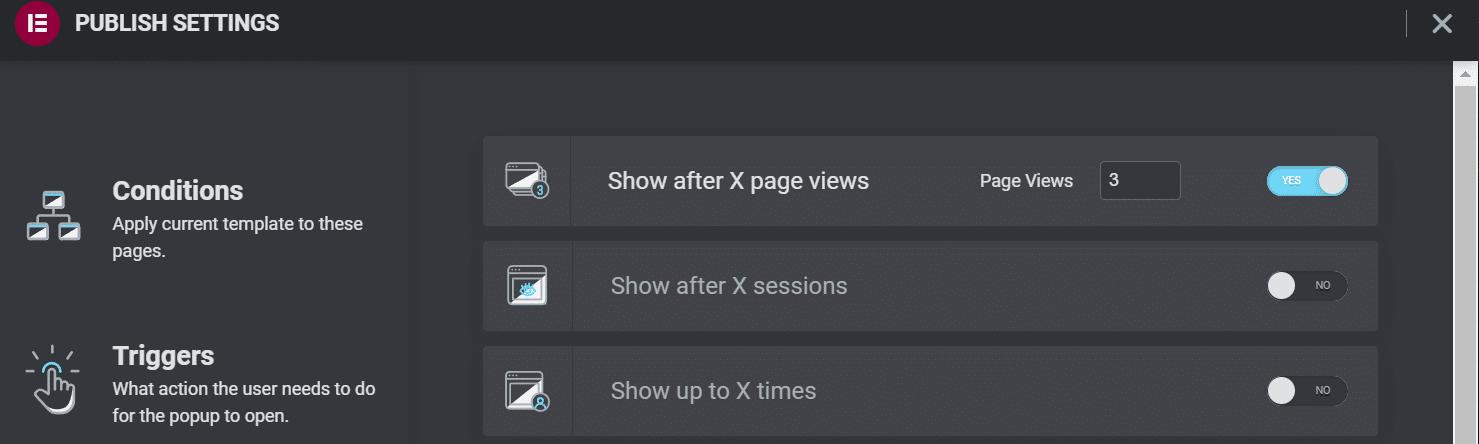
Some superior popup show settings allow you to manage when customers see your type. These configurations might be helpful to focus on return guests relatively than first-time ones.
As an illustration, you possibly can select to show your popup after your customer has seen your web page a sure variety of occasions:
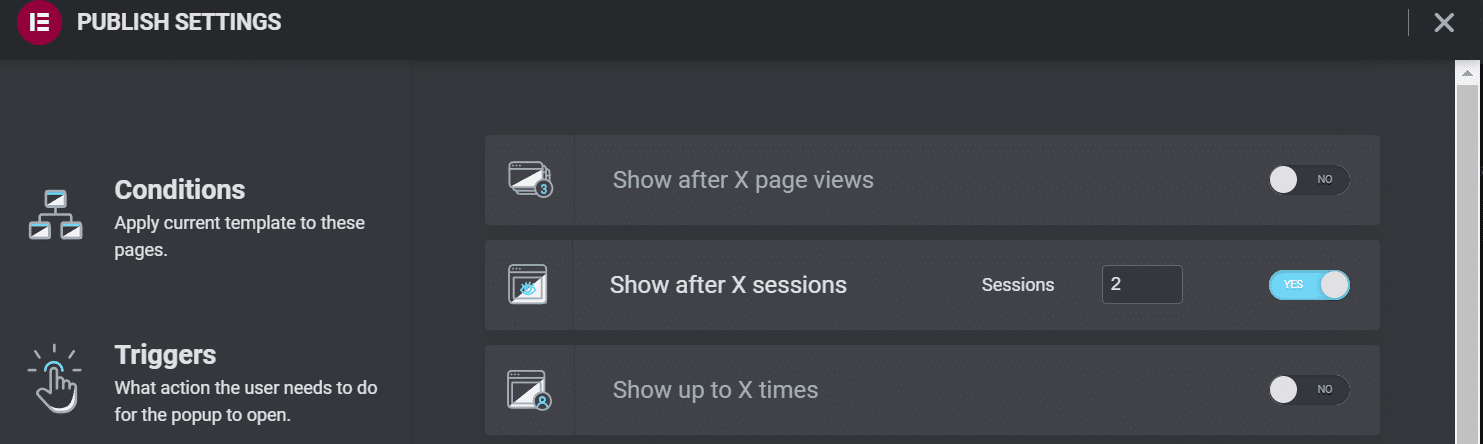
Alternatively, you would possibly select Present after X classes. This setting targets total visits relatively than particular pages:
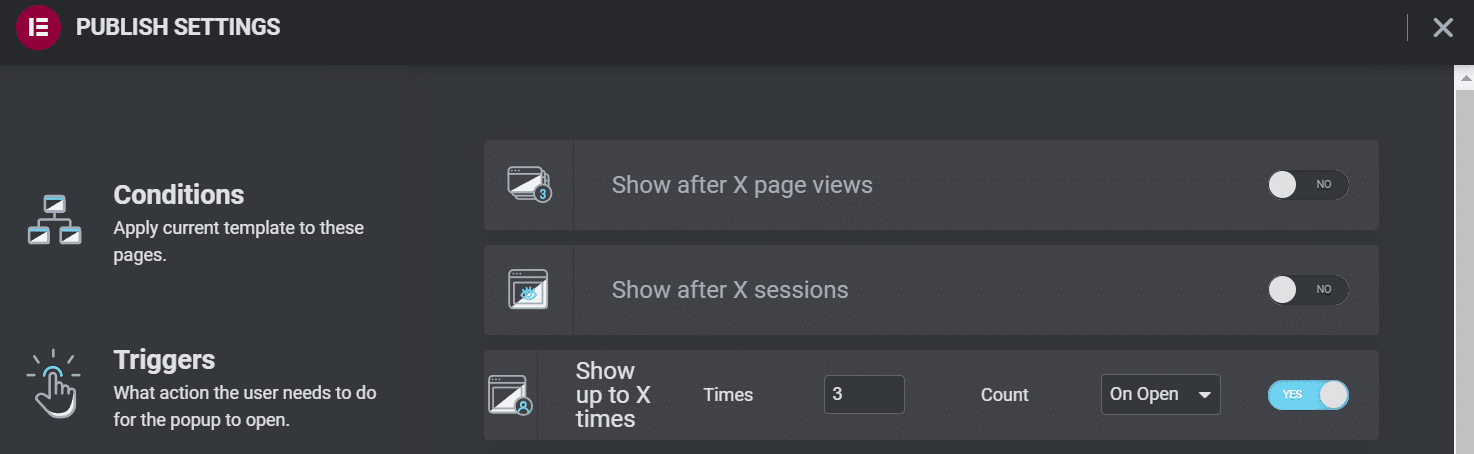
The Present as much as X occasions setting can restrict what number of occasions customers will see your popup. You would possibly think about enabling it in the event you don’t need to spam guests with intrusive types regularly:
You may also use the Present on gadgets and Present on browsers settings to restrict the place your popup will seem. Popups may be significantly intrusive on cellular gadgets, so that you would possibly think about disabling them there:
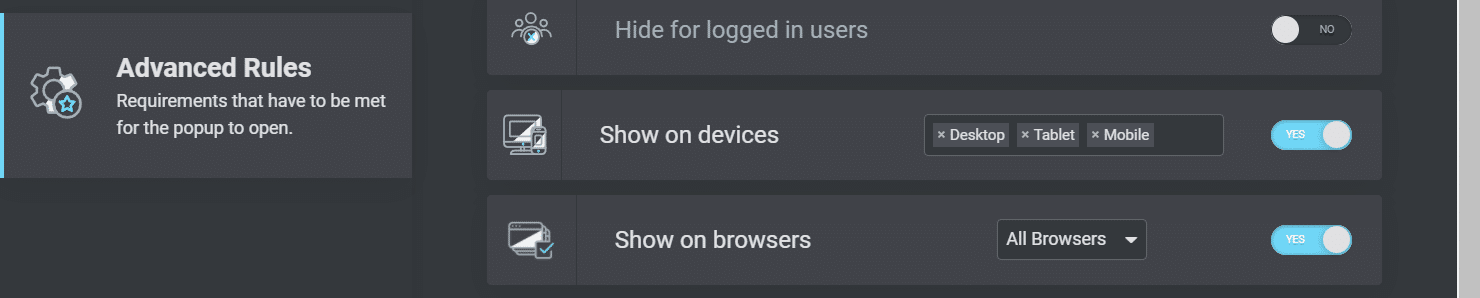
Offering a greater cellular consumer expertise can preserve your guests pleased. It could additionally increase your Search Engine Optimization (search engine marketing) efforts and assist your web site rank greater within the search outcomes.
Person Origin Settings
Lastly, Elementor allows you to configure popup show settings relying on the place your customers come from. These settings might be helpful in the event you direct guests to a promotional touchdown web page after which use your popup for promoting offers or asking for contact particulars.
The next settings allow you to specify URLs and select which hyperlinks will set off the popups:

Lastly, you possibly can select to cover your popups from logged-in customers. You would possibly use this setting in the event you run a paid membership web site:

Whenever you’re pleased with all your chosen settings, click on on SAVE & CLOSE. You’ll be able to navigate again right here and alter any of those configurations if wanted.
Prime 3 Plugins for Elementor Popups
As we’ve seen, Elementor Professional makes it straightforward to create popups to your web site. Nonetheless, you won’t be able to improve to the premium web page builder. Alternatively, it’s possible you’ll be searching for extra design options.
Listed here are a number of of the perfect plugins for Elementor popups with these issues in thoughts.
1. JetPopUp (Crocoblock)

JetPopUp is a user-friendly plugin with a drag-and-drop interface that integrates completely with Elementor. It allows you to create dynamic and customised popup types, together with e-mail signups, cookie consent types, and countdowns.
JetPopUp shines with its interactive options. You’ll be able to select from a number of animation settings, equivalent to sliding, flipping, and rotating. Furthermore, the plugin has varied templates you can customise to your wants.
This plugin additionally lets you choose and customise a number of show settings. For instance, you possibly can present your JetPopUp types to customers on specific dates after they attempt to depart your web site, or after a certain quantity of scrolling.
Options:
- Select from preset popup templates
- Choose totally different popup show situations
- Embrace and exclude particular situations
- Use animation results
Pricing: JetPopUp prices $22 per yr. This bundle contains MailChimp integration, a popup widget, and buyer assist. You may also improve to an all-inclusive subscription for $130 per yr. It comes with 20 extra plugins and 150 additional widgets.
2. Popup Field Widget (PowerPack)
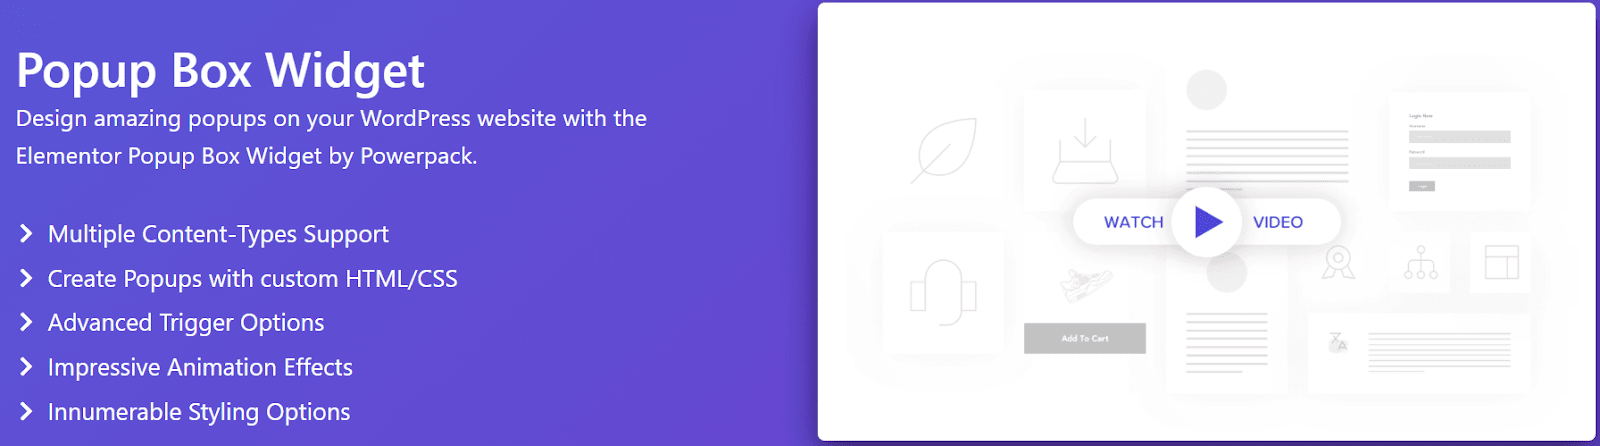
For those who’re searching for superior Elementor popup settings, think about using Popup Field Widget by PowerPack. It allows you to construct customized popups that embody dynamic components equivalent to movies, photos, and Google maps.
This plugin allows you to set off popups in keeping with varied consumer actions, together with exit intent and customized time delays. You may also create interactive two-step popups with hyperlinks and different components of Name to Motion (CTA).
Moreover, Popup Field Widget has superior animation settings. You may make your popups zoom, use newspaper formatting, or use 3D animations.
Options:
- Select from animation results
- Create two-step popups
- Use time delays and consumer triggers
- Show photos, movies, and different interactive components
Pricing: Popup Field Widget is included with a PowerPack subscription. Plans begin at $49 per yr and include greater than 70 totally different Elementor widgets.
3. Lightbox & Modal (Important Addons for Elementor)
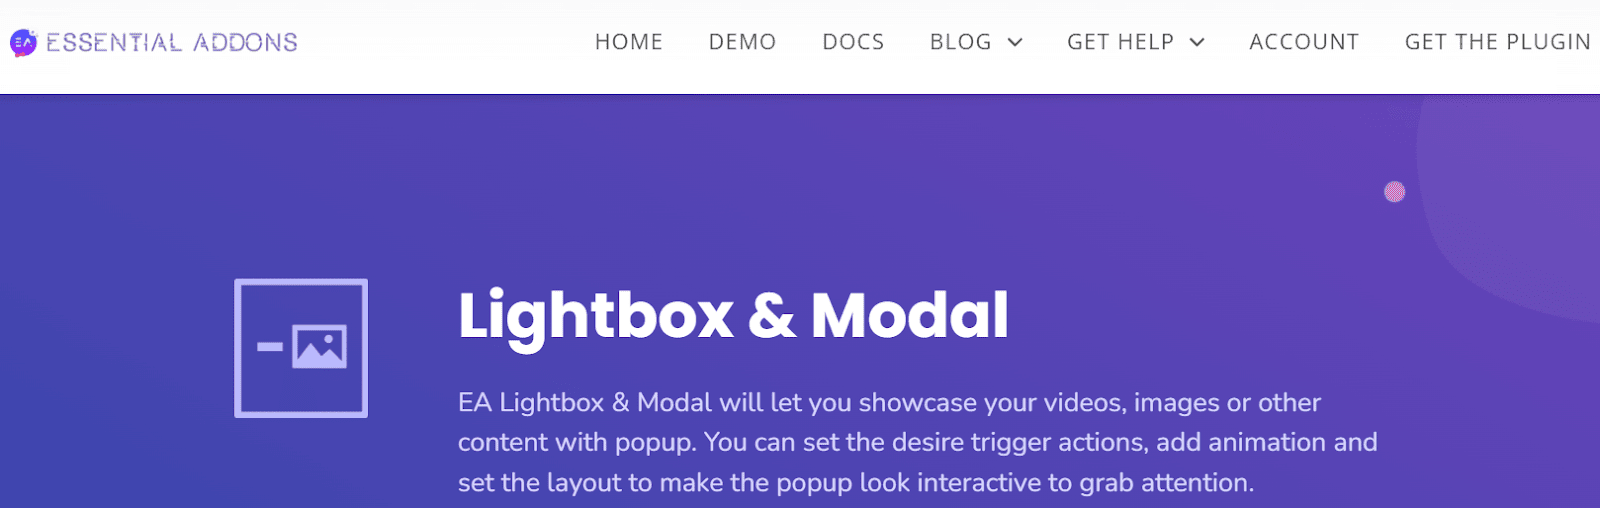
We briefly touched on this Elementor popup plugin earlier. Lightbox & Modal is a flexible widget with the Important Addons for Elementor software. It helps you create popups with interactive options like movies, photos, and animations.
Lightbox & Modal is designed to work with buttons and hyperlinks in your Elementor web site. You’ll be able to create customized buttons, icons, and textual content that set off your popup types. Moreover, the widget can use time delays and different consumer actions.
General, Lightbox & Modal might be the best choice to work together together with your customers relatively than merely current info.
Options:
- Use button triggers for popups
- Show photos, movies, and customized content material
- Customise popup layouts
- Select from totally different animation sorts
Pricing: Lightbox & Modal is included with Important Addons for Elementor Professional. Plans begin at $39.97 per yr and have greater than 70 widgets and 7 extensions.

Abstract
Popup types may be important to your lead era and advertising campaigns. They will additionally enable you work together with guests and preserve them in your web page. Luckily, you possibly can create customized popups with the Elementor web page builder.
It’s tremendous straightforward to create popups with Elementor Professional. You’ll be able to customise them to match your branding and determine the place they show in your website. You may also set superior show settings to point out your popup primarily based on consumer actions and origins.
Designing a good looking web site with Elementor is simply step one. You’ll additionally want a WordPress internet hosting supplier in your nook. Try our pricing plans immediately to see how Kinsta can supercharge your website!
Save time, prices and maximize website efficiency with:
- Instantaneous assist from WordPress internet hosting specialists, 24/7.
- Cloudflare Enterprise integration.
- International viewers attain with 34 information facilities worldwide.
- Optimization with our built-in Software Efficiency Monitoring.
All of that and far more, in a single plan with no long-term contracts, assisted migrations, and a 30-day-money-back-guarantee. Try our plans or discuss to gross sales to seek out the plan that’s best for you.
