
Learn to use Adobe Photoshop on this detailed, easy-to-follow course. I am going to educate you all of the important Photoshop instruments and methods, ranging from scratch and constructing to extra superior abilities.
Watch the Full Photoshop for Inexperienced persons Course
What You will Study
- How one can use Photoshop layers and layer kinds
- How one can work with colour and adjustment layers
- How one can retouch and manipulate photographs
- How one can make choices and use masks
- How one can use Photoshop Good Objects
About Your Teacher
Sharing is who I’m, and instructing is the place I’m at my finest. I am a digital designer and a licensed Adobe teacher. I’ve additionally received a number of Adobe instructing awards at their annual MAX convention.
Leap straight to the Photoshop method you wish to grasp:
1. Introduction
1.1 Welcome to the Course
Watch video lesson (2 minutes) ↗
This primary part explains what the course is all about. I am going to clarify all of the matters we’ll cowl within the subsequent three hours, and I am going to let you know what you might want to get began. Just about all you want is only a copy of Photoshop—you do not want any design expertise as a result of I am going to begin from zero, assuming no data of Photoshop or design.
“Should you’ve by no means opened up Photoshop, otherwise you’ve opened it and you’ve got struggled with it, observe me and I’ll present you the perfect methods to make stunning photographs in Adobe Photoshop. “
1.2 Getting Began
Watch video lesson (2 minutes) ↗
Now let’s arrange your workspace so to full all of the Photoshop tutorials in the remainder of the course. If you wish to observe alongside all through the course and full all of the workout routines, you’ll be able to obtain the free supply information by clicking on the hyperlink under:
Additionally take a look at these associated hyperlinks:
2. Layers
2.1 How Photoshop Layers Work
Watch video lesson (9 minutes) ↗
OK, let’s dive in and find out about some primary picture changes:
- Auto Tone
- Auto Coloration
- Auto Distinction
These are some fast and simple methods that can assist you make your photographs look higher. We’ll additionally take a look at add layers in Photoshop and edit them.


2.2 Combining A number of Photographs
Watch video lesson (8 minutes) ↗
Now that you recognize a bit about photograph changes, let’s take a better take a look at navigation in Photoshop. Extra particularly, how do you’re employed with a number of photographs on the similar time, transferring them round and mixing a number of photographs to create a single finish consequence?
We’ll take a look at that on this video, and we’ll additionally cowl some keyboard shortcuts that may prevent quite a lot of time.


How one can Mix A number of Photographs in Photoshop
1
Open all of the Photographs You Need to Mix
Go to File > Open. Navigate to the photographs you need, and maintain Shift to pick out a number of photographs directly.
2
Transfer an Picture
Select the Transfer Software. Click on on the picture you wish to transfer, and drag it onto the tab of one other picture. Preserve holding down your mouse, after which drop it into the brand new picture.
3
Mix All of the Photographs
Use the identical method to maneuver all the photographs, and align them as vital. Chances are you’ll have to resize the photographs utilizing Edit > Rework > Scale.
3. Coloration and Adjustment Layers
3.1 Tone Adjustment With Ranges
Watch video lesson (5 minutes) ↗
The automated changes we checked out earlier are first step, however if you wish to get essentially the most out of Photoshop, you may have to do extra. So let us take a look at Photoshop ranges now. Step one in correcting any {photograph} is getting the highlights, mid tones, and shadows right. Learn to use Photoshop’s Ranges changes to make this occur.


3.2 Coloration Adjustment
Watch video lesson (4 minutes) ↗
The second step for reaching stunning photographs is to make sure your colours are the perfect they are often! Persevering with our work with Photoshop ranges, let us take a look at change the colour ranges in Photoshop. Utilizing Photoshop’s Vibrance and Saturation, we’ll right the colour in a picture.


3.3 Hue Changes
Watch video lesson (8 minutes) ↗
Generally you might want to regulate the colours in additional element. So now let’s discover repair the colour solid of a picture. Additionally, you will learn to utterly change a particular colour in a picture.


We’ll do all of that with the assistance of the Hue and Saturation sliders, which yow will discover right here:


4. Textual content
4.1 How one can Work With Kind
Watch video lesson (12 minutes) ↗
This chapter is all about working with textual content in Photoshop. Watch the video to see create a easy, elegant postcard flyer that appears like this:


We’ll cowl create the right web page measurement and dimensions for a printable postcard, and additionally, you will grasp utilizing increasing and fixed-width sort bins for typing textual content.
Then, as you create the flyer, you may learn to use the Kind Software and customise the textual content by altering some settings within the Properties panel.


4.2 Warped Kind and Kind on a Path
Watch video lesson (18 minutes) ↗
The design to this point seems to be OK, however you are able to do a lot extra with textual content in Photoshop. So now let us take a look at create curved textual content in Photoshop. You may see within the picture under that we’ve curved textual content in a badge on the backside proper, and in addition a photographer’s credit score following the form of a leaf within the high proper.
tip
Typing on a path is so simple as deciding on the common Kind Software and hovering your cursor over a form or path till you see it change to the Kind on a Path icon. Then you’ll be able to simply begin typing and watch your textual content observe the curve.


To do that, we’ll take a look at sort on a path in Photoshop. Creating curved textual content is less complicated than chances are you’ll suppose—simply watch this video to learn to get textual content to observe a curved line utilizing the Kind on a Path function.


And to distort your textual content in all types of attention-grabbing methods, you should utilize the Warp Textual content choices.


5. Layer Types
5.1 Layer Types and Results
Watch video lesson (17 minutes) ↗
Layer kinds can help you add all types of results to your designs. You may add shadows, bevel, emboss, and plenty of different kinds to textual content and pictures.
So on this a part of the course, you may learn to add a drop shadow in Photoshop. You will create a textual content shadow after which use Photoshop layer kinds so as to add a bevel, emboss, and strokes to textual content and pictures.


You will additionally learn to create different Photoshop results, akin to a gradient overlay.


The Complete Information to Bevel & Emboss
Need to dive into extra element on Bevel & Emboss layer kinds? Try our complete video information:

6. Cropping and Resizing
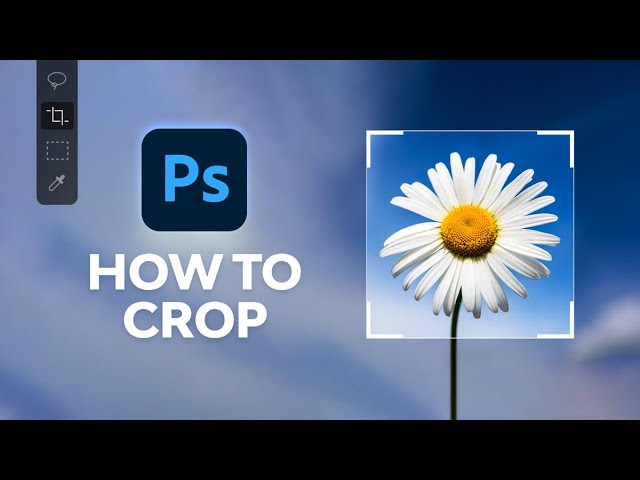
6.1 How one can Crop
Watch video lesson (7 minutes) ↗
Now you may learn to crop a picture in Photoshop. First, we’ll carry out easy crops on photographs, together with cropping and rotating on the similar time.


And after that, you may be taught extra particulars, akin to:
- crop photographs to particular dimensions for printing
- do a Content material Conscious crop, wherein Photoshop creates further background imagery to fill in any empty area
This second method is especially helpful if you’re changing a picture from portrait to panorama or vice versa, so watch the video to see the way it’s carried out.
You too can watch a devoted video on crop in Photoshop:
6.2 Resizing and Decision
Watch video lesson (10 minutes) ↗
After all, creating a lovely picture is not any good if you do not have the appropriate decision and picture high quality. Within the worst-case situation, you may find yourself with one thing like this:


So on this a part of the course, you may learn to resize a picture in Photoshop with out dropping high quality. You will uncover how decision works and the way it impacts picture high quality and file measurement. We’ll cowl all the perfect practices for resizing and exporting, in order that you find yourself with one thing extra like this:


7. Alternatives and Masking
7.1 Rectangle and Elliptical Marquee Software
Watch video lesson (6 minutes) ↗
What if you wish to put the universe inside a espresso cup? Sure, you are able to do that in Photoshop, simply by utilizing the Photoshop marquee instruments.


This can be a nice option to decide up particular components of a picture. You will get some follow utilizing each the Rectangular Marquee Software and the Elliptical Marquee Software on this a part of the course. You will then learn to copy and paste choices into one other picture in order that we are able to begin making a collage and mixing photographs collectively.
7.2 Clipping Masks
Watch video lesson (4 minutes) ↗
Clipping Masks are a fast, easy option to put photographs inside shapes and even textual content. Watch the video to see take the picture on the left and put it contained in the letter proven on the appropriate. It is a highly effective method, and it is simpler than you’d suppose!
7.3 Fast Choice Software
In Photoshop, you typically have to take a picture off its background so to put it some other place. The Fast Choice Software is nice for that.
For instance, what should you wished to extract this flower from its black background so to add it to the design proven under? That is precisely what you may learn to do on this a part of the course.


7.4 Layer Masks
Watch video lesson (6 minutes) ↗
An vital idea to grasp in Photoshop is “non-destructive modifying”.
Non-destructive modifying means you can edit your picture whereas preserving the choice to return and alter issues with out ranging from scratch.
A good way to perform that’s by utilizing Layer Masks.


Watch the video to see how one can create the identical “Dublin florists” picture that we labored on earlier than, however this time in a non-destructive manner, by utilizing a layer masks.
7.5 Choose and Masks
Watch video lesson (12 minutes) ↗
The flower we labored on earlier than was fairly simple to pick out due to its sharp edges and plain black background. However what if you might want to make extra advanced choices, akin to deciding on an individual with out-of-focus strands of hair?
Then you definitely’ll want Photoshop’s Choose and Masks function. Let’s examine tidy up choices made with the Fast Choice Software, beginning with easy masks after which working by to tougher ones. You will see precisely choose the mannequin under and place her on a very new background.


8. Good Objects
8.1 Understanding Photoshop Good Objects
Watch video lesson (12 minutes) ↗
One other key method within the space of non-destructive modifying is a Good Object.
A Good Object is a manner of preserving all the unique data and pixels in a picture, so to make it smaller or bigger and manipulate it in different methods with out dropping any of the picture high quality.
Watch the video to learn to use Good Objects and why it is vital to make use of them.


9. Rework & Warp
9.1 Remodeling and Warping Layers
Watch video lesson (8 minutes) ↗
What should you wished to place this brand onto this espresso cup? You may’t simply paste it on as a result of the cup is rounded, so the brand must be distorted to make the angle look reasonable.
The answer is the Warp Software in Photoshop. On this a part of the course, I am going to present you warp a layer in Photoshop, resize a layer in Photoshop, and extra.
Whereas studying about these instruments, additionally, you will uncover mock up a brand and make it look as if it is a part of an actual picture:


10. Retouching
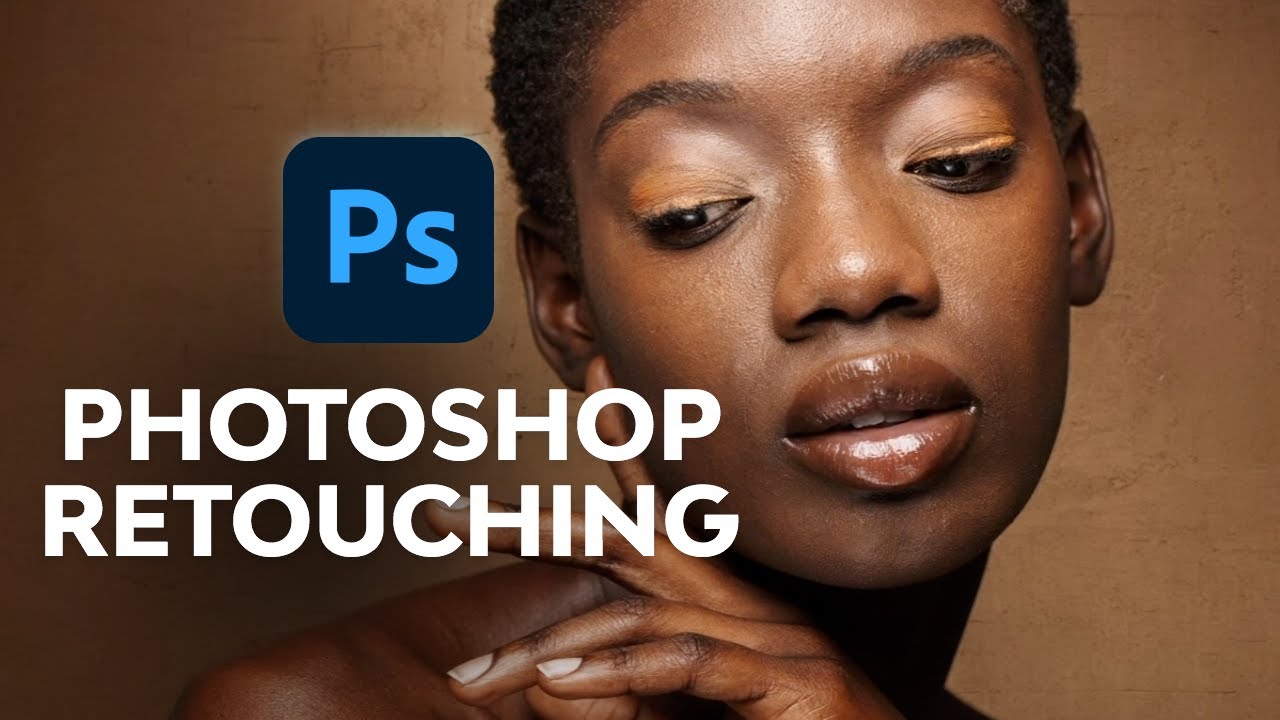
10.1 Retouching With the Photoshop Therapeutic Brush
Watch video lesson (8 minutes) ↗
Now it is time to find out about an vital retouching device: the Spot Therapeutic Brush. You need to use this brush to do a number of cool issues:
Take away Graffiti From a Wall
Take away Blemishes From a Portrait
Take away a Individual From a Picture
I am going to educate you do all of these issues, so watch the video and observe alongside by yourself pc utilizing the supply information offered! And if you wish to go into extra element, take a look at our free Photoshop retouching course:
10.2 Content material-Conscious Scale
Watch video lesson (8 minutes) ↗
What if you might want to make a picture wider? After all, you do not wish to simply stretch it and make every thing distorted. Happily, Photoshop gives a beautiful function referred to as Content material Conscious Scale, which helps you to stretch a picture and have Photoshop fill within the lacking background:
Earlier than


After


Watch the video for full directions on finishing this instance and some extra as properly!
tip
Content material Conscious Scale is a good device to make use of if you’re creating banner adverts, social media headers, or different instances the place you want a really large picture.
11. Exporting
11.1 Exporting Photographs
Watch video lesson (10 minutes) ↗
Now that we have created plenty of nice photographs, we have to export them from Photoshop so that they are prepared to be used in a print doc, an internet site, or for social media.
So now let us take a look at export in Photoshop. We’ll speak concerning the professionals and cons of JPEG, PNG, and PSD information, and we’ll additionally see create a Photoshop file prepared to be used with different Adobe software program merchandise akin to InDesign, Illustrator, and After Results.


12. Conclusion
12.1 What Subsequent?
Watch video lesson (2 minutes) ↗
Congratulations! Should you’ve adopted each a part of this course, it is best to now have a stable understanding of an important Photoshop instruments and methods.
So now you are prepared to maneuver on and work on new tasks. On this concluding video, we’ll speak about what the following steps needs to be as you proceed to learn to use Photoshop extra successfully. We’ll speak concerning the related subsequent steps if you’re a photographer, a marketer, or an online and UI designer.
Thanks for watching!
Study Extra About Photoshop
Nonetheless wish to be taught extra about Photoshop? Listed below are a number of movies you may love:
Or should you choose written tutorials, strive our large library of free Photoshop tutorials. Listed below are a number of to get began with:
