
The main target of this tutorial is on serving to builders discover ways to delegate the duties of consumer authorization to another service, similar to GitHub or Google, fairly than managing them of their software.
We are going to cowl:
Authentication vs. authorization in Subsequent.js
Authentication is the act of validating that customers are who they declare to be. Usernames and passwords are the most typical authentication elements.
When authenticating a consumer, if the consumer enters the right information, the server assumes the id is legitimate and grants the consumer entry to the server useful resource.
However, authorization in a safety system is the method of giving the consumer permission to entry a selected useful resource or perform on the server. This time period is usually used interchangeably with entry management or shopper privilege.
Normally, authentication precedes authorization; customers ought to first show their identities are real earlier than the backend administrator grants them entry to the requested assets.
Introducing our consumer authorization venture in Subsequent.js
OAuth2.0 is an industry-standard authorization protocol that allows web customers to share their account info with third-party web sites and purposes with out having to offer out their account credentials.
This information makes use of the NextAuth.js library for consumer authorization (OAuth2.0) implementation in Subsequent.js purposes.
NextAuth.js is a full-fledged authentication and authorization resolution for Subsequent.js designed to work with any OAuth service. It has built-in assist for a lot of fashionable sign-in companies, together with Google and GitHub.
To observe this tutorial, you’ll want Node.js 12.0 or later together with fundamental data of React.
Create a Subsequent.js app
Let’s start by creating a brand new Subsequent.js venture.
The next instructions present learn how to create a brand new Subsequent.js venture utilizing npm, Yarn, and pnpm respectively. Open up the terminal and run certainly one of them:
npx [email protected]
# or
yarn create next-app
# or
pnpm create next-app
You’ll be prompted by the CLI to offer a reputation to your new venture. Sort your most popular title into the command immediate, then click on enter in your keyboard to finish the set up.
After set up is full, run the next command to start out the event server in your native machine:
npm run dev
# or
yarn dev
# or
pnpm dev
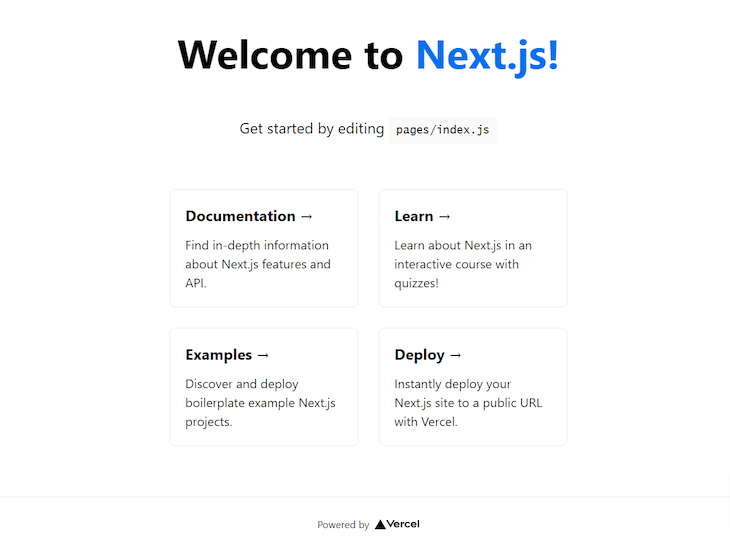
This could begin your dev server at port 3000 by default. Hearth up your net browser and navigate to http://localhost:3000. It is best to see the Subsequent.js starter web page as is proven beneath.
Subsequent, you’ll create a brand new OAuth app on GitHub to register your software with OAuth.
Extra nice articles from LogRocket:
Create a GitHub OAuth app
We wish customers to check in with their GitHub account and authorize our app to entry sure info from their account.
To do that, we have to first create a brand new GitHub OAuth App. Click on on “New OAuth app” and fill out the shape accordingly together with your web site info. Listed below are some essential issues to notice concerning the info requested by the shape:
- Within the “Utility title” subject, kind the title of your app (for instance, “My App”)
- Within the “Homepage URL” subject, kind the complete URL to your web site’s homepage
- Within the “Authorization callback URL” subject, kind the callback URL of your app
The authorization callback URL is the URL you need GitHub to redirect to after the consumer has approved your app. It must be your homepage URL plus /api/auth/callback.
On this case, the complete URL must be http://localhost:3000/api/auth/callback.
The opposite fields will not be actually essential; as such, they are often left clean.
After registering the GitHub app, you’ll be moved to a web page containing your OAuth Shopper ID. Click on “Generate a brand new secret key” to generate a Shopper Secret key as nicely.
Protect each keys for the following step.
Add API keys to environmental variables
Subsequent.js comes with built-in assist for atmosphere variables. To make use of them in your venture, create a file named .env.native within the root of your venture listing:
contact .env
Open .env.native and add the next:
GITHUB_ID=<your-client-id>
GITHUB_SECRET=<your-client-secret>
NEXTAUTH_URL=http://localhost:3000
Substitute the above templates together with your precise values from GitHub.
Set up NextAuth.js and configure the GitHub supplier
Now that you simply’ve created an OAuth software on GitHub, it’s time to arrange the front-end software.
First, set up NextAuth.js by operating the next command:
npm set up next-auth --save
With the library put in, it’s essential to now create a file named [...nextauth].js in pages/api/auth. This file will comprise all of the suppliers that you simply wish to use in your app. Every supplier will probably be configured utilizing the credentials to ensure that the app to efficiently join with our OAuth id supplier.
Since we registered with GitHub, we’ll use simply the GitHub supplier. Add the next code within the newly created [...nextauth].js file:
import NextAuth from 'next-auth'
import GitHubProvider from "next-auth/suppliers/github";

const choices = {
    suppliers: [
        GitHubProvider({
            clientId: process.env.GITHUB_ID,
            clientSecret: process.env.GITHUB_SECRET
        }),
    ],
}

export default (req, res) => NextAuth(req, res, choices)
First, we imported NextAuth and GitHubProvider. Then we configured GitHubProvider with our GITHUB_ID and GITHUB_SECRET environmental variables, retrieved from course of.env.
The final line exports a perform that returns the NextAuth and takes the choices variable as a 3rd parameter.
That’s all we have to join our app with GitHub!
To see this in impact, run your dev server with npm run dev. Utilizing the REST API supplied by next-auth, you may signal into the app together with your GitHub account. Navigate to http://localhost:3000/api/auth/signin and it is best to see the beneath:

Click on on the button and also you’ll be led to the GitHub consent web page telling you to authorize the app. In case you do, you’ll be signed in with GitHub. Nonetheless, the app won’t replicate that you simply’re signed in as a result of now we have but to get the consumer session information within the app. Let’s sort out that subsequent!
Entry the consumer session with <SessionProvider>
When the consumer authorizes our app, that you must present the consumer that they’re signed in by rendering the consumer particulars on the entrance finish of our app. To ensure that any of this to work, we should first wrap our whole app with <SessionProvider>.
Create an _app.js file in your pages listing (if it doesn’t exist already) and add the next code:
import { SessionProvider } from "next-auth/react"
import '../types/globals.css'

perform MyApp({ Element, pageProps }) {
  return (
    <SessionProvider session={pageProps.session}>
      <Element {...pageProps} />
    </SessionProvider>
  )
}

export default MyApp
With this code, all of the pages throughout the app can have entry to the consumer session, and this session will probably be preserved throughout website navigation. The session may also be shared with the OAuth supplier. That approach, the app doesn’t re-authenticate the consumer each time she or he visits the positioning.
Verify the consumer login state with useSession()
The useSession() hook permits us to verify the login state of the consumer and retrieve the consumer’s session info. We’ll use this hook together with signIn and signOut to implement a <Header> element that checks if the consumer is authenticated and renders both a “Sign up” or “Signal out” hyperlink.
Open the elements/Header.js file and import useSession, signIn, and signOut from the NextAuth.js shopper library:
import { useSession, signIn, signOut } from 'next-auth/react'
signIn and signOut will probably be used to log customers out and in of our app. We have to create the handleSignin and handleSignout strategies to set off each functionalities:
const handleSignin = (e) => {
      e.preventDefault()
      signIn()
  }
const handleSignout = (e) => {
      e.preventDefault()
      signOut()
    }
Subsequent, let’s retrieve the consumer’s session information:
const { information: session } = useSession();
As soon as the info is retrieved, it could actually then be exhibited to customers on the web page or manipulated with JavaScript. Let’s use the returned particulars to conditionally render a sign-in and sign-out button.
Substitute the whole lot within the return assertion in elements/Header.js with the next code:
<div className="header">
      <Hyperlink href="https://weblog.logrocket.com/">
        <a className="emblem">NextAuth.js</a>
      </Hyperlink>
           {session && <a href="#" onClick={handleSignout} className="btn-signin">Signal out</a>  }
           {!session && <a href="#" onClick={handleSignin}  className="btn-signin">Sign up</a>  }
    </div>
Your Header.js file ought to now seem like this:
import { useSession, signIn, signOut } from 'next-auth/react'
import Hyperlink from 'subsequent/hyperlink'

export default perform Header() {
    const handleSignin = (e) => {
        e.preventDefault()
        signIn()
    }

    const handleSignout = (e) => {
        e.preventDefault()
        signOut()
    }

    const { information: session } = useSession();

    return (
      <div className="header">
        <Hyperlink href="https://weblog.logrocket.com/">
          <a className="emblem">AppLogo</a>
        </Hyperlink>
             {session && <a href="#" onClick={handleSignout} className="btn-signin">SIGN OUT</a>  }
             {!session && <a href="#" onClick={handleSignin}  className="btn-signin">SIGN IN</a>  }
      </div>

    )
  }
Subsequent, we’ll retrieve the consumer info and show it to the consumer upon authorizing our app.
Retrieve and show consumer info
Inside our pages/index.js file, we have to show and conditionally render the consumer particulars based mostly on their authentication standing.
If the consumer is logged in, we are going to render their profile picture, title, and picture utilizing the info from our session state. The consumer will probably be approved to view or work together with all app pages, in addition to to sign off.
If the consumer will not be logged in, we are going to render a dummy consumer profile picture and textual content instructing them to log in and authorize the app to entry their GitHub profile info. The consumer won’t be approved to view or work together with another a part of the app.
To do that, exchange your index.js file content material with the next:
import Head from 'subsequent/head
import Header from '../elements/Header'
import types from '../types/Residence.module.css'
import { useSession } from 'next-auth/react'

export default perform Residence() {
  const { information: session, standing } = useSession()
  const loading = standing === "loading"

  return (
    <div className={types.container}>
      <Head>
        <title>Nextjs | Subsequent-Auth</title>
        <hyperlink rel="icon" href="https://weblog.logrocket.com/favicon.ico" />
      </Head>
      <Header />
      <most important className={types.most important}>
        <div className={types.consumer}>
           {loading && <div className={types.title}>Loading...</div>}
           {
            session &&
              <>
                <h1 className={types.title}>Welcome, {session.consumer.title ?? session.consumer.e mail}!</h1>
               <p type={{ marginBottom: '10px' }}> </p> <br />
               <img src={session.consumer.picture} alt="" className={types.avatar} />
              </>
            }
           {
            !session &&
              <>
               <p className={types.title}>Please log in to proceed</p>
               <img src="no-user.jpg" alt="" className={types.avatar} />
              </>
           }
         </div>
      </most important>
    </div>
  )
}
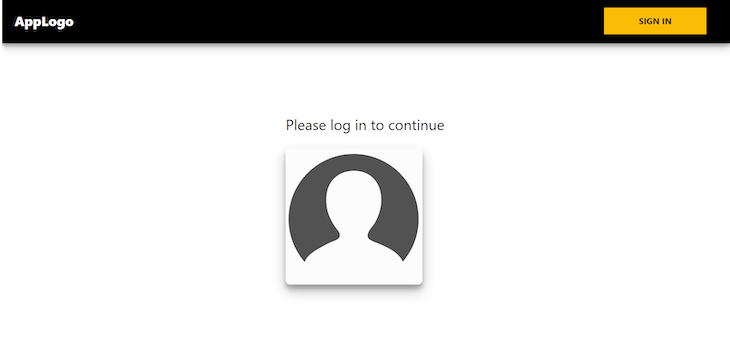
Right here’s the web page after I’m logged out:
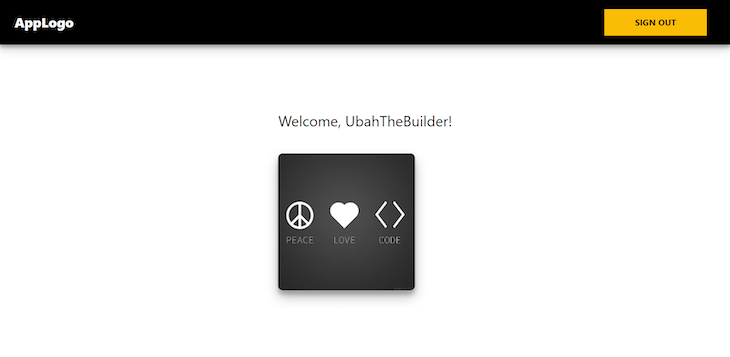
And right here’s the web page after I’m logged in with my GitHub account:
Be at liberty to seize the entire supply code on GitHub!
Get further scope information
Be aware that the default scope for the GitHub OAuth Supplier is learn:customers, which authorizes your software to learn the consumer’s profile information, similar to title, e mail, and profile image.
With the intention to get information from scopes apart from the default ones, you’ll must outline the scopes in your Supplier’s configuration object contained in the pages/api/auth/[...nextauth].js listing.
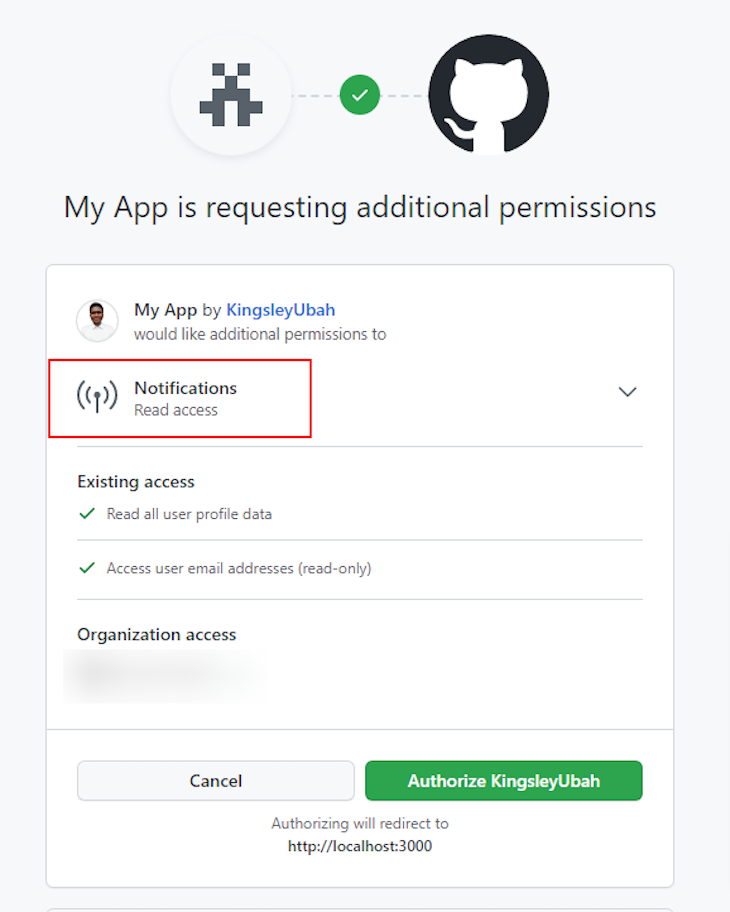
For instance, let’s request permission to learn the consumer’s notifications along with their profile information by including the authorization.params.scope property to GitHubProvider:
// imports

const choices = {
    suppliers: [
        GitHubProvider({
            clientId: process.env.GITHUB_ID,
            clientSecret: process.env.GITHUB_SECRET,
            // add this:
            authorization: { params: { scope: 'notifications' } },
        }),
    ],
}

// export
Navigate to http://localhost:3000 in your browser and take a look at signing in with the identical GitHub account. It is best to get the next.
See the full listing of obtainable GitHub OAuth scopes.
To be taught extra about NextAuth.js, together with learn how to use callbacks, JWT tokens, occasions, and different superior configuration choices, be happy to learn the NextAuth.js documentation.
Conclusion
Utilizing the NextAuth.js library, it is best to now be capable to configure a Subsequent.js software to make use of the OAuth circulate for consumer authorization. The NextAuth.js library offers built-in assist for a lot of fashionable sign-in companies, making the method of API integration fast and straightforward.
You’ll be able to get the supply code from this GitHub repository. If in case you have any questions associated to this matter, please let me know within the feedback.
