
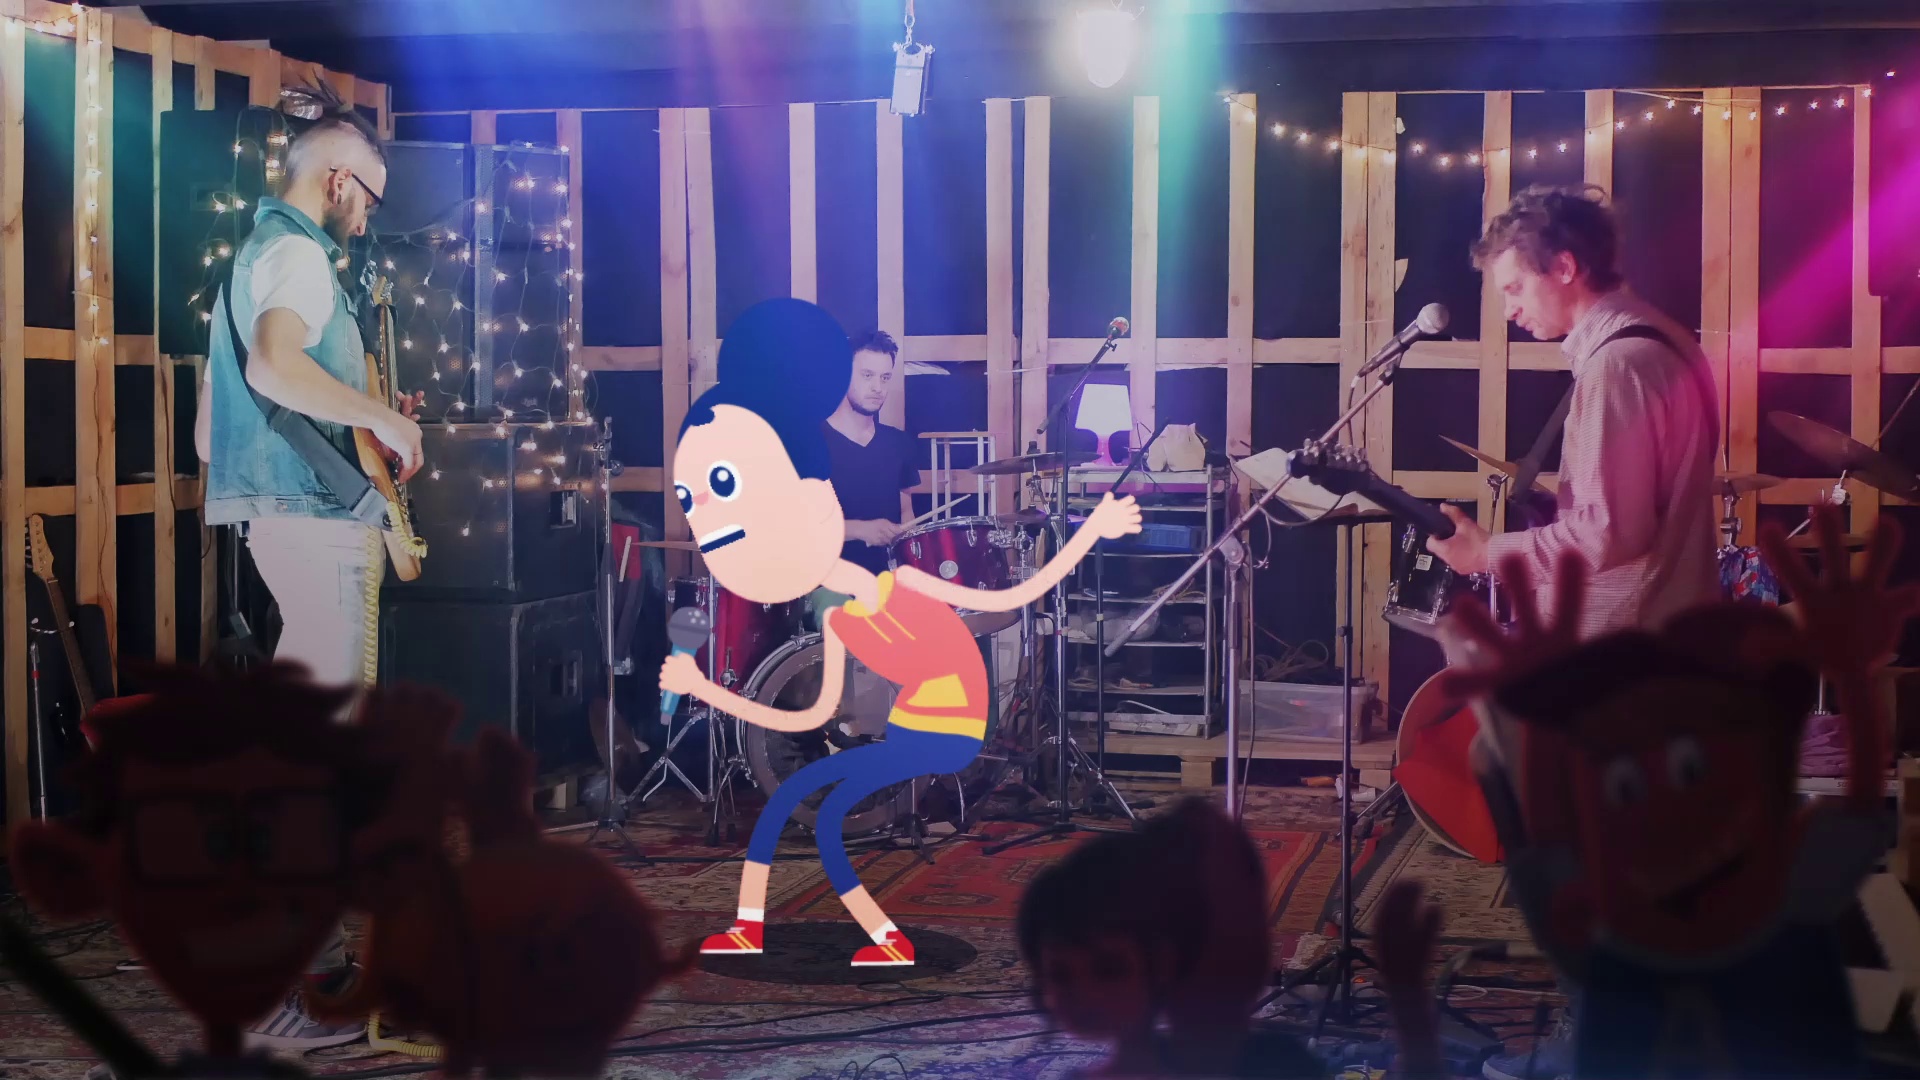
Create your personal animations with this fast tutorial: you may learn to mix free characters from Reallusion with live-action inventory video from Envato Parts utilizing Adobe After Results. We’ll present step-by-step find out how to obtain and add the free 2D cartoon animations to a dwell motion video, in about half-hour begin to end.
To have fun the launch of Cartoon Animator 4.5, Reallusion is providing a 50%-off Cartoon Animator coupon code for Envato Tuts+ readers, plus 12 free characters, and extra free sources. Cartoon Animator is not required for this tutorial.
50%-off Cartoon Animator 4.5: low cost code 2022CTAxEnvato, legitimate till Could 31st, 2022.
What You may Study in This Tutorial
You’ll be taught:
- Easy methods to import a 2D cartoon character into Adobe After Results
- Easy methods to add the cartoon character into your scene
- Easy methods to mix 2D cartoon characters with dwell motion footage
What You may Want
To comply with together with this tutorial you will want your personal model of Adobe After Results and a web based account with Reallusion. To change into a member merely head over to the Reallusion web site and create an account.
Additionally, you will want a dwell motion video for the background footage of your animation. For this tutorial we can be utilizing the footage under from Envato Parts, the inventive inventory subscription service, and disco lights from Pixabay. Click on on the hyperlinks under to obtain:


1. Obtain Free Animations From Reallusion
Step 1
To obtain your free animations, first head over to the Cartoon Animator free belongings web page on the Reallusion web site and comply with the directions to create an account. You’ll not want Cartoon Animator to comply with this tutorial, however see see our latest free tutorial collection about character animation with Cartoon Animator if you wish to be taught extra:
Step 2
Click on on the Signal as much as Obtain button on the Reallusion web site to entry the free, clear animated movies.


Step 3
Select from the free animations out there and obtain those that you simply wish to use for the undertaking. For this instance we can be utilizing the singing character. Ensure to additionally use the 50%-off coupon code to buy the software program and content material sources if you wish to check out Cartoon Animator 4!
To assert the 50%-off low cost for Cartoon Animator 4.5, use the coupon code 2022CTAxEnvato.
2. Easy methods to Import Animations Into After Results
Step 1
Now that you’ve downloaded your new animations, take a second to look by means of every of the completely different characters, results and backgrounds which might be out there so that you can use.
Upon getting chosen which characters you wish to use to your scene, it’s time to take it into Adobe After Results the place we are able to merge our cartoon characters with a dwell motion video.
In Adobe After Results, import the character movies by going to File > Import > File and deciding on the .MOV video file.


Step 2
When importing the file it will immediate a brand new window the place you could resolve the way you want to interpret the alpha channel. Choose Straight – Unmatted and click on OK.


Step 3
Upon getting imported the cartoon character video, you can see it positioned within the Mission Panel which is normally positioned on the left facet of the display screen. Repeat this course of for every other character animations you wish to use. For this tutorial we’ve included the next free animations:
- 06_Aaron Soar.mov
- 07_Nerd Dance.mov


Step 4
Import the dwell motion video recordsdata you downloaded from Envato Parts by going to File > Import > File and deciding on the video recordsdata. These will embody the dwell band video and the disco lights.
Additionally, you will discover each video recordsdata within the Mission Panel.


3. Compose the Scene
Step 1
Create a brand new composition by going to Composition > New Composition (Management – N).


Step 2
Within the composition settings, use the next:
- Composition Identify: Rock Band
- Width:1920 px
- Top:1080 px
- Body Charge: 30
For the Length, this may be modified to go well with the size of your cartoon animation and dwell motion video file.


Step 3
Use the mouse to pull and drop the video listed under into the composition. This may act because the background for the animation.


Step 4
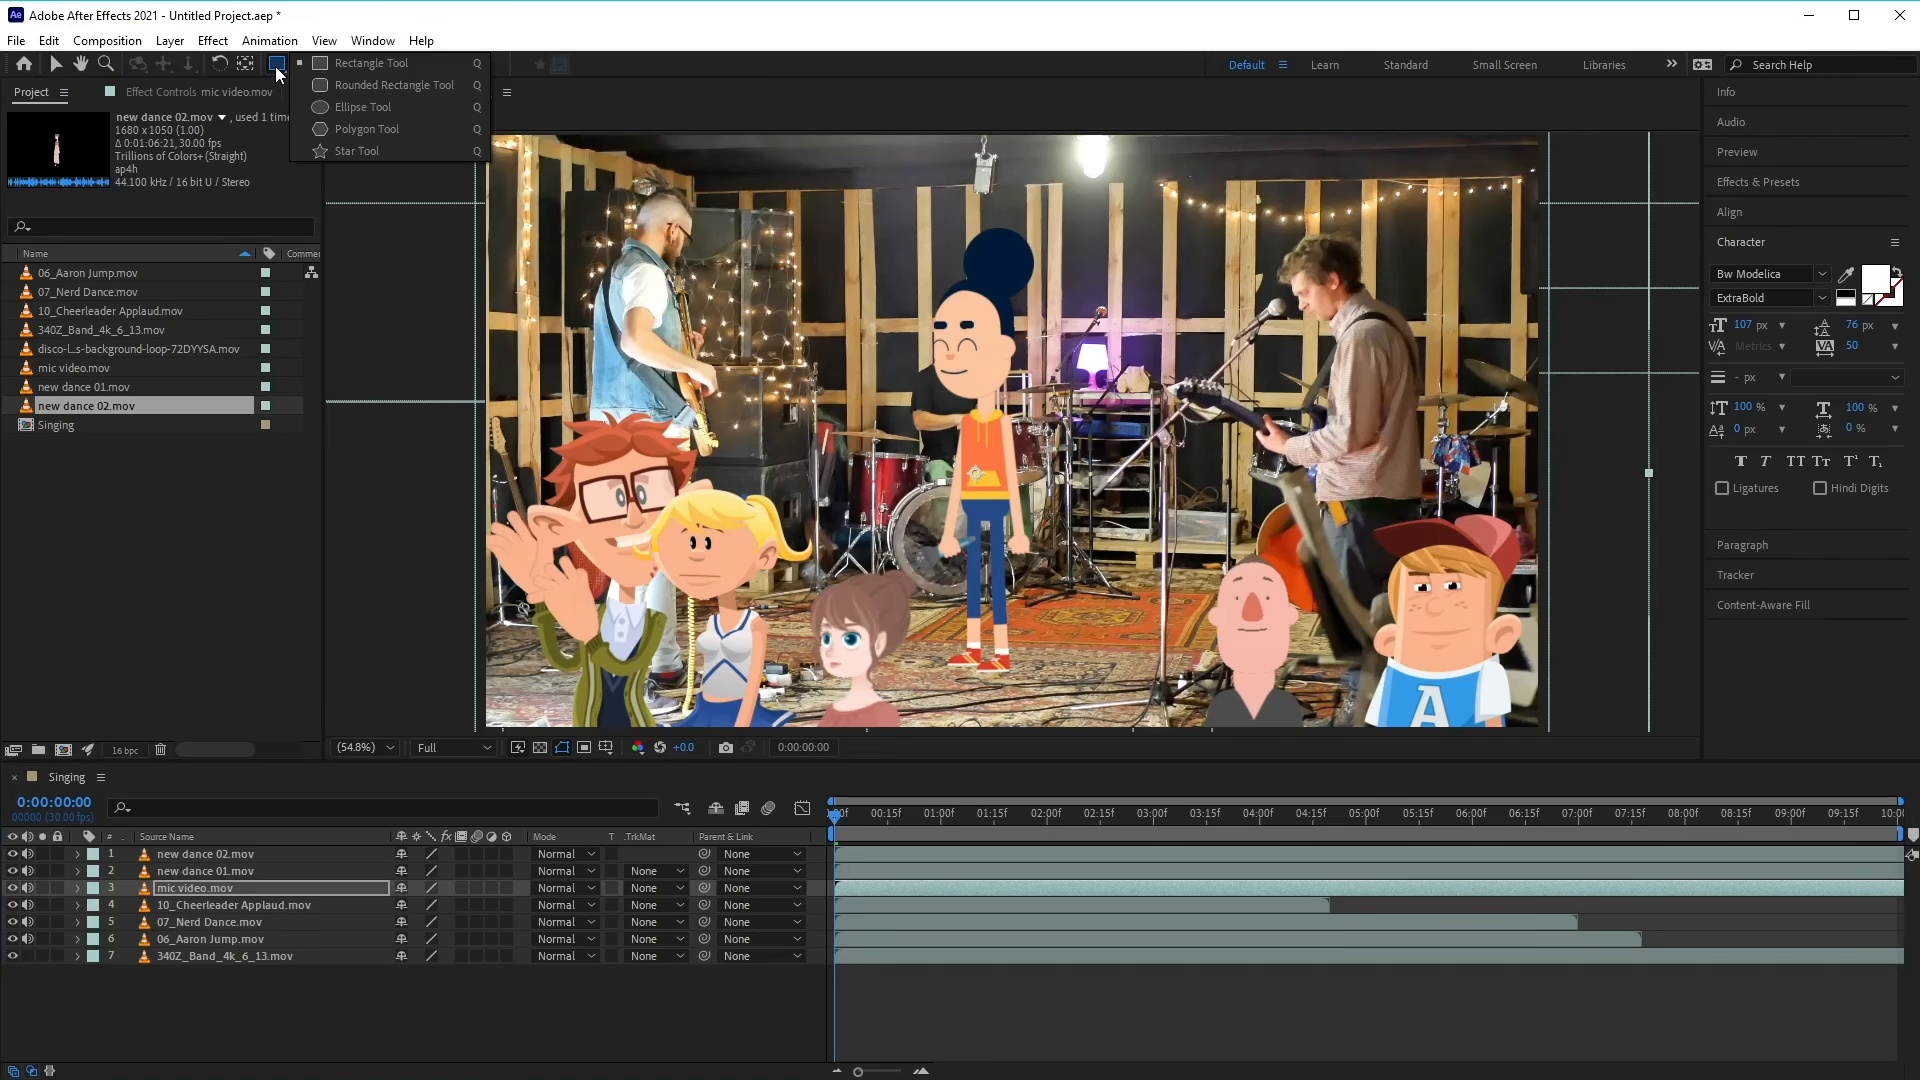
Now drag and drop the characters that you simply want to use to your animation into the scene. Just be sure you layer the movies accurately. With the intention to make the characters seem within the video it must be layered on prime of the dwell motion video.


Step 5
Choose the cartoon characters and use the Rework choices to resize and reposition them in order that they’re scaled appropriately in comparison with the remainder of the scene within the dwell motion footage.
You might also must re-scale the band footage as properly in order that it suits the dimensions of the composition.


Step 6
To floor the singer into the scene we have to place a shadow beneath her. To do that choose the Ellipse Device (Q) and use it to create a form layer by clicking and dragging within the scene (just remember to haven’t chosen any layers while doing this).


Step 7
Make the colour of the ellipse black and take away any outlines if essential.


Step 8
Open up the Rework choices and scale back the Opacity to 50% after which ensure to position the form layer under the character layer. Additionally, you will must reposition the ellipse in order that it seems below her toes.


Step 9
Give your scene a way of depth by including some results to your foreground characters. Add the next results to your foreground characters:
- Brightness & Distinction: Brightness – 138
- Gaussian Blur: Blurriness 17


4. Easy methods to Add Disco Lights
Step 1
Use the mouse to pull and drop the disco lights video into the composition and make it possible for it’s positioned above the remainder of the layers.


Step 2
Beneath Mode, click on on the dropdown menu and choose Display.


Step 3
Use the rework choices to scale the lights in order that they match the scene higher. On this instance we’ve scaled them as much as 140% and repositioned them barely greater. Additionally decrease the opacity to 85% to make it mix into the scene.


5. Last Adjustment Layers
There space a few final modifications to make to get all the things trying excellent.
Color and Distinction Correction Curve
So as to add a color correction curve, choose Results > Color Correction > Curves and plot an S-shaped curve on the graph to extend distinction. You too can use particular person purple, inexperienced, and blue channels to regulate color.


Separation Layer
To present the animation just a little little bit of emphasis, the very last thing we’ll do is dim the live-action video barely by including a black strong layer. Head as much as Layer > New > Strong with black chosen, after which set the opacity of the strong black later to twenty%. Place the layer under the animation and above the live-action video.


Superior! You are Completed!
Congratulations! And that is how one can obtain free Animations and add them into dwell motion video utilizing Adobe After Results. Be at liberty to make use of a number of characters or your personal designs and pictures to create your personal video mixtures.
Within the meantime, I hope you have discovered this tutorial helpful and I am going to see you subsequent time, on Envato Tuts+!


